Which Products Should Get Virtual Try-On First?
By the ZeDaq.ai team · · 5 min read
On this page
- Why start with a few products?
- What should you score each product on?
- Which kinds of products are good first candidates?
- Which products should wait?
- What setup do the first products need?
- What does a worked example look like?
- How do you measure whether the first batch worked?
- How do you decide when to add more products?
Enable virtual try-on first on products that get the most traffic, draw the most fit questions and have clear front-facing photos. Those are the pages where a shopper is most likely to hesitate over "how will this look on me?" and where the try-on result will be easiest to trust.
This guide gives you a simple scoring method so you can rank your catalog in an afternoon. It assumes you are adding try-on to a virtual fitting room on your clothing website.
Why start with a few products?
A small start lets you check results before you tell customers. You can see how the try-on looks on your own photos, fix problems and train your support team.
You also avoid spreading effort across a hundred pages when ten will tell you most of what you need.
What should you score each product on?
Give each product a score from 1 to 3 on these questions, then add them up:
| Question | Low (1) | High (3) |
|---|---|---|
| Traffic: do many shoppers view it? | Few views | One of your top pages |
| Fit doubt: do customers ask about fit? | Rarely | Often |
| Photo quality: is the garment clear and front-facing? | Dark or cropped | Sharp, whole garment, even light |
| Margin: does it matter to your profit? | Low | High |
| Size chart: is a chart ready for its garment type? | No | Yes |
The highest totals go first. These are example criteria, so add your own if something else matters, such as new arrivals.
Which kinds of products are good first candidates?
Look for items where shoppers want to see the garment on themselves:
- Best sellers. More visitors means more chances to learn.
- Dresses and tops. Customers often ask how they will hang and fit. See virtual try-on for dresses for what to watch.
- Products with a high return history. Check your own order data, not an industry average.
- Eyewear. Frames can use live-camera try-on, covered in try-on for sunglasses stores.
- Relaxed pieces. Try-on for loungewear and pajamas is simpler to judge by eye.
Which products should wait?
Hold back products where the result is hard to judge or the photo is weak:
- Photos that are dark, filtered or cropped. Reshoot first.
- Items with complex layering or very unusual shapes. Test them yourself before publishing.
- Products with no size chart yet. Add the chart for that garment type.
- Items about to go out of stock.
Test any doubtful item on your own photo. Compare the result with the real garment in your hands.
What setup do the first products need?
Each product needs a garment type, so the right size chart is used. ZeDaq.ai supports one chart per garment type: tops, outerwear, dresses and bottoms. You enter your own size guide in Dashboard → Size charts or in the Shopify app, and the size scan recommends your labels.
The try-on launch checklist for fashion brands walks through these steps in order.
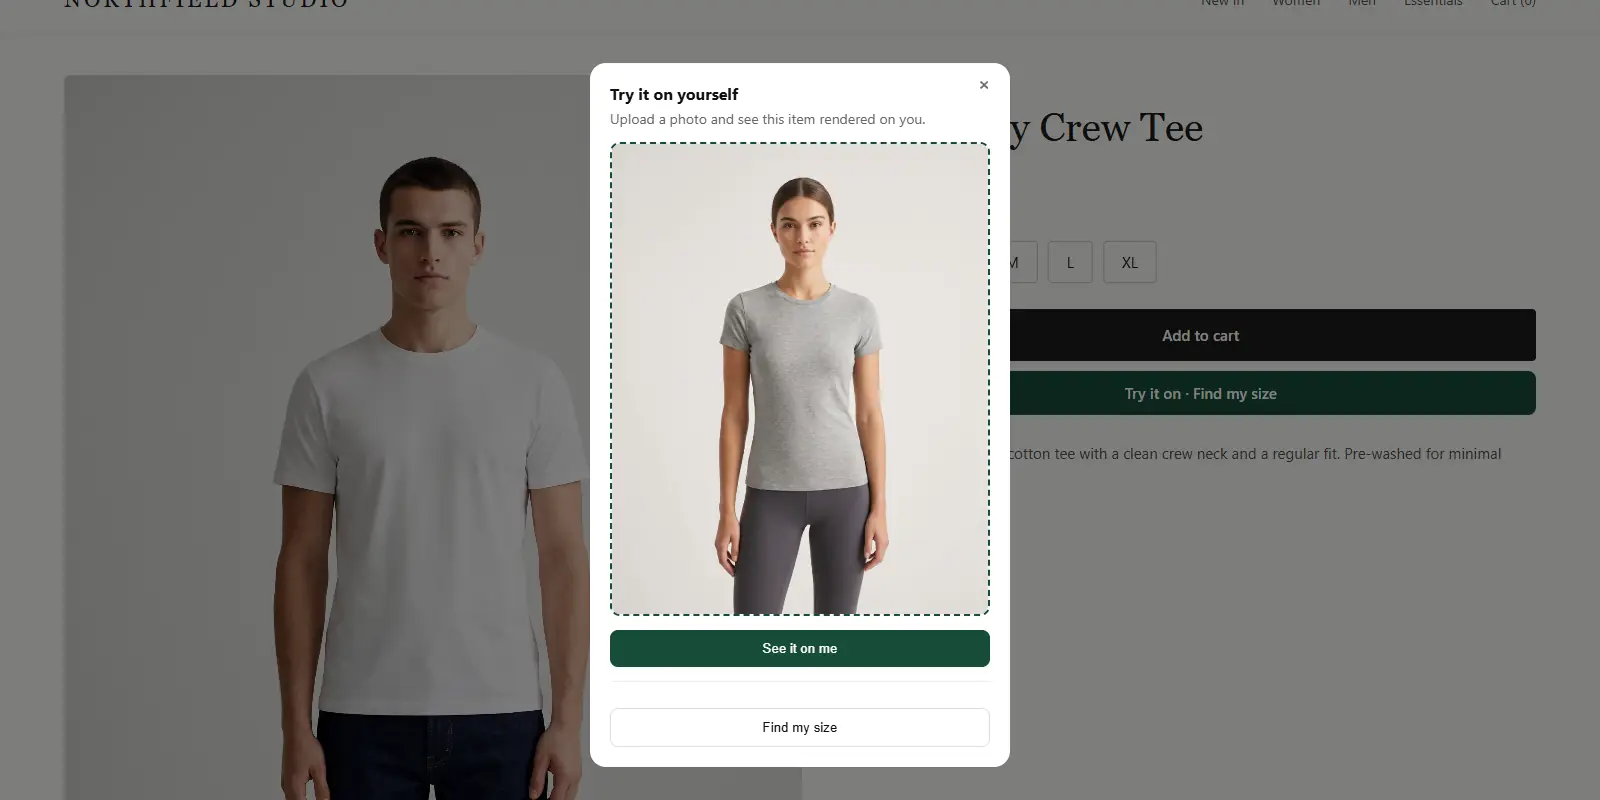
Try it on yourself before choosing products
Try it on yourself
Live renderUpload a photo, pick a piece, see it rendered on you.
Pick something to try on
What does a worked example look like?
Imagine a small store with five products: a printed dress, a plain tee, a blazer, a pair of trousers and a scarf. Here is how scoring might go with the table above. The scores are invented for illustration.
| Product | Traffic | Fit doubt | Photo | Margin | Chart | Total |
|---|---|---|---|---|---|---|
| Printed dress | 3 | 3 | 3 | 2 | 3 | 14 |
| Blazer | 2 | 3 | 2 | 3 | 3 | 13 |
| Trousers | 2 | 3 | 3 | 2 | 1 | 11 |
| Plain tee | 3 | 1 | 3 | 1 | 3 | 11 |
| Scarf | 1 | 1 | 3 | 1 | 1 | 7 |
The dress and blazer go first. The trousers need a bottoms chart before they are ready. The scarf waits, because it has little fit doubt.
How do you measure whether the first batch worked?
Do not rely on a single number. Look at several signals from your own store:
- Are shoppers using the buttons on the products you enabled?
- Do support messages about fit on those products change?
- Do your own test results still look right after a week?
- Are there photos you need to redo?
Use your own order and support data. Avoid comparing against industry averages unless you have a linked source for them.
How do you decide when to add more products?
After your first batch has been live for a while, review three things:
- Do the results look right on your own tests?
- Are shoppers asking fewer fit questions in support?
- Do you have photos and charts ready for the next group?
Then add the next group using the same scoring table. If your store is on a platform other than Shopify, see try-on on Ecwid for the options there.
Try it on a product of your own
FAQs
How many products should I start with?
A small group that you can check by hand. There is no required number, so choose what you can review properly.
Should I enable every garment type at once?
No. Begin with one or two garment types, add their size charts and expand once you are happy.
Does the Free plan let me test this?
Yes. The Free plan includes 3 try-ons and 3 measurements a month, enough to test a few products. Every paid plan also has a 3-day free trial with no card required.
What if a try-on result looks wrong?
Check the product photo first, since the result is built from it. Retake it with even light and the whole garment in view.
Try ZeDaq.ai free
Virtual try-on and Find my size for your store, plus client, order and invoicing tools for tailors, in one subscription.

