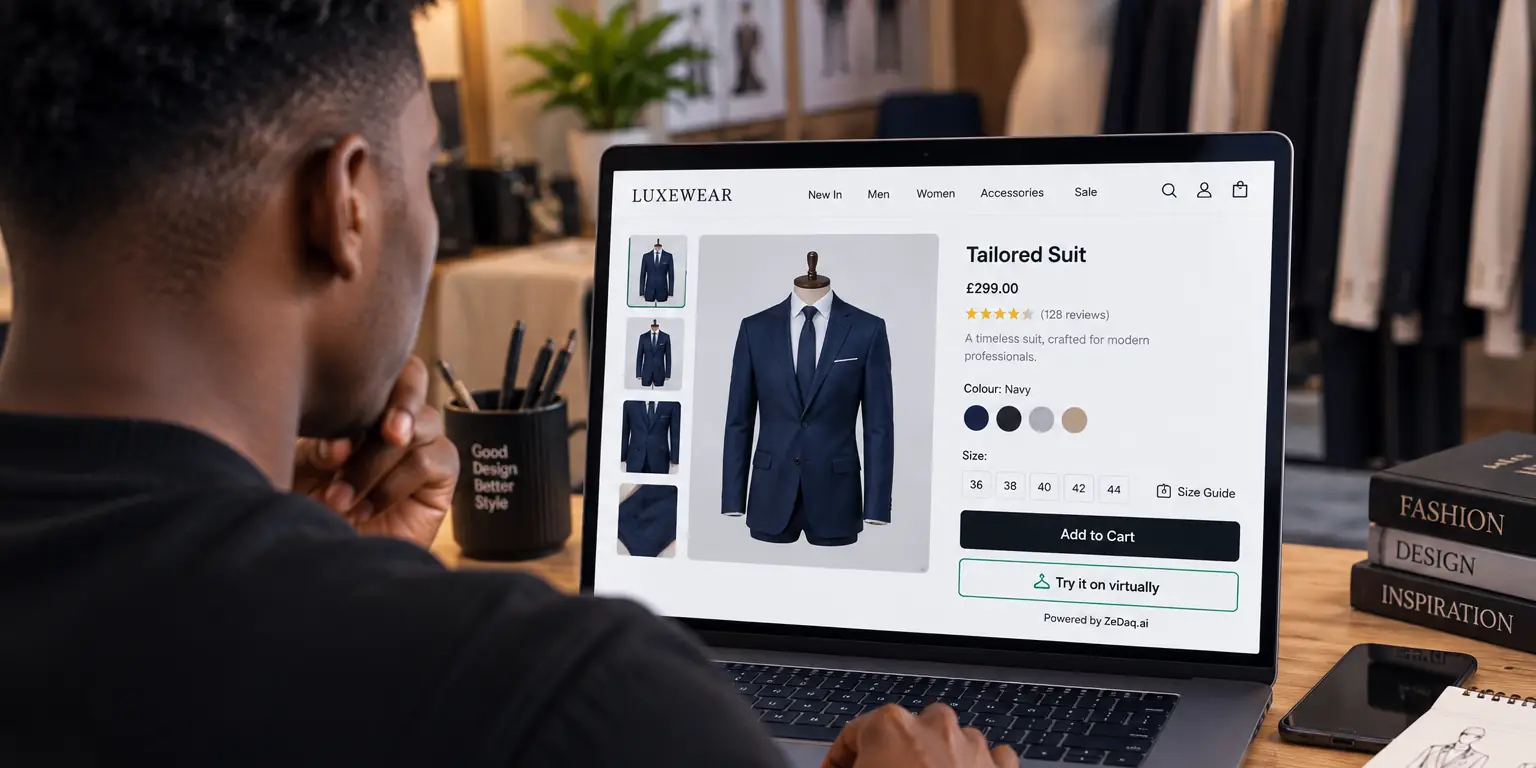
What Product Images Does Virtual Try-On Need?
By the ZeDaq.ai team · · 4 min read
On this page
- Which product photo does try-on use?
- What makes a catalog photo good for try-on?
- Flat lay, mannequin or model: which is best?
- What problems should you fix first?
- Where do the images need to be hosted?
- How do you test your product images?
- What does a photo checklist look like for a new product?
- What about eyewear and other products?
Virtual try-on needs a clear, evenly lit product photo that shows the whole garment from the front, with true colors and a simple background. The result is built from your photo, so the quality of that image matters more than how many photos you have.
This guide is for store owners adding a virtual fitting room to a clothing website. With ZeDaq.ai, the shopper uploads one photo of themselves and sees your real garment on their body.
Which product photo does try-on use?
Try-on works from your product photo, not from a model or avatar. Shoppers see the garment you sell, so the photo needs to show it accurately.
Extra photos still help shoppers read the page, such as a back view or a close-up of the cloth. They are different from the photo that drives the try-on result.
What makes a catalog photo good for try-on?
Check each photo against this list:
- The whole garment is visible. Nothing is cropped at the hem, sleeves or neckline.
- It is shot from the front. This is how the shopper will wear it.
- Light is even. Avoid hard shadows that hide seams or darken parts of the cloth.
- Colors are true. Compare the photo with the real cloth in daylight.
- The background is simple. A plain wall or backdrop keeps attention on the garment.
- The garment is flat, on a stand or on a model. If on a model, keep arms clear of the body.
- The image is sharp. Blur hides details such as buttons, pleats and trims.
If a photo passes these checks, test it before you launch.
Flat lay, mannequin or model: which is best?
Each style has strengths. This table compares them for try-on use.
| Photo style | Strength | Watch out for |
|---|---|---|
| Flat lay | Shows the full shape and details clearly | Can look stiff, so check drape and length |
| Mannequin | Shows how the garment hangs | Pins or clips can show |
| Model | Shows real scale and movement | Arms, hair or poses can hide the garment |
This is a general guide, so test your own images. Whatever you choose, use the same style across a category. Consistent photos make the results easier to compare.
What problems should you fix first?
These issues cause weak results most often:
- A busy background that blends with the garment
- A dark or shadowed image
- A pose that hides the front, such as arms crossed over the chest
- A model photo where the garment is bunched or cropped
- Heavy editing that changes the color
- Several garments in one frame
A new photo is often a quick fix, and it improves the page for every shopper.
Where do the images need to be hosted?
If you use the script-tag widget, it can only fetch product images from your own domain or common store CDNs. The widget key must be locked to your store's domain in the dashboard. The full steps are in the widget documentation.
On any platform, test that your photos load on the live product page.
How do you test your product images?
- Open a product page on your phone with try-on switched on.
- Upload a full-length photo of yourself, following the tips in what photo works best for try-on.
- Compare the result with the real garment in your hands.
- Try a second person with a different body shape.
- Note anything that looks off, such as color or length.
If the garment looks wrong, reshoot before you blame the tool. Start with your best sellers, since those pages get the most visitors.
Test a product photo on yourself
Try it on yourself
Live renderUpload a photo, pick a piece, see it rendered on you.
Pick something to try on
What does a photo checklist look like for a new product?
Use this before you publish a new style:
- Shoot the front view first, with the whole garment in frame.
- Review the image on a large screen, not only on the camera.
- Compare the color with the real cloth in daylight.
- Check that the edges, hem and sleeves are visible.
- Name the file clearly, such as the style and color.
Keep the unedited original so you can redo the crop if needed. Reshoot only when a photo fails the checks above, since a small edit often fixes the problem.
What about eyewear and other products?
Eyewear is different. The try-on uses the live camera, and the product photo plays a different role. See virtual try-on for sunglasses stores for how that works.
If your store runs on an unusual platform, the guide to virtual try-on on Shopware explains the options.
See how your product looks on a real shopper
FAQs
Do I need a model in the product photo?
No. A clear photo of the whole garment can work, on a flat lay, a stand or a model. Test your own images to see.
Does adding more photos improve the try-on?
Not necessarily. Extra angles mainly help shoppers read the page, so add them for that reason and judge the try-on by testing.
Can I use supplier photos?
Check the quality and your right to use them. If the quality is low, take your own.
Do I need to reshoot my whole catalog?
No. Start with your best sellers and fix photos with obvious problems, such as heavy shadows or cropping.
Try ZeDaq.ai free
Virtual try-on and Find my size for your store, plus client, order and invoicing tools for tailors, in one subscription.

