Virtual Try-On on Shopware: What Are Your Options?
By the ZeDaq.ai team · · 6 min read
On this page
- Does ZeDaq.ai have a Shopware plugin?
- What are your options on Shopware?
- How would the widget route work?
- How would the API route work?
- What will it cost on Shopware?
- What should you prepare before you start?
- What does the shopper see?
- What mistakes should you avoid?
- Which route should you choose?
- How do you plan the rollout?
For virtual try-on on Shopware, you have two routes with ZeDaq.ai: paste a script-tag widget into your product template, or call the REST API from your own code. ZeDaq.ai does not have a Shopware plugin, so either route needs a little template or developer work.
This guide is for store owners and developers running Shopware 6 who want to add try-on and size recommendation to apparel pages. If you are weighing platforms, our overview of virtual try-on for WooCommerce shows a similar setup on another open platform.
Does ZeDaq.ai have a Shopware plugin?
No. ZeDaq.ai is available as a Shopify app, a REST API, and a script-tag widget for WooCommerce, Wix, Squarespace, BigCommerce and custom sites. There is no Shopware plugin and no named Shopware integration.
That leaves the two generic routes: the widget and the API. Both work without a plugin, but neither is a one-click install. Choose by how much control you want.
What are your options on Shopware?
Here is how the two routes compare.
| Script-tag widget | REST API | |
|---|---|---|
| Setup | Paste one script tag | Build your own interface |
| Developer time | Low | Higher |
| What shoppers get | "Try it on" and "Find my size" buttons | Whatever you design |
| Control over design | Limited | Full |
| Best for | Fast launch | Custom storefronts and apps |
Neither route is tested here against any specific Shopware theme, so try your own setup on a staging copy first.
How would the widget route work?
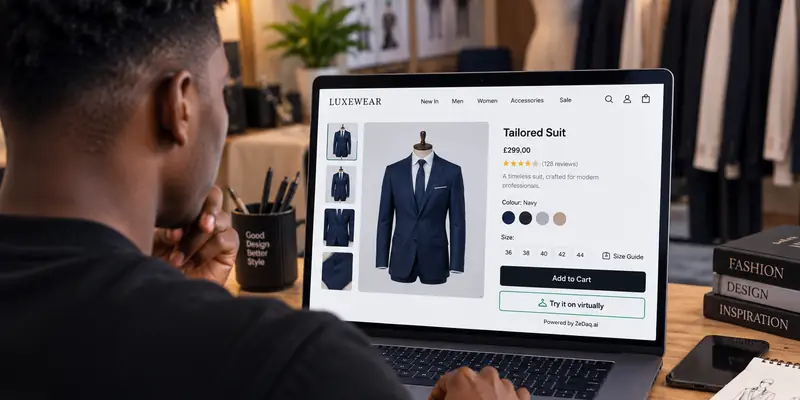
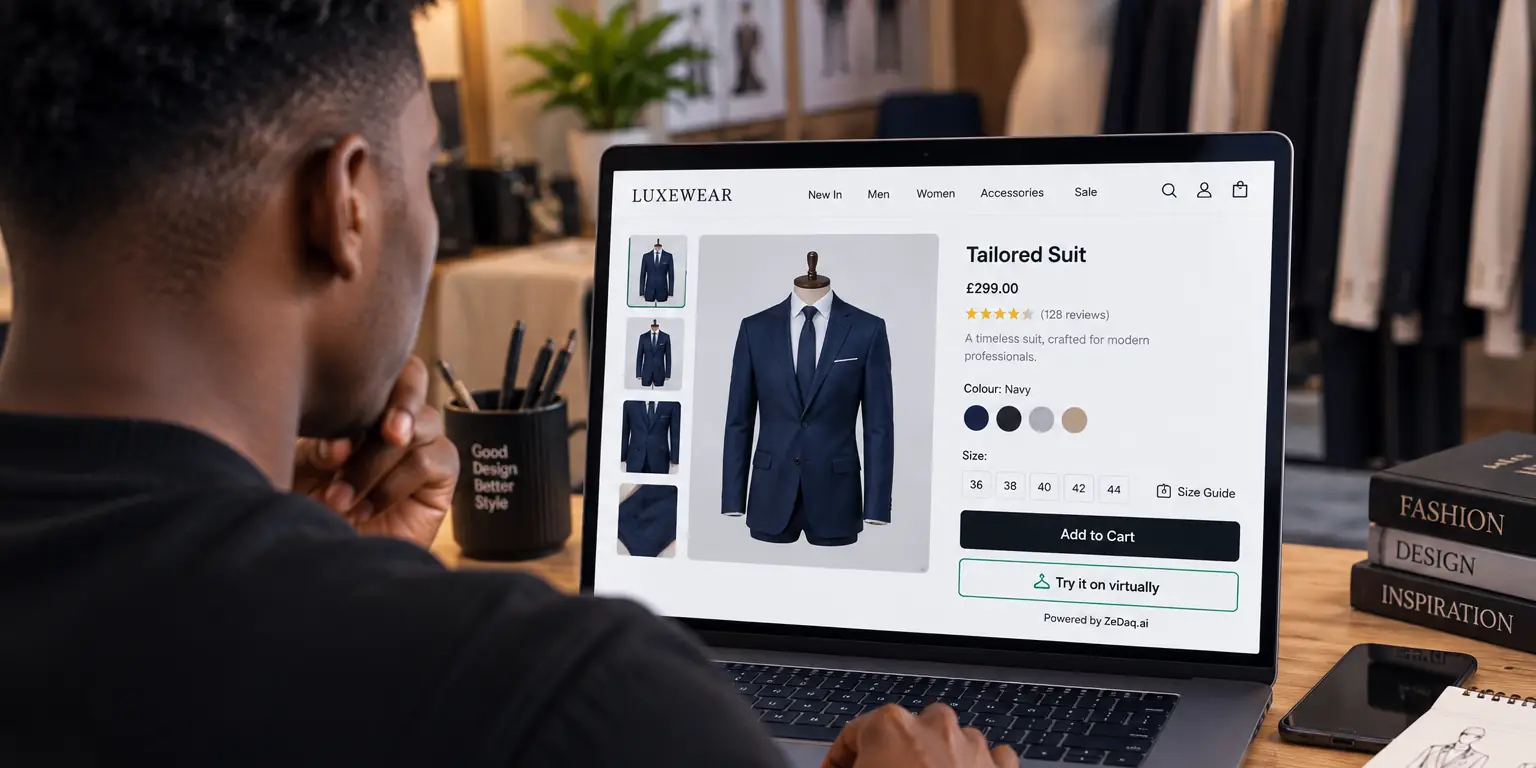
The widget is a script you add to the product page template. It adds a "Try it on" button and a "Find my size" button.
The steps are:
- Create a free account and open Dashboard → API keys.
- Create a key and lock it to your store's domain.
- Add the script to your product template:
<script src="https://www.zedaq.ai/widget/zedaq.js" data-key="YOUR_KEY" defer>
- Add your size charts in Dashboard → Size charts, one per garment type.
- Test on a staging site, then on your live product pages.
The widget setup docs explain the details. Locking the key to your domain stops others from using it.
How would the API route work?
If you want your own interface, call the API directly. Send a request to POST /api/v1/tryon with an x-api-key header. The API reference lists the request and response fields.
This route suits stores with a custom theme, a headless setup or a mobile app. Your developer builds the photo upload and result view. The tradeoff is more work for more control.
What will it cost on Shopware?
The pricing is the same on every platform. Plans and monthly limits, from the ZeDaq.ai pricing page, checked November 2026:
| Plan | Price | Monthly limits |
|---|---|---|
| Free | $0 | 3 try-ons, 3 measurements, 5 invoices |
| Micro | $14/mo | 20 try-ons, 30 measurements, 10 invoices |
| Starter | $49/mo | 75 try-ons, 100 measurements, 30 invoices |
| Growth | $129/mo | 650 try-ons, unlimited measurements and invoices |
| Scale | $299/mo | 2,000 try-ons, unlimited measurements and invoices |
Every paid plan has a 3-day free trial with no card required. The page also lists an Enterprise option with custom volume.
What should you prepare before you start?
Gather three things first, so integration goes smoothly.
- Your size charts, one per garment type: tops, outerwear, dresses and bottoms. Use body measurements, not flat garment widths.
- A staging copy of your store, so you can test without affecting live customers.
- A domain list, because the key must be locked to the store's domain. If you test on a staging domain, create a separate key for it.
Then test on your own phone. Upload a photo, run a try-on, tap "Find my size" and check that the size matches your chart. Fix chart gaps before launch.
What does the shopper see?
With the widget, the shopper sees two buttons on the product page: "Try it on" and "Find my size". They upload one photo and see your real garment on their body. For sizing, they enter their height, and the scan matches their measurements to your chart.
If you haven't entered a chart for that garment type, the shopper gets a generic UK, US, EU or AU size. With the API route, you design this flow yourself.
What mistakes should you avoid?
Most problems come from setup, not from the tool itself. Watch for these.
- An unlocked key. Lock the key to your store's domain in the dashboard so others cannot use it.
- Missing size charts. Without your own chart, shoppers get a generic size, not your labels.
- Skipping staging. A script added directly to a live template can break a page layout.
- Garment type mismatch. A jacket should use your outerwear chart, not your tops chart.
- Charts built from garment widths. Use body measurements, because the scan measures the body.
Fix these before you tell customers about the feature.
Which route should you choose?
Choose the widget if you want a quick test and are happy with the standard buttons. Choose the API if your storefront is custom or you want try-on inside your own design.
Either way, start with your size charts. A tops chart, for example, only needs the measurements that matter for that garment. Apparel stores that already sell swimwear can see how the idea applies in virtual try-on for swimwear stores. Other platforms are covered in the guides to try-on on Ecwid and try-on on Webflow.
Get an API key and test try-on on your store
How do you plan the rollout?
Start small so you can learn before you expand. A phased rollout also keeps support questions manageable.
- Pick one product category, such as dresses or jackets.
- Enter the size chart for that garment type and test it with a few real body measurements.
- Add the widget to a single product template on staging.
- Review it on a phone and a desktop browser.
- Go live on that category, then extend to others.
Keep a short note of what you changed in the template. If your theme updates later, you will know where to re-add the script. For the API route, record the endpoint and key handling in your code documentation, and keep the key out of public code where possible.
FAQs
Is there a Shopware app in the Shopware store?
ZeDaq.ai does not offer a Shopware plugin. The supported routes are the script-tag widget and the REST API.
Do I need a developer to add the widget?
You need to edit your product template, which usually means someone comfortable with theme code. The API route needs more development work.
Can I test it before paying?
Yes. The Free plan is $0, and every paid plan has a 3-day free trial with no card required.
Can I use the API for a headless Shopware storefront?
Yes. The REST API is a plain HTTP endpoint with an x-api-key header, so any storefront that can make a server request can call it. You build the upload and result screens yourself.
Does the widget work on any Shopware theme?
It is designed for custom sites that let you add a script to the product template. Test it on a staging copy of your theme before going live.
Try ZeDaq.ai free
Virtual try-on and Find my size for your store, plus client, order and invoicing tools for tailors, in one subscription.