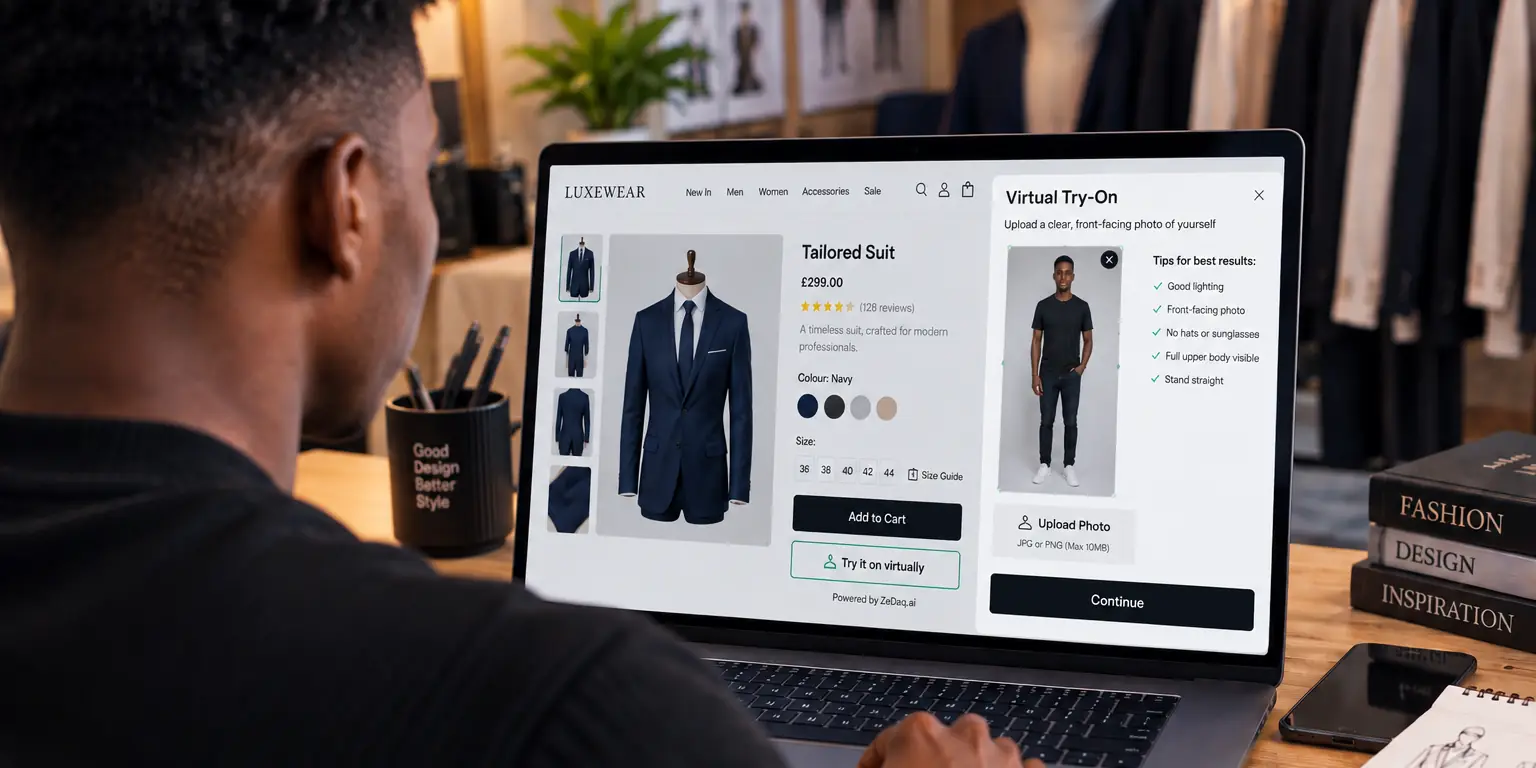
Virtual Try-On for Jumpsuits and Rompers
By the ZeDaq.ai team · · 5 min read
On this page
- Why are jumpsuits harder to buy online?
- What does try-on show for a one-piece?
- How should you test jumpsuits and rompers before launch?
- How do you handle sizing for one-piece garments?
- What types of one-piece garments need different checks?
- How should you set expectations with shoppers?
- How do you write a jumpsuit size note that helps?
- What photos help the preview most?
- What should you add to the product page?
- Does menswear need anything different?
- What does it cost to test?
Virtual try-on for jumpsuits and rompers lets a shopper upload one photo and see your real one-piece on their own body. It helps most with the questions a flat photo can't answer: where the waist falls, how long the legs look and how the neckline sits.
If you are comparing options, start with our overview of a virtual fitting room for clothing websites. This guide covers what is different about one-piece garments and how to test them before launch.
Why are jumpsuits harder to buy online?
A jumpsuit is a top and bottoms joined at the waist, so one wrong measurement spoils the whole garment. A shopper with a long torso may find the crotch sits too low. A shopper with a short torso may find it pulls.
Three questions come up again and again:
- Torso length. Will the waist seam land at my waist?
- Leg length. Will the legs be too long, too short or cropped?
- Fit across the body. Will the bust and hips both fit, given they are joined?
Try a jumpsuit on your own photo
Try it on yourself
Live renderUpload a photo, pick a piece, see it rendered on you.
Pick something to try on
What does try-on show for a one-piece?
The shopper uploads one full-length photo, and your garment is rendered on that photo. They can judge the color, the neckline, the silhouette and the overall length on their own body.
Rendering is a visual preview. It does not measure fit, and it cannot confirm that a tight waist will be comfortable. Use it for look and proportion, and use sizing for fit.
ZeDaq.ai is available as a Shopify app, a REST API, and a script-tag widget for other platforms.
How should you test jumpsuits and rompers before launch?
Run a short test with your own products:
- Choose one jumpsuit, one romper and one wide-leg style.
- Use at least three test photos, including one tall and one short person.
- Compare each result with the garment on a fitting model.
- Note anything that looks wrong, such as a bulky waist or distorted legs.
- Add a written note to any product where the preview is unclear.
Clean, full-length product photos on a plain background give the best input. Photos with a belt, tie or heavy styling can confuse the preview.
How do you handle sizing for one-piece garments?
The sizing is the harder part. A jumpsuit has to fit chest, waist, hips and torso length, and a single label may suit only some of those.
Merchants enter their own size guide in the Dashboard under Size charts, or in the Shopify app, with one chart per garment type: tops, outerwear, dresses and bottoms. For a jumpsuit, many stores use the dresses chart because it uses chest, waist and hips. Test that choice with your own sizes, because it is your decision, not a fixed rule.
The shopper's scan is one photo plus height and takes about 30 seconds. It recommends your labels and sizes up to the largest relevant measurement. A shopper with wider hips than chest gets a size that fits the hips.
For a romper, the same approach works, but shorter legs mean the inseam matters less.
What types of one-piece garments need different checks?
One-piece garments differ more than they look. Check each type separately.
Wide-leg jumpsuits
Leg width and length drive the look. Test on a short and a tall shopper, because the hem lands differently.
Fitted jumpsuits
Fit through the torso and hips matters most. Rely on sizing here, and use the preview for neckline and color.
Rompers and playsuits
The short leg changes proportions. Check that the preview shows the leg opening and hem clearly.
Belted or wrap styles
The belt or wrap changes the waist line. Make sure the product photo shows the belt tied, because the preview works from your image.
Strapless and halter styles
Neckline shape and strap position are the main questions. Include a photo from behind so shoppers see the back.
How should you set expectations with shoppers?
Be honest about what the preview does. Put a short line near the try-on button, such as "This preview shows how the style looks on you. Use our size guide for fit."
That sets a clear job for each tool. The preview helps with look, and the size recommendation helps with fit.
How do you write a jumpsuit size note that helps?
A short, specific note beats a long one. Shoppers often decide in seconds, so lead with the answer.
Try this pattern:
- Say how the style fits overall: fitted, relaxed or oversized.
- Say who it suits: for example, "cut for an average torso length".
- Tell shoppers what to do between sizes: for example, "size up if you have a longer torso".
- Point to the "Find my size" button.
Notes like these also reduce support questions, because the shopper finds the answer on the page.
What photos help the preview most?
The preview starts from your product photo, so the image matters. Use a front-facing photo with the full garment visible, on a plain background where possible. Avoid photos where an arm, bag or prop covers part of the garment.
If you sell both a jumpsuit and a matching jacket, photograph each separately. That makes it easier for shoppers to judge the single piece they are buying.
What should you add to the product page?
Even with try-on, tell shoppers:
- The inseam length for jumpsuits, or the leg length of the romper.
- The torso fit, such as "cut for a long torso" or "fits an average torso".
- The stretch, so shoppers know whether the fit is forgiving.
- The model's height and the size worn.
For guidance on what else belongs on a page, see our product page checklist for fashion stores.
Does menswear need anything different?
Men's coveralls and one-piece styles follow the same logic: torso length matters most. If you sell menswear, our guide on whether menswear brands should offer try-on covers the question. Also see try-on for loungewear and pajamas for relaxed one-piece styles.
What does it cost to test?
The Free plan includes 3 try-ons and 3 measurements a month. Paid plans start with Micro at $14 a month, and every paid plan has a 3-day free trial with no card required. See current ZeDaq.ai pricing.
If your store is on a platform without a built-in option, see virtual try-on on Big Cartel for what is possible there.
See a jumpsuit on your own photo
FAQs
Can try-on show a romper's length?
It can give a visual preview of the length on the shopper's photo. Always add the written length too.
Do I need a different chart for jumpsuits?
You can use an existing garment type, such as dresses, and test it. Choose the one whose measurements match your fit.
Does the shopper need an account?
No. The shopper uploads a photo on your product page.
What photos work best?
Full-length, front-facing photos in plain light with the legs visible work best.
Try ZeDaq.ai free
Virtual try-on and Find my size for your store, plus client, order and invoicing tools for tailors, in one subscription.

