Virtual Try-On for Shirts and Blouses
By the ZeDaq.ai team · · 5 min read
On this page
- How does try-on work for a blouse?
- What makes shirts and blouses different from other garments?
- How do you prepare your product images?
- How do you add try-on to your store?
- How does size recommendation work with blouses?
- How do you roll try-on out across your shirts?
- What should you test before launch?
- What does it cost?
Virtual try-on for shirts and blouses lets a shopper upload one photo and see your real garment on their own body before they buy. You add it to your store as a Shopify app, a script-tag widget or a REST API, then set the garment type to upper body for each shirt.
Tops are a strong place to start because shoppers can judge drape, length and color from a single image. If you are still comparing options, the guide to a virtual fitting room for clothing websites explains the wider picture.
How does try-on work for a blouse?
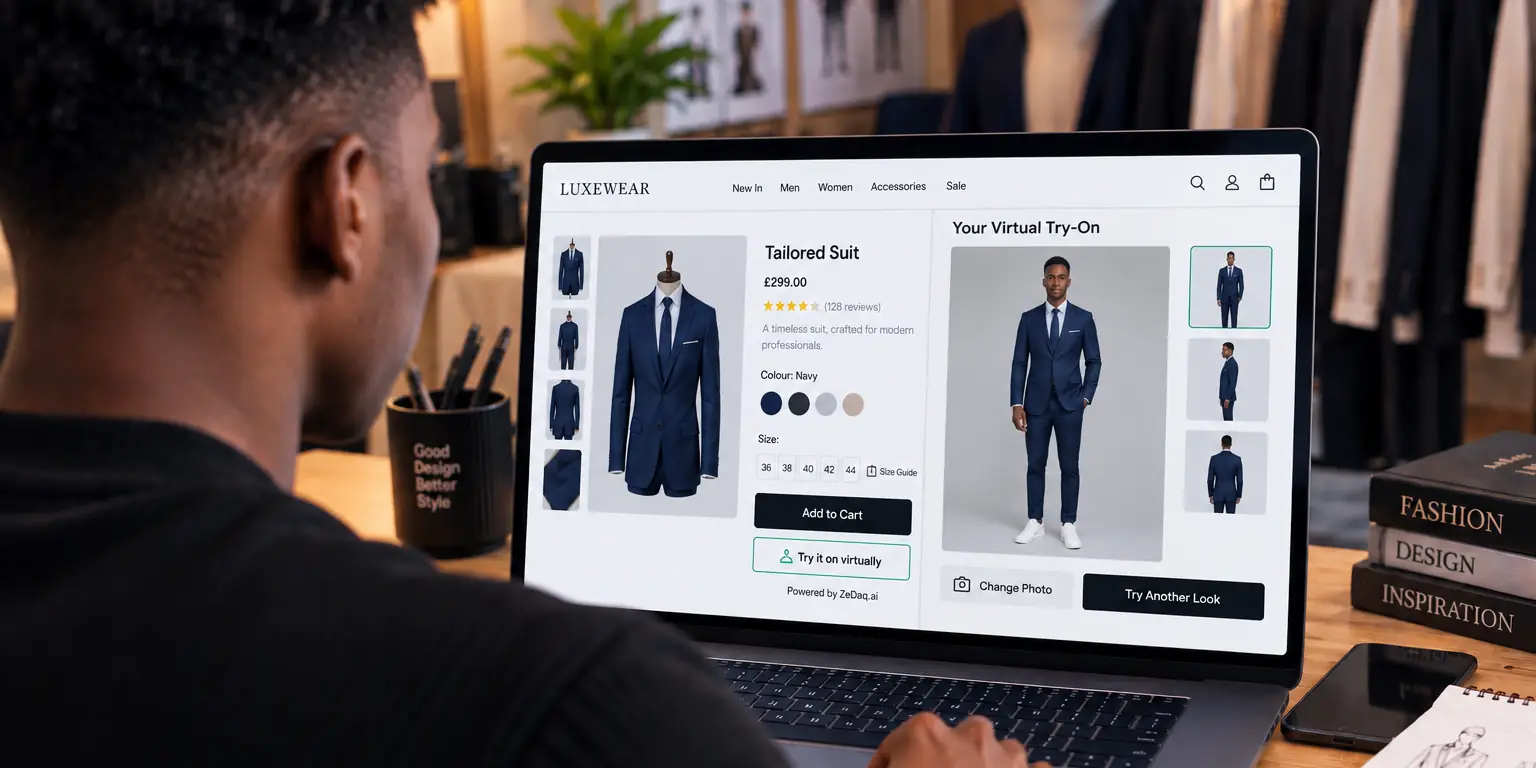
The shopper uploads a photo of themselves. Your product image is combined with it, and the shopper sees your actual garment on their body.
ZeDaq.ai is built for fashion stores. There is no separate app for shoppers: they use it on your own product page.
Try a top on yourself in the live demo
Try it on yourself
Live renderUpload a photo, pick a piece, see it rendered on you.
Pick something to try on
What makes shirts and blouses different from other garments?
Tops are worn close to the face and shoulders, so details matter. Shoppers look at:
- Neckline and collar: how a collar sits or a neckline falls.
- Sleeve length: whether cuffs reach the wrist.
- Hem length: tucked, untucked or cropped.
- Drape: how soft fabric hangs compared with a stiff cotton shirt.
- Pattern and color: whether stripes, florals or solid colors suit them.
A try-on helps with the look. For the fit itself, a size recommendation helps more.
How do you prepare your product images?
Image quality sets the result. Use these checks before you switch it on:
- Use a clear, front-facing photo of the blouse on a plain background.
- Show the full garment, including sleeves and hem.
- Avoid heavy shadows or props that cover the garment.
- Keep one main image for try-on, separate from lifestyle shots.
- Test the button and the result with your own product on a real page.
Run the same test on a few shirts, such as a white button-up, a patterned blouse and a dark top. Each one shows how your photos behave.
How do you add try-on to your store?
You have three routes, depending on your platform.
Shopify
Install the ZeDaq.ai Shopify app, add your size chart, and turn on the app embed in the Theme Editor. Set the garment type to upper body for shirts and blouses.
WooCommerce, Wix, Squarespace, BigCommerce or a custom site
Paste the script-tag widget into your product template, with a key locked to your domain. It adds "Try it on" and "Find my size" buttons. If you use BigCommerce, see the notes on virtual try-on on BigCommerce.
REST API
Developers can call POST /api/v1/tryon with an x-api-key header and build their own interface.
How does size recommendation work with blouses?
A blouse in the wrong size looks wrong even with a good try-on. ZeDaq.ai also recommends a size from a 30-second body scan, which uses one photo plus height.
Merchants enter their own size chart under Size charts in the Dashboard, or in the Shopify app, with one chart per garment type. The scan then recommends your own labels, and sizes up to the largest relevant measurement.
For a tops chart, chest is usually the key measurement. The guide to size recommendation setup explains which columns to prepare.
How do you roll try-on out across your shirts?
Which shirts should come first?
You do not need to enable every product at once. Start where the shopper's doubt is highest.
- Best sellers: the pages that already get the most visits give you data fastest.
- Colors that are hard to judge: pastels, whites and prints that look different on different skin tones.
- Statement styles: puff sleeves, wrap fronts and oversized shapes, where shoppers want to see the shape on a body.
- Premium pieces: higher-priced shirts, where a wrong choice costs the shopper more.
Leave out products with poor images until you have reshot them. A weak photo gives a weak result.
How do you write the product page around try-on?
The button works best with clear surrounding information. Place "Try it on" near the size picker, and keep the fit note close by.
Write one line on how the shirt is cut, such as "relaxed fit, falls at the hip." Add the fabric and whether it has stretch. If a blouse is sheer or lightly lined, say so in words, since a rendered image should not be your only source of that detail.
Name the model's size and height in your photos. This gives shoppers a second reference point next to their own try-on.
How do you read the results?
After launch, look at what shoppers actually do, not at what you hoped. Watch which products get try-on use, and compare that with your questions from customers and your own returns notes.
If one blouse draws many tries but few sales, look at the page. The price, the fabric description or the size range may be the problem, not the try-on. If a style is rarely tried, move the button closer to the size picker or test a clearer image.
Change one thing at a time, and write down the date. That way you know which change helped.
Ask customers directly, too. A short note in the order confirmation email asking how they chose their size gives you useful feedback in their own words. Those answers often point to a missing detail, such as sleeve length or fabric weight, that you can add to the product page.
What should you test before launch?
Work through a launch list, and keep it short:
- Does the try-on button show on every shirt page?
- Does the garment type match each product?
- Do the sizes it recommends match what your team would say?
- Does it work on a phone, in good and poor light?
A longer list is in the virtual try-on launch checklist for fashion brands.
If your shirts are printed tees, see try-on for graphic t-shirts.
What does it cost?
ZeDaq.ai has a Free plan at $0 with 3 try-ons, 3 measurements and 5 invoices a month. Paid plans are Micro at $14 a month, Starter at $49, Growth at $129 and Scale at $299. Each paid plan has a 3-day free trial with no card required. Check the live pricing page for details.
Try a blouse on yourself
FAQs
Can shoppers try on a blouse without an account?
Shoppers use try-on on your own product page by uploading one photo. They do not need to download an app.
Which garment type should I choose for shirts?
Choose upper body for shirts and blouses. Dresses and bottoms have their own settings.
Does it replace a size chart?
No. It uses your size chart to recommend a size. A good chart is still the base.
Does it work for eyewear or other items?
ZeDaq.ai also offers live-camera eyewear try-on, which is separate from clothing try-on.
Try ZeDaq.ai free
Virtual try-on and Find my size for your store, plus client, order and invoicing tools for tailors, in one subscription.

