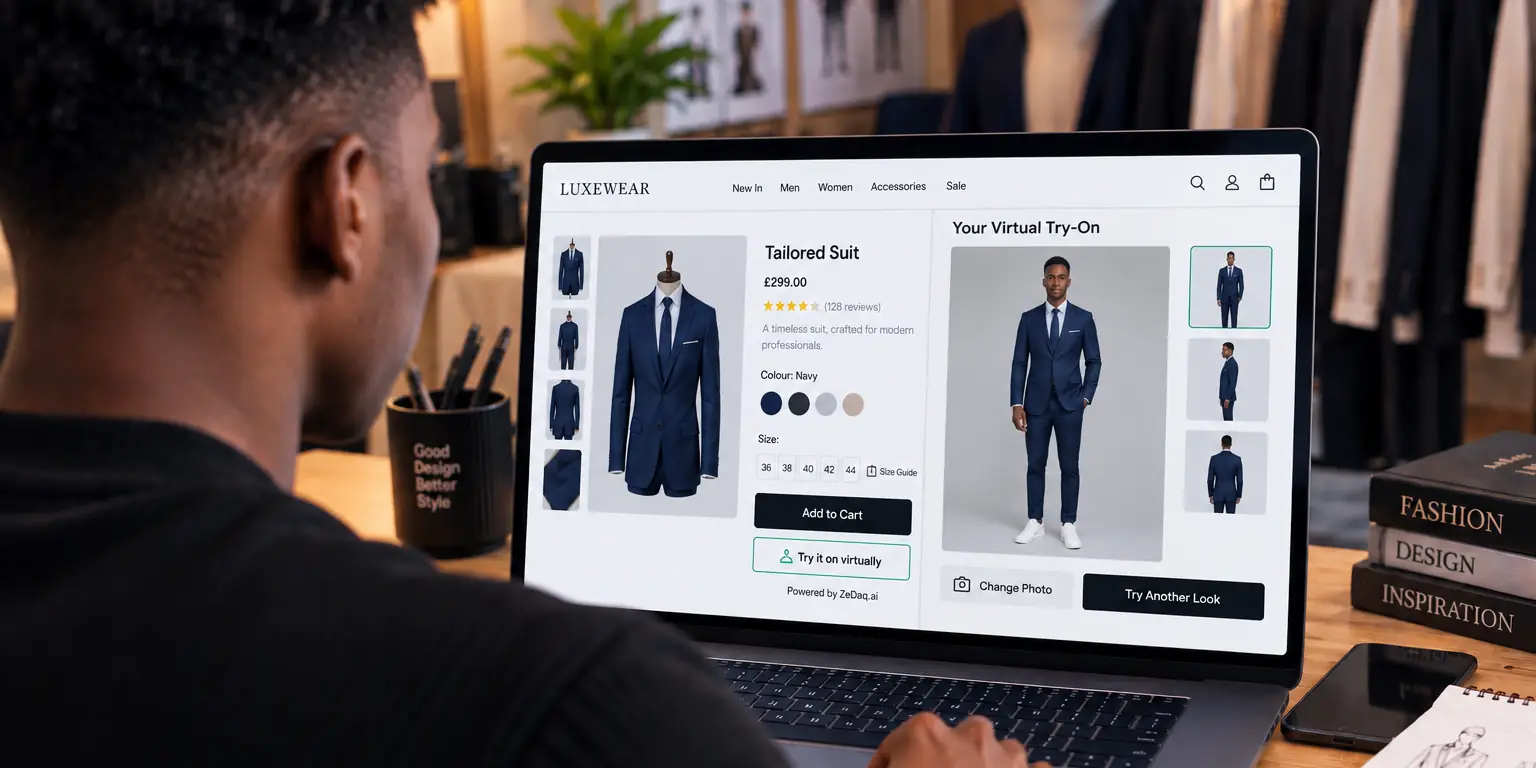
Virtual Try-On for Graphic T-Shirts and Print Tees
By the ZeDaq.ai team · · 6 min read
On this page
- Why do graphic tees need their own approach?
- What does virtual try-on do for a tee?
- How should you test a print tee?
- Does a print tee need a different size chart?
- How do you add it to your store?
- What does it cost?
- What are the common print placements to test?
- How should you handle fit notes for different tee cuts?
- How do you prepare your product photos?
- How do you explain the feature to shoppers?
Virtual try-on lets a shopper upload one photo and see your real t-shirt on their body, and a size scan suggests a size from your own chart. For graphic tees, the main thing to test is how your print looks, since the design is why people buy.
This guide is for t-shirt brands and print shops. If you want the basics first, read about a virtual fitting room for clothing websites. Below we focus on prints, fit and the testing steps that matter for tees.
Why do graphic tees need their own approach?
A plain tee is mostly about fit. A graphic tee is about the design as well. Shoppers want to know:
- Where the print sits on the chest or back.
- How big it looks on their body, not on a flat mockup.
- What the cut is like, such as boxy, fitted or oversized.
- Whether the color matches what they saw on screen.
A flat mockup answers few of these. A try-on on the shopper's own photo goes further, because the print appears on their body.
What does virtual try-on do for a tee?
ZeDaq.ai shows the store's real garment on the shopper's body from a single uploaded photo. The garment image comes from your product listing, so the quality of your product photo affects what shoppers see.
It also includes size recommendation. A 30-second body scan (one photo plus height) is matched to your own size chart. If you haven't added a chart, a generic UK/US/EU/AU chart is the fallback.
Try a t-shirt on a photo of yourself
Try it on yourself
Live renderUpload a photo, pick a piece, see it rendered on you.
Pick something to try on
How should you test a print tee?
Run a short, honest test before you add the feature to your store. For each design:
- Upload your product image into the demo.
- Check the print. Is it recognizable, correctly placed and the right color?
- Try a plain and a busy design. Small text and fine lines may behave differently from bold shapes.
- Try several body shapes, with permission from friends or colleagues.
- Compare with your product page. Does the result match what you would promise a customer?
Write down what works and what doesn't. Use your own judgment about whether the result is good enough for your brand. Our guide on what to upload to see the demo properly lists good test photos.
Does a print tee need a different size chart?
The cut matters more than the print. A boxy oversized tee and a slim tee should not share a chart.
Build your chart in body measurements, mainly chest. In ZeDaq.ai, merchants enter their own size guide in Dashboard → Size charts, or in the Shopify app, with one chart per garment type (tops, outerwear, dresses, bottoms). The scan recommends your own labels and sizes up to the largest relevant measurement.
Add a fit note to each product, such as "oversized, size down for a regular fit." For related garment types, see virtual try-on for shirts and blouses.
How do you add it to your store?
ZeDaq.ai is available in three ways:
- Shopify app. Install from the Shopify App Store.
- REST API. Use
POST /api/v1/tryonwith anx-api-keyheader. - Script-tag widget. Works on WooCommerce, Wix, Squarespace, BigCommerce and custom sites. You paste one script into the product template and lock the key to your domain.
If you run a BigCommerce store, see virtual try-on on BigCommerce for the options.
Developers who prefer to build their own pipeline should read build vs buy for virtual try-on first.
What does it cost?
The Free plan costs $0 and includes 3 try-ons, 3 measurements and 5 invoices a month, enough to test on a handful of designs. Paid plans are Micro at $14 a month, Starter at $49, Growth at $129 and Scale at $299. Every paid plan has a 3-day free trial with no card required.
Check the current pricing before you decide.
What are the common print placements to test?
Prints sit in different places, and each one asks a slightly different question of a try-on. Test the placements you actually sell:
| Placement | What to look for |
|---|---|
| Center chest | Is the graphic centered and the right size on the torso? |
| Small left-chest logo | Is a small mark still visible and in the right spot? |
| All-over print | Does the pattern stay consistent across the body and sleeves? |
| Back print | Does your product image show the back, and does your page show it too? |
| Sleeve or hem detail | Are small details visible, or do they disappear? |
This is a testing list, not a promise about any result. Run each placement through the demo and decide for yourself where the feature works well enough for your range.
How should you handle fit notes for different tee cuts?
Tees come in many cuts, and shoppers often have strong preferences. Describe the cut in the same words everywhere on your site.
- Regular or classic: straight through the body, true to the size chart.
- Boxy or oversized: wider and often shorter, designed to be worn loose.
- Fitted or slim: closer to the body, with less room in the chest and waist.
- Cropped: shorter hem, so check length as well as width.
If you sell the same design in several cuts, give each cut its own product or garment type, so the size recommendation reflects the way it is made. A shopper who wants a loose fit can then be told so in plain words, rather than guessing from a label.
How do you prepare your product photos?
Use clear, evenly lit images with accurate color. Show the whole tee, including the sleeves and hem.
Avoid heavy filters or shadows over the print. Then test the same design with two different photos and keep the better one.
Keep the page itself honest. Add a close-up of the print, the fabric weight if you know it, and any care notes. Shoppers who see the real details are less likely to be surprised on delivery.
See your own tees on a real photo
How do you explain the feature to shoppers?
Tell shoppers what they will get before they upload a photo. A short line near the button works well: "Upload one photo to see this tee on you and get a size suggestion."
Also set expectations. The image is a preview of how the garment looks on their body, not a guarantee of how the fabric feels. Pair it with your usual fabric and care notes.
FAQs
Will the print look exactly like it does on the product photo?
Test it with your own designs in the demo and judge the result. The garment image you provide is the source.
Does it work for oversized tees?
Try one and see. Add a clear fit note and a chart built for the cut so shoppers know what to expect.
Do shoppers need an account or an app?
No. They use it on your store's own site by uploading a photo.
Can I use it with print-on-demand products?
You need a garment image for each product, which most stores already have. Test a few designs to check the result before you roll it out.
Try ZeDaq.ai free
Virtual try-on and Find my size for your store, plus client, order and invoicing tools for tailors, in one subscription.

