How Virtual Try-On Supports Size-Inclusive Ranges Without Extra Photoshoots
By the ZeDaq.ai team · · 4 min read
On this page
- Why do size-inclusive ranges need so many photos?
- What does virtual try-on change for the shopper?
- What do you still need to photograph?
- Can virtual try-on replace models completely?
- How does size advice fit in?
- How do you describe inclusive sizing honestly?
- How do you plan a mixed approach on a small budget?
- What should you test before launch?
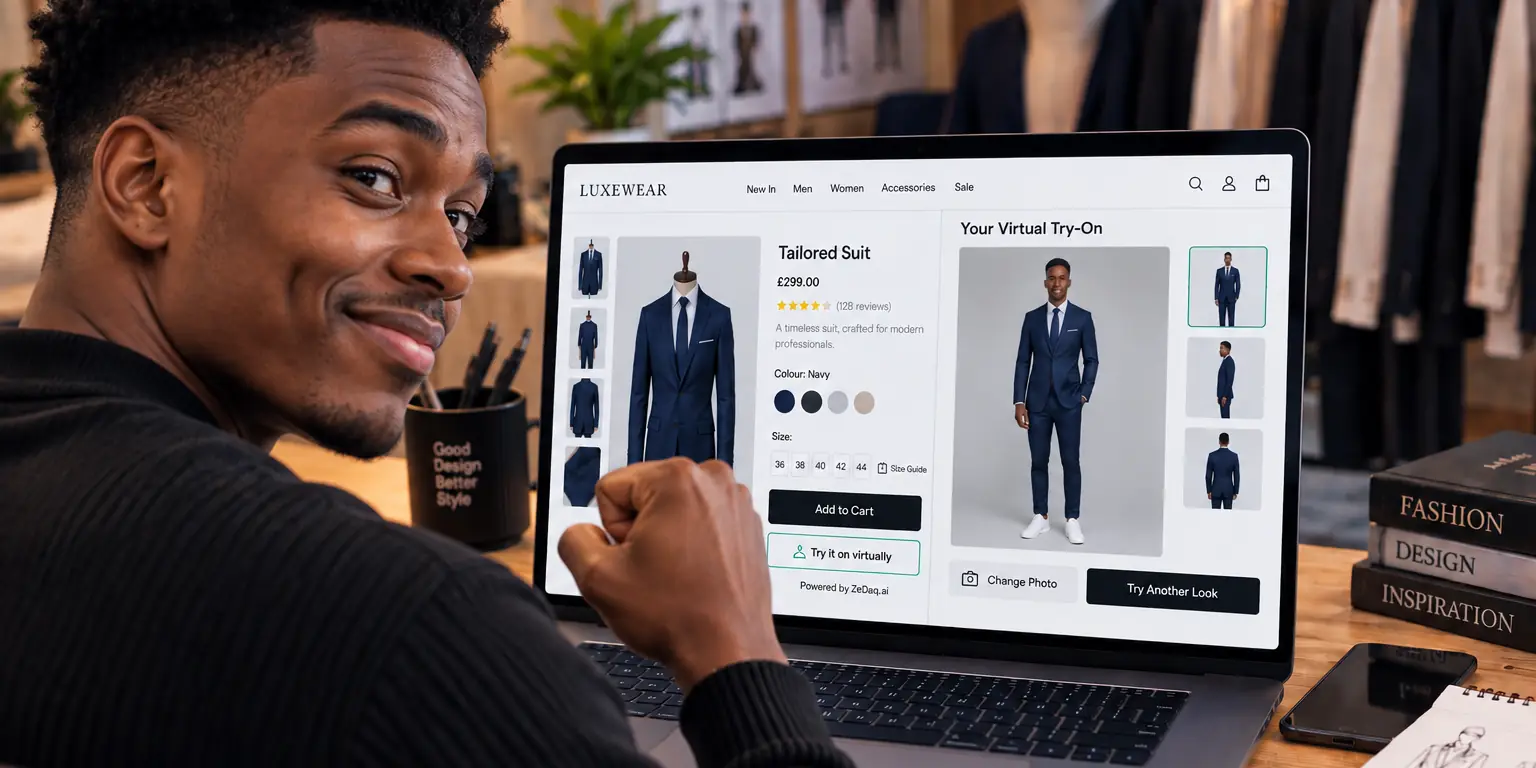
Virtual try-on supports size-inclusive ranges by showing your real garment on each shopper's own photo, so you do not have to shoot every style on models in every size. The shopper sees the item on a body like theirs, and your studio shoot stays the same.
This does not replace good product photos. You still need clear images of the garment. What changes is that the shopper no longer has to guess how it will look on them. The wider idea is covered in the guide to a virtual fitting room for clothing websites.
Why do size-inclusive ranges need so many photos?
If you sell a style from small to extended sizes, shoppers want to see it on a body near their own. A single model in one size cannot answer that for everyone.
Shooting more sizes adds work: more models, more fittings, more editing and more time on set. Many small brands can only afford a few looks, so extended sizes often get fewer images than the rest of the range.
Costs differ by studio, city and usage rights, so get quotes from photographers instead of relying on a general number.
What does virtual try-on change for the shopper?
With ZeDaq.ai, the shopper uploads one photo and sees your store's real garment on their body. They do not need an account or an app. The experience runs on your store's own product page.
For a shopper in an extended size, this answers a question a studio photo cannot: how will this look on me?
Try a garment on your own photo
Try it on yourself
Live renderUpload a photo, pick a piece, see it rendered on you.
Pick something to try on
What do you still need to photograph?
You still need a clean image of each garment. Try-on works from your product images, so quality matters.
- Photograph each color you sell.
- Show the garment clearly, with the full shape visible.
- Keep lighting even and the background simple.
The guide to how try-on works with product variants and colorways explains how colors are handled. For details on image requirements, see what product images virtual try-on needs.
Can virtual try-on replace models completely?
No, and it should not be presented that way. Model photos still do other jobs: they set the mood of your brand, show movement and help with styling ideas.
A balanced approach works well:
- Shoot your hero looks on one or two models.
- Add a size-inclusive model for key styles if your budget allows.
- Let try-on cover the rest, so every shopper can check the fit on themselves.
How does size advice fit in?
Seeing a garment is one question. Choosing the right size is another. ZeDaq.ai also offers a size recommendation from a 30-second body scan, which matches measurements to your own size chart.
You may wonder whether you need both tools. The article on whether you need both virtual try-on and a size recommender compares them.
How do you describe inclusive sizing honestly?
Inclusive imagery only works if the sizes you list really fit. Check these before you promote the range:
- The size chart covers the full range you advertise.
- Measurements describe bodies, not only the garment.
- Fit notes are specific, such as "stretch fabric" or "no give at the bust".
- The sizes you advertise are stocked in real quantities.
A good chart supports every other tool. Read how to write size guides that actually reduce returns for a practical method.
How do you plan a mixed approach on a small budget?
Start with a short list instead of the whole catalog. Pick the styles that sell most, or the ones where shoppers ask the most fit questions.
A simple order of work looks like this:
- Choose five to ten styles that matter most.
- Check that each has a clear garment image in every color.
- Make sure the size chart for each covers your full range.
- Add try-on and sizing to those product pages first.
- Review shopper questions after a few weeks and extend to more styles.
This keeps spend low and shows you what works for your shoppers before you commit more budget.
What should you test before launch?
Run a short test with real people, not only staff. Ask a few friends or customers in different sizes to try three or four of your products.
Check whether the result looks natural, whether the colors are right and whether the size suggestion matches what they would wear. Fix the chart or the product image before you roll it out.
See a garment on your own photo
FAQs
Does virtual try-on remove the need for a photographer?
No. You still need good product images. Try-on reduces how many model shoots you need to show fit across sizes.
Can shoppers of any size use it?
Shoppers upload their own photo, so the result is based on their body. Results depend on a clear, full-length photo.
Do I need separate photos for each size?
No. Product images show the garment, and the shopper's own photo provides the body.
Is it a replacement for a size chart?
No. A clear size chart is still the foundation. Try-on and size recommendation work with it.
Try ZeDaq.ai free
Virtual try-on and Find my size for your store, plus client, order and invoicing tools for tailors, in one subscription.

