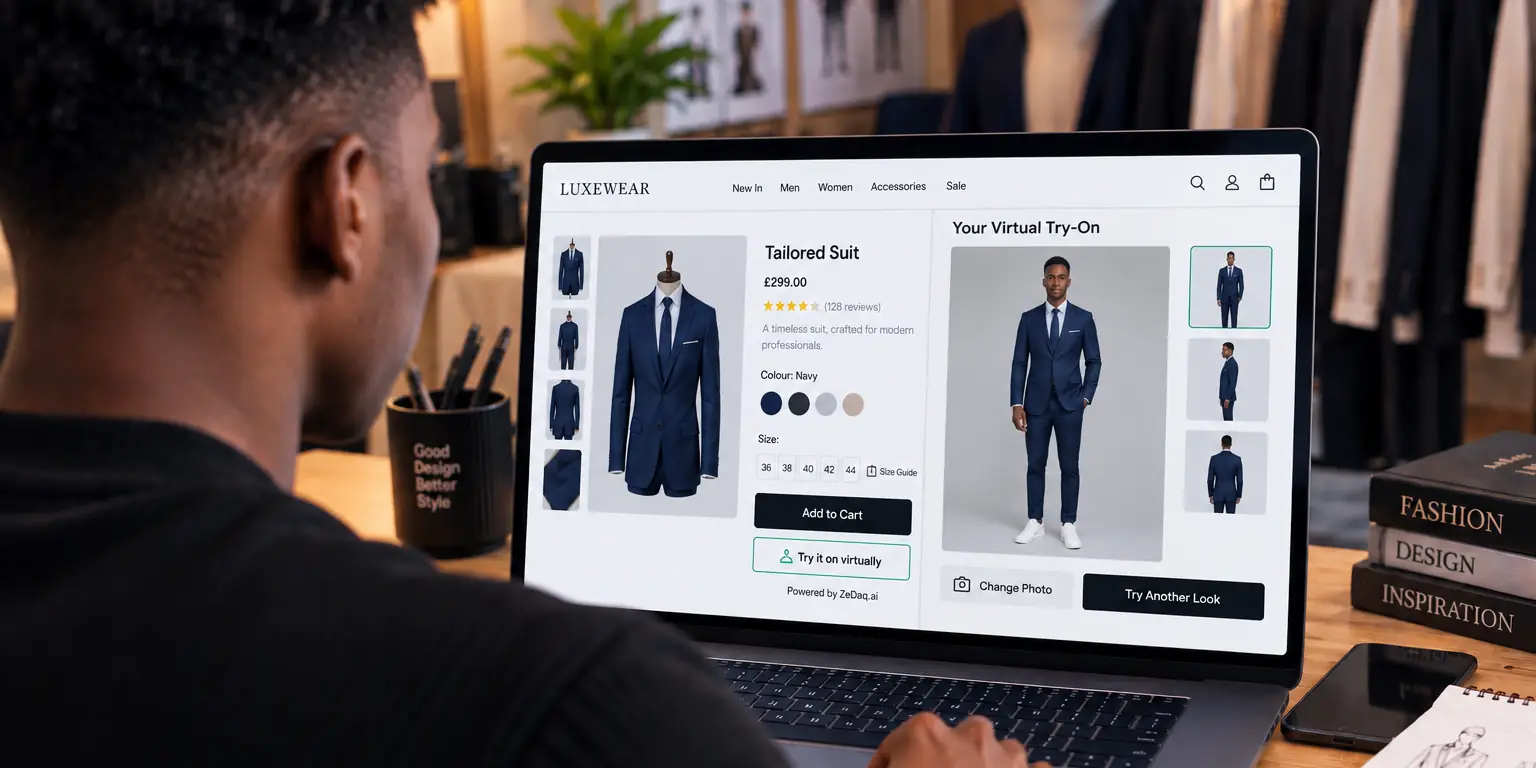
Flat Lay vs Model Shots: Which Images Give Better Try-On Results?
By the ZeDaq.ai team · · 7 min read
On this page
- What counts as a flat lay, a model shot and a ghost mannequin?
- What makes a garment image easy to use for try-on?
- What are the strengths and weaknesses of each format?
- How do you test which format works for your store?
- What is a worked example of scoring a test?
- How do you keep image files consistent?
- How should this change how you shoot new products?
- How does it work on stores that aren't on Shopify?
- What about the shopper's photo?
- How do you plan photography on a budget?
- What should you do with the results?
- Which should you choose?
Neither image type wins every time. A clean flat lay shows the whole garment without a body in the way, while an on-model shot shows how fabric drapes; the better choice depends on the garment, and the only reliable way to know is to test both on your own products.
We don't claim that either format scores higher in ZeDaq.ai. The API documentation only says to send the shopper's photo and your product image as JPEG or PNG, and says nothing on flat lay versus on-model shots. This guide gives you a fair way to compare, so you can decide from evidence. It also fits with the wider picture in virtual fitting rooms for clothing websites.
What counts as a flat lay, a model shot and a ghost mannequin?
- Flat lay: the garment laid flat and shot from above or straight on, usually on a plain background.
- On-model shot: the garment worn by a person, often in a studio or on location.
- Ghost mannequin: the garment photographed on a mannequin, with the mannequin edited out so the garment holds its shape.
Each captures a different thing. A flat lay shows the shape and details clearly. A model shot shows scale and drape. A ghost mannequin sits between them.
What makes a garment image easy to use for try-on?
The try-on has to understand what the garment looks like. Features that help, in principle:
- The whole garment is in frame, with nothing cropped.
- The garment is the main subject.
- Colors are accurate.
- The background is simple.
- The image is sharp and well lit.
These are general photography principles, not ZeDaq.ai requirements. For what the product documentation does and doesn't say, see the guide on product images for virtual try-on.
What are the strengths and weaknesses of each format?
| Format | Strengths | Weaknesses |
|---|---|---|
| Flat lay | Whole garment visible, simple background, cheap to shoot | Can look stiff, shows no drape, wrinkles show |
| On-model | Shows drape and scale, matches how shoppers see it | A body or pose can hide parts of the garment; layers may overlap |
| Ghost mannequin | Shape without a body, tidy look | Takes editing time, may look unnatural |
This table reflects general photography practice rather than measured try-on results.
Where flat lays may help
A flat lay removes distractions. Tees, hoodies and simple dresses often photograph well this way. Prints and logos are easy to see.
Where on-model shots may help
Garments that rely on drape, such as flowing dresses, are easier to judge when worn. A model shot also shows how long a hem falls.
Where each can struggle
Heavy layering in an on-model shot can make it hard to separate the garment from what it's worn with. A flat lay of a very structured item may hide its three-dimensional shape.
How do you test which format works for your store?
Run a small, fair test instead of guessing.
- Pick five to ten products across your main garment types.
- Prepare both formats for each product, with the same color and lighting.
- Use the same shopper photos for each run. Pick a few that differ in pose and body shape.
- Run the try-on for each image. Save the results side by side.
- Score each result on a checklist: garment color right, print right, shape right, length plausible, no missing parts.
- Compare by garment type, not just overall.
- Choose one standard for each type and write it into your photo guide.
You can try the shopper side yourself on the live demo.
Try a garment on yourself
Try it on yourself
Live renderUpload a photo, pick a piece, see it rendered on you.
Pick something to try on
What should your checklist look like?
- Does the garment keep its true color?
- Are logos and prints legible?
- Is the neckline, sleeve and hem correct?
- Does the result look like the same product?
- Does anything from the original photo (a model's hair or hands) leak in?
Keep notes. They become your style guide.
What is a worked example of scoring a test?
The scores below are made up to show the method. They are not results from ZeDaq.ai or any study. Say you test a linen shirt, a printed dress and a hoodie, each in two formats, and score every result from 0 to 5 on the checklist above.
| Product | Flat lay score | On-model score | What you note |
|---|---|---|---|
| Linen shirt | 4 | 4 | No clear difference, keep the cheaper format |
| Printed dress | 3 | 5 | Print and length clearer when worn |
| Hoodie | 5 | 3 | Hood and pocket clearer when flat |
In this invented example, you would standardize on on-model shots for dresses, flat lays for hoodies and either for shirts. Your own scores will differ.
How many shopper photos should you use?
Use at least three that differ in pose and body shape, so one lucky photo does not decide the result. Repeat the run if something looks off, because one odd result may come from the photo and not the product image.
What should you record?
Write down the date, the product, the image used, the shopper photo and your score. When you change anything about your photography, repeat a small part of the test.
How do you keep image files consistent?
Consistency saves effort over time. A few habits help:
- Use one background color per format.
- Shoot at the same distance and angle.
- Use the same lighting setup.
- Name files clearly, such as
product-name-flat.jpgandproduct-name-model.jpg. - Keep an unedited original of each file.
The docs mention JPEG or PNG, so export in one of those.
How should this change how you shoot new products?
If you shoot new stock, capture a clean version of each garment in addition to your usual lifestyle shots. That gives you an option without a reshoot. A simple plan:
- One clear front image with the whole garment visible
- Optional back image
- Lifestyle images for the product page
Then follow the product page checklist for fashion stores for fit notes and photo order. For background on how this technology generates images, see what diffusion-based virtual try-on is.
How does it work on stores that aren't on Shopify?
On Shopify, ZeDaq.ai is a Shopify app. On other platforms, a script-tag widget works on WooCommerce, Wix, Squarespace, BigCommerce and custom sites. Paste <script src="https://www.zedaq.ai/widget/zedaq.js" data-key="…" defer> into the product template, with the key locked to your domain. The article on virtual try-on for WooCommerce covers that setup.
What about the shopper's photo?
The result also depends on the shopper's own photo. The docs give a rough size for a full-length photo and say JPEG or PNG work. Encouraging a clear, full-length photo with good light on your product page is a simple way to help.
How do you plan photography on a budget?
Flat lays are usually cheaper because they need no model or studio day, while on-model work adds model, styling and retouching time. If budget is tight, shoot flat lays for every product first, then add on-model shots for your best sellers and garments where drape matters.
Review your catalog by garment type and decide where each format is worth the cost. A plain tee may not need a model shot for try-on, while a flowing dress might.
What should you do with the results?
Turn your test into a short internal guide your photographer or team can follow. Include the preferred format per garment type, an example of a good image, and a list of things to avoid, such as cropped hems or heavy shadows.
Share it with anyone who uploads products. A guide is only useful if the people shooting and uploading stock can find it. Revisit it when you launch a new category, such as outerwear or swimwear, since those may behave differently from your first test.
If you sell in several colors, test one color per product first, then check the others quickly. Colors with strong contrast against the background, such as white on white, deserve a closer look.
Which should you choose?
Start with whatever clean, whole-garment image you already have. Test the other format on a few products. If there's no clear difference, keep the cheaper one. If one wins for a garment type, standardize on it.
Keep a record of what you tested and when, since the tool may change. Don't treat a one-time test as a rule forever.
See how your garments look on a shopper
FAQs
Does ZeDaq.ai require flat lay images?
The documentation doesn't state a requirement for flat lay or on-model images. It says to send your product image as JPEG or PNG.
Do I need to reshoot my catalog?
Not necessarily. Test with your existing images first and reshoot only the products where results are poor.
Is a ghost mannequin image better?
It might be for some garments, but we haven't measured it. Include it in your own test if you have the images.
Do prints and logos matter?
They are easy to check in your test. Look at whether they stay legible in the result.
Can I use the same image for the product page and for try-on?
You can, but you may prefer a cleaner image for try-on. Your test will show whether it matters.
Try ZeDaq.ai free
Virtual try-on and Find my size for your store, plus client, order and invoicing tools for tailors, in one subscription.

