Does Virtual Try-On Work for Every Skin Tone and Body Type?
By the ZeDaq.ai team · · 4 min read
On this page
- What does "works for every body" actually mean?
- Why can AI try-on struggle with some bodies and skin tones?
- How do you test try-on on a range of shoppers?
- What does the garment image have to do with it?
- Is size recommendation different from the picture?
- How should you set expectations with shoppers?
- What should you do if a result looks off?
Virtual try-on can work well across skin tones and body types, but no AI tool is guaranteed to be perfect for everyone. Results depend on the quality of the shopper's photo, the garment image and how the tool handles unusual poses and proportions.
So the honest answer for a store owner is to test it on your own range of people before you rely on it. This guide shows how, and how to read the results. It builds on our overview of a virtual fitting room for clothing websites.
What does "works for every body" actually mean?
It means three separate things, and each can fail on its own:
- The garment looks right on the body. Fabric sits, folds and fits in a believable way.
- Skin tone and features stay true. The result should look like the same person, not a lighter, darker or smoothed version.
- Size guidance matches the shopper. The suggested size should come from real measurements, not a typical body shape.
A tool can do well at one and poorly at another. Check them one at a time.
Why can AI try-on struggle with some bodies and skin tones?
AI models learn from the images they were trained on. If some body shapes, skin tones or clothing styles appear less often in training data, results for those groups can be weaker. This is a known issue across AI image tools, not just fashion.
Other causes are simpler and fixable:
- Poor lighting that hides contours or shifts color.
- Loose or dark clothing in the shopper's own photo, which hides body shape.
- Cropped photos, or poses where arms cover the torso.
That is why photo guidance matters. Our guide on what photo works best for virtual try-on covers it in detail.
Test it on your own photo
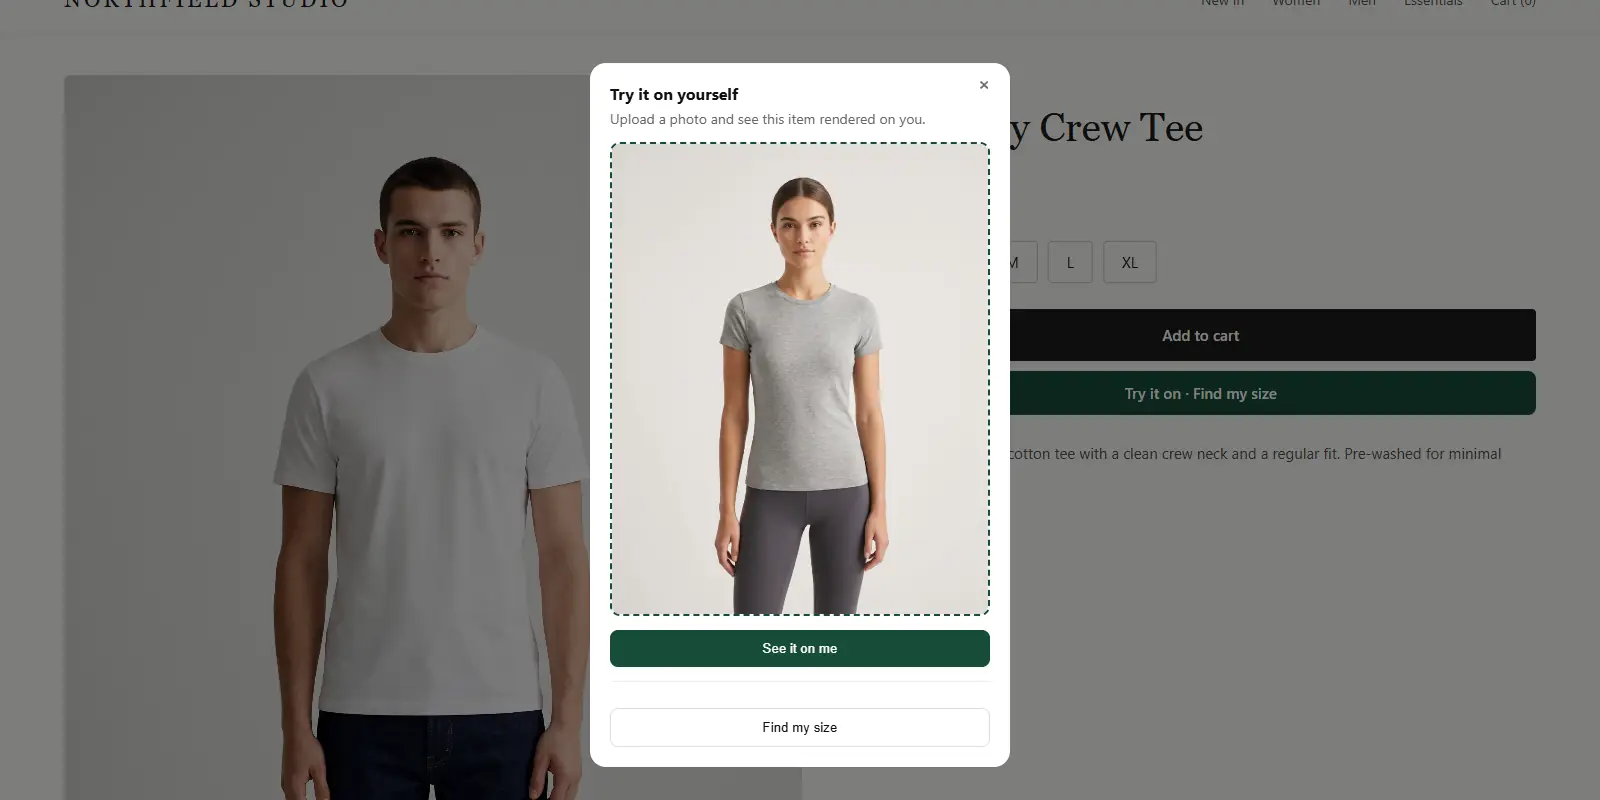
Try it on yourself
Live renderUpload a photo, pick a piece, see it rendered on you.
Pick something to try on
How do you test try-on on a range of shoppers?
Run a small, honest test before you add try-on to your store. You do not need a lab.
- Gather different people. Ask staff, friends or models of different skin tones, heights, ages and sizes. Get their permission first.
- Use the same garments. Pick a light item, a dark item and a patterned item.
- Use normal photos. Ask for full-length photos in everyday lighting, the kind a shopper would take at home.
- Compare side by side. Look at skin tone, hair, proportions and how the garment sits.
- Write down failures. Note which photo, which garment and what went wrong.
Run the demo yourself on the ZeDaq.ai live demo with a few people before you decide.
What does the garment image have to do with it?
A lot. The try-on shows your real garment on the shopper, so a clean product image gives a better result. A cluttered or heavily shadowed image makes the output less reliable on every body.
Use flat, even lighting and a clear background. See what product images virtual try-on needs for a checklist.
Is size recommendation different from the picture?
Yes. The picture is a visual preview. Size recommendation is a separate measurement step.
ZeDaq.ai estimates measurements from a 30-second body scan, one photo plus height, and matches them to your own size chart. If your chart only covers a narrow range, shoppers outside it will not get a useful result. Make sure your chart covers the full range of bodies you want to serve.
Fit across the range is also a chart issue, not only an AI issue. Our guide to virtual try-on for WooCommerce shows how the same size chart logic carries across platforms.
How should you set expectations with shoppers?
Be clear that try-on is a preview, not a promise. A short note near the button helps:
- Use a full-length photo in good light.
- Wear fitted clothing if possible.
- Treat the result as a guide, and check the size chart as well.
Say plainly what the tool does not do. Shoppers trust a store that is honest about limits.
What should you do if a result looks off?
Treat each failure as information, not a verdict. Check the simple causes first: the photo, the lighting and the garment image.
If the same problem repeats for one group of people or one type of garment, pause before you promote try-on for that range. You can still offer the size recommendation, or show try-on only on products where your tests looked good.
Keep a short log of your tests, with the date, the garment and what you saw. It gives you a record to compare against if you test again after changing your photos.
Test try-on on your own range of shoppers
FAQs
Does ZeDaq.ai work for all skin tones?
We cannot promise perfect results for every person. Test it with a range of people on your own garments, and judge the output yourself.
Do plus-size shoppers get accurate results?
Accuracy depends on the photo, the pose and your size chart. Make sure your chart includes the larger sizes you sell.
What if a result looks wrong?
Retake the photo in better light with a clear full-length pose. If the issue persists, note the garment and photo, and check whether the garment image is the cause.
Should I use model photos from many body types?
Yes. Showing your garments on different people helps all shoppers judge fit, whether or not you use try-on.
Try ZeDaq.ai free
Virtual try-on and Find my size for your store, plus client, order and invoicing tools for tailors, in one subscription.

