Can You Offer Try-On for Products With Only One Photo?
By the ZeDaq.ai team · · 4 min read
On this page
- Why does the product photo matter so much?
- What makes a single photo good enough?
- How do you test a single photo?
- When should you reshoot?
- How should you shoot the one photo if you can only take one?
- How can you build a better set of photos over time?
- What about products that sell as sets or variants?
- What should you tell shoppers about the result?
- What else should the product page include?
Yes, you can offer try-on for a product that has only one photo, as long as that photo is clear, well lit and shows the whole garment from the front. With ZeDaq.ai the try-on result is built from your product photo, so the quality of that one image matters more than how many you have.
This guide helps you decide whether your single photo is good enough. It applies to anyone adding a virtual fitting room to a clothing website, especially stores with thin catalogs.
Why does the product photo matter so much?
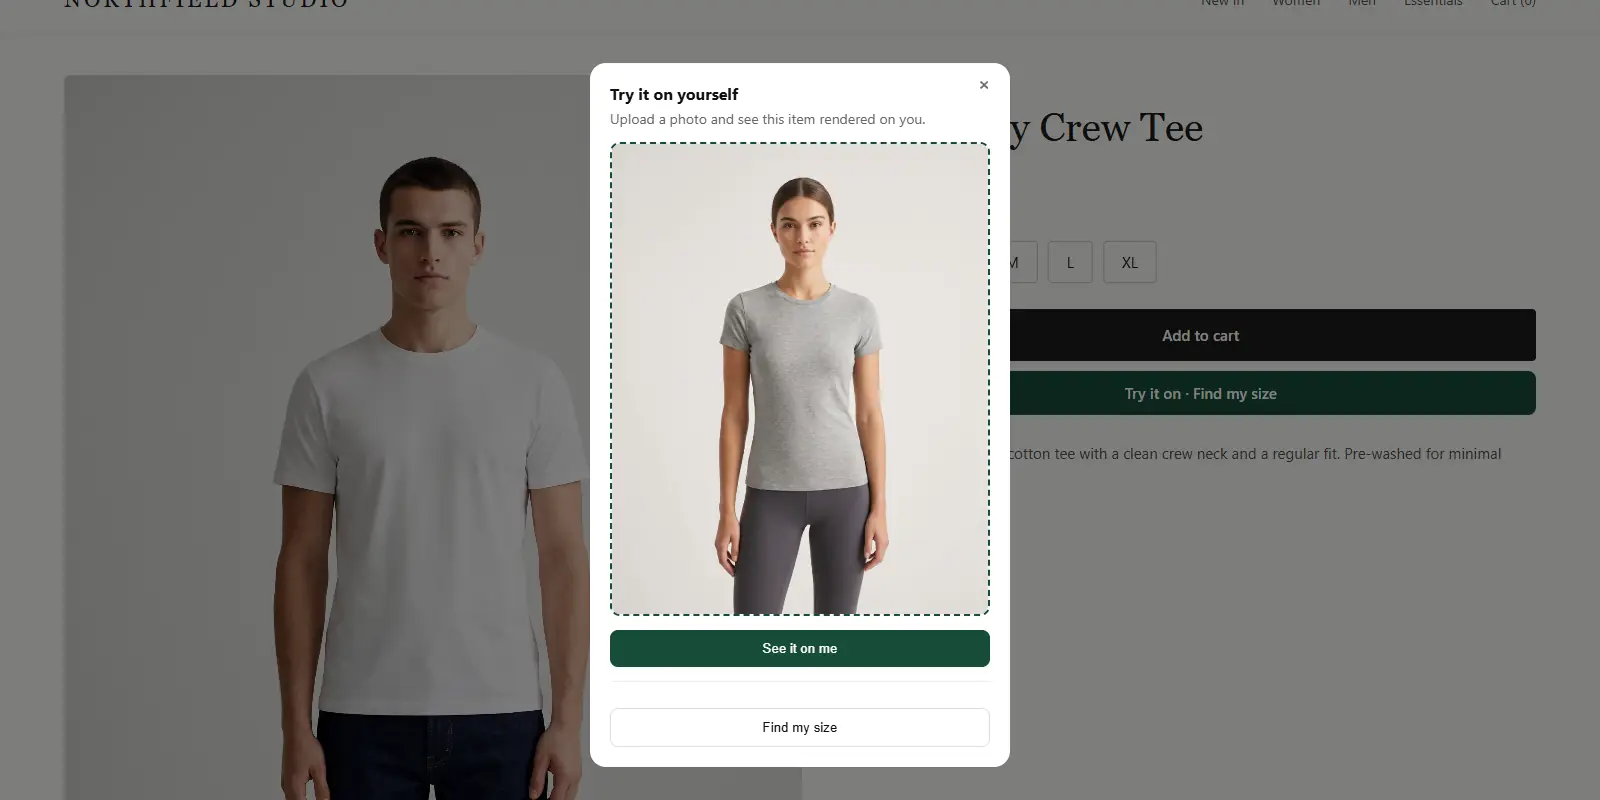
The shopper uploads a photo of themselves, and the tool places your garment on it. It can only work with what your photo shows. Dark, cropped or heavily filtered images give weaker results.
Extra photos still help the buyer read the page, for example a back view or a close-up of the cloth. They are not the same as the photo used for the try-on.
What makes a single photo good enough?
Check your image against this list:
- The whole garment is visible, with nothing cut off
- It is shot from the front
- Light is even, with no strong shadows
- Colors are true, with no filters
- The background is simple
- The garment is flat, on a stand or on a model with arms clear of the body
If it passes, test it before launching.
How do you test a single photo?
- Open the product page on your phone with try-on switched on.
- Upload a full-length photo of yourself.
- Compare the result with the real garment in your hands.
- Try a second person with a different body shape.
- Note anything off, such as color or length.
If the garment looks wrong, reshoot before you blame the tool. You can also try the live demo to see how a product looks.
When should you reshoot?
Reshoot if the photo has any of these problems:
- A busy background that blends with the garment
- A dark or shadowed image
- A pose that hides the front, such as arms crossed over the chest
- A model photo where the garment is bunched or cropped
- Heavy editing that changes the color
A new photo is often a quick fix, and it improves the page for every shopper.
How should you shoot the one photo if you can only take one?
If you are choosing a single image, pick the one that would help a shopper most. Follow these steps:
- Choose a front view. The shopper wants to see the garment as they would wear it.
- Use soft, even light. Window light or a shaded outdoor spot works well.
- Keep the full garment in frame. Leave a small margin on every side.
- Style it simply. Remove clutter, props and anything crossing the front.
- Check the color. Compare the photo to the real cloth in daylight and fix it if needed.
- Save the original. Keep an unedited copy, in case you need to redo the crop.
How can you build a better set of photos over time?
You do not need a full photo set before you start. Add images as you can:
- A back view, so shoppers know how the garment finishes
- A close-up of the cloth, trims and stitching
- A photo on a model, with their height and size noted
- A short video of the garment moving
Prioritize your best sellers. Their pages get the most visitors, so a better image there has the biggest effect.
What about products that sell as sets or variants?
Each color or style needs its own clear photo, so shoppers see the right garment. For pieces sold in several colors, check each color photo separately. Used and one-of-a-kind items are common one-photo cases, and our piece on vintage and secondhand stores looks at whether try-on suits them. Made-to-order sellers face a similar question in print-on-demand try-on.
What should you tell shoppers about the result?
Set expectations on the page. A short note such as "Try-on shows the garment on your photo, so the final fit and drape may differ" is honest and builds trust. Pair it with your size chart and fit notes, because try-on is a preview, not a promise.
What else should the product page include?
Even with try-on, give shoppers fit notes and a size chart. ZeDaq.ai also offers a size recommendation from a 30-second body scan, one photo plus height, matched to your own size chart. If you run WooCommerce, see virtual try-on for WooCommerce for setup.
The Free plan includes 3 try-ons a month, which is enough to test a single product.
Test a single product photo on yourself
Try it on yourself
Live renderUpload a photo, pick a piece, see it rendered on you.
Pick something to try on
See how your product looks on a real shopper
FAQs
Is one photo enough for every garment?
Not always. A clear front view works for many pieces, but test each product. Complex shapes may need a better photo.
Do I need a model in the photo?
No. A clear photo of the whole garment can work. Test your own images to see.
Does a second photo improve the try-on?
We do not claim that. Extra photos help shoppers read the page, so add them for that reason.
What if I only have supplier photos?
Check the quality and your right to use them. If they are low quality, take your own.
Try ZeDaq.ai free
Virtual try-on and Find my size for your store, plus client, order and invoicing tools for tailors, in one subscription.

