Why Shoppers Hesitate to Upload a Photo for Try-On
By the ZeDaq.ai team · · 4 min read
On this page
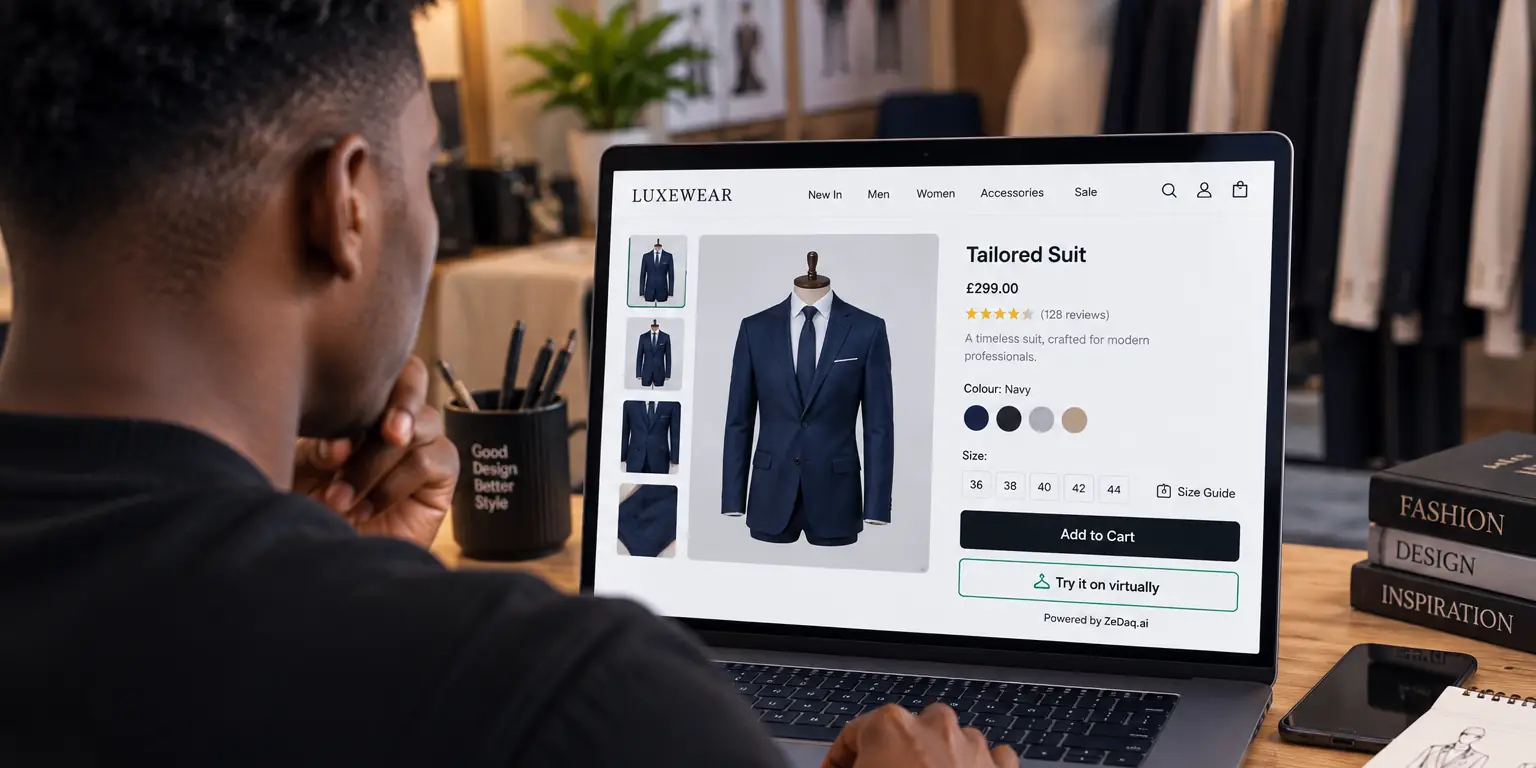
Shoppers hesitate to upload a photo for try-on mainly because they do not know where the photo goes and they are unsure what they will get back. You can reduce both worries with short, honest copy next to the button and a way to see what the feature does before uploading.
If you run a store, a virtual fitting room on your clothing website only helps when shoppers actually use it. This guide covers the common reasons they do not.
What are the main reasons shoppers hesitate?
Most hesitation falls into a few groups:
- Privacy. "Who sees my photo, and is it stored?"
- Body image. Some people feel uneasy seeing their body on screen.
- Effort. Finding a suitable full-length photo takes a moment.
- Doubt. "Will it look right, or silly?"
- Trust in the store. A new or unknown shop gets less trust.
None of these is a flaw in the shopper. They are reasonable questions to answer on the page.
How do you answer the privacy question?
Say in one or two plain sentences what happens to the photo. Only state what is true for your setup.
For ZeDaq.ai, sizing is analyzed in the shopper's browser and only measurements are sent. If the shopper runs a try-on, that photo is sent to render the image. Describe it this way, in your own words, and link to your privacy policy.
Avoid vague promises of perfect security. Say what you do, and what you do not do.
A short privacy note might read: "Your photo is used to show this garment on you. Read how we handle it in our privacy policy." Place it right above the upload button, where the question comes up, not only in the footer.
Also tell shoppers what they will see in return. A note such as "You will see this garment on your photo in a few moments" sets expectations and removes the fear of an unknown result.
How do you lower the effort?
Tell shoppers what photo works before they pick one. A short hint such as "a full-length photo, standing, facing the camera, in fitted clothes" saves a failed attempt.
The guide to what to upload to see try-on properly lists the details. Put the key points in the upload window.
How do you show the result before they commit?
Let people see the feature working first. A demo or an example result reduces doubt more than a description does.
See how it works before you upload
Try it on yourself
Live renderUpload a photo, pick a piece, see it rendered on you.
Pick something to try on
Keep the button label honest. "Try it on" tells the shopper what happens. Avoid pop-ups that block the page.
If you can, show a sample result image next to the button. It gives the shopper a picture of the outcome, so the upload feels like a small step rather than a leap. Keep the sample neutral and realistic, and do not present it as a result for a specific customer.
What about body image concerns?
Make the feature optional and let shoppers leave at any time. Use neutral wording, with no comments on the shopper's body. Show the garment clearly, since that is the point of the tool.
Also offer another way to choose a size, such as a clear size chart, so shoppers who skip the photo still get help.
Support staff can help too. Give your team a short answer to the three most common questions: what happens to the photo, what the shopper will see, and what to do if the result looks wrong. Consistent answers build trust, and repeated questions show where your page copy needs work.
Does the type of try-on matter?
Yes. Some shoppers prefer a live camera, and others prefer a single photo. The comparison of AR try-on and AI photo try-on shows the trade-offs. ZeDaq.ai offers photo-based try-on for clothing, and a live-camera try-on for eyewear.
What copy checklist should sit next to the button?
Review the area around your try-on button against this list:
- The button says what happens ("Try it on").
- One line explains what the photo is used for.
- A link leads to your privacy policy.
- A hint says which photo works best.
- The shopper can close the window at any time.
- A size chart is still visible for those who skip the photo.
Read it on a phone, since most shoppers see it there. If any line needs a second read, shorten it.
How do you check whether your changes help?
Look at how many shoppers open the try-on window and how many finish. Change one thing at a time, such as the privacy line, then watch the numbers. Do not compare against other stores' results, since stores differ.
If your store is not on Shopify, the widget works on other platforms; see virtual try-on for WooCommerce.
Let shoppers see the garment on themselves
FAQs
Should I ask shoppers to create an account first?
An account adds a step and a reason to leave. ZeDaq.ai needs no shopper account; the shopper uploads a photo on your product page.
Do I have to say how long a photo is kept?
If you know the answer, saying it builds trust. Check your setup and privacy policy, and state only what is accurate.
Will a bigger button get more uploads?
Not on its own. Clear wording and a short privacy note usually matter more than size.
What if shoppers still do not upload?
Keep alternatives available, such as size charts and a size recommendation. Not every shopper will want to upload a photo.
Try ZeDaq.ai free
Virtual try-on and Find my size for your store, plus client, order and invoicing tools for tailors, in one subscription.

