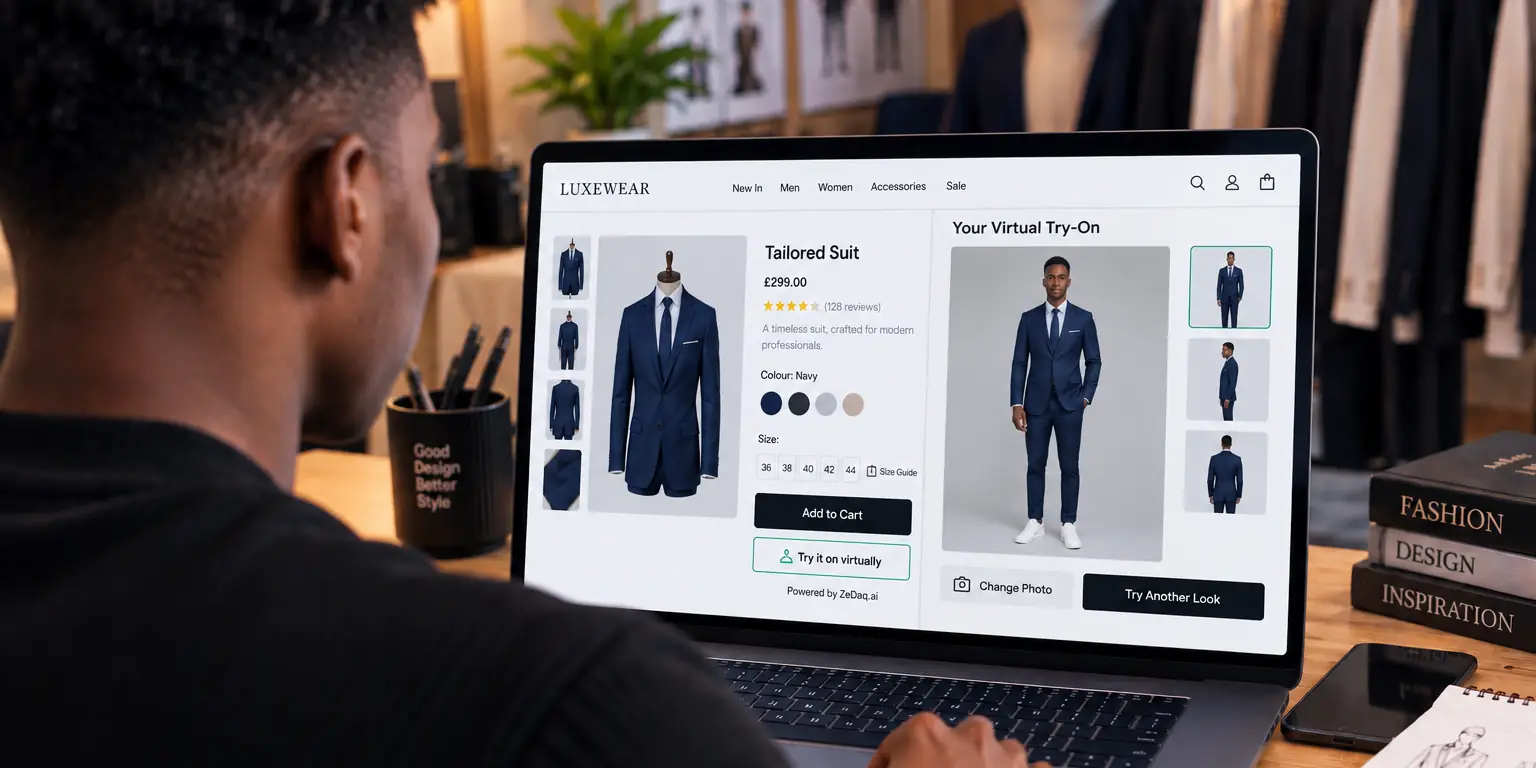
Virtual Try-On Without a Developer: What Store Owners Can Set Up Alone
By the ZeDaq.ai team · · 6 min read
On this page
- What does "no code" actually mean for try-on?
- Which platforms can you set up alone?
- How do you set it up on Shopify without help?
- How do you set it up on other platforms with one script tag?
- What might still need a developer?
- How do you check it works before shoppers see it?
- What does it cost to test it alone?
Most store owners can set up virtual try-on without a developer by installing an app or pasting one line of code into their product template. On Shopify that means an app install and a theme switch, and on most other platforms it means copying a single script tag.
This guide covers what you can do alone, where you might want help, and how to check your work before shoppers see it. If you are still deciding whether try-on fits your store at all, start with our overview of virtual fitting rooms for clothing websites.
What does "no code" actually mean for try-on?
No code means you never edit the logic that makes try-on work. You only switch it on and tell it where to appear.
There are three common levels of effort:
- App install. You click install, approve permissions and turn on a setting. No code at all.
- Copy and paste. You paste a short snippet into your site's product template. You don't need to understand it, only where it goes.
- Custom build. A developer calls an API from your own app or site. This is the only route that needs real programming.
For a single online store, the first two cover almost every case. If you want a refresher on how try-on works from the shopper's side, read what virtual try-on is for fashion retailers.
See what your shoppers would see
Try it on yourself
Live renderUpload a photo, pick a piece, see it rendered on you.
Pick something to try on
Which platforms can you set up alone?
It depends on how your store is built. This table shows the route for each common platform with ZeDaq.ai.
| Platform | Setup route | Code needed |
|---|---|---|
| Shopify | Install the app from the Shopify App Store | None |
| WooCommerce | Paste a script tag into the product template | One line, copied |
| Wix | Paste a script tag into the product page | One line, copied |
| Squarespace | Paste a script tag into the product page | One line, copied |
| BigCommerce | Paste a script tag into the product template | One line, copied |
| Custom site | Paste a script tag, or call the REST API | One line, or a developer for the API |
The script tag adds two buttons to your product pages: "Try it on" and "Find my size". There is no separate plugin to install on WooCommerce or Wix. You paste the same tag on every platform.
How do you set it up on Shopify without help?
Shopify is the simplest route because everything happens inside your admin.
- Install ZeDaq.ai from the Shopify App Store and approve the permissions.
- Open the app and add a size chart for each garment type you sell: tops, outerwear, dresses and bottoms.
- Go to Online Store → Themes → Customize, open App embeds and switch the embed on.
- Save, then open a product page on your phone and run a try-on yourself.
The full walkthrough, with screenshots of each step, is in our guide on adding virtual try-on to Shopify.
How do you set it up on other platforms with one script tag?
On WooCommerce, Wix, Squarespace, BigCommerce or a custom site, you paste a script tag. Here is the whole process.
Step 1: Create an API key
Sign up, then open Dashboard → API keys and create a key. Lock the key to your store's domain. This stops anyone from copying your key onto another website.
Step 2: Paste the tag into your product template
Copy this line and replace the key with your own:
<script src="https://www.zedaq.ai/widget/zedaq.js" data-key="YOUR_KEY" defer></script>
Most platforms have a place for custom code in the theme or page settings. Put the tag in the template used by product pages, so it loads on every product.
Step 3: Add your size charts
Open Dashboard → Size charts and enter your own size guide, one chart per garment type. If you skip this, shoppers still get a size from a generic UK, US, EU or AU chart, but it won't use your brand's labels.
Step 4: Test on a real product
Open a product page on your phone. Tap "Try it on", upload a full-length photo and check the result. Then tap "Find my size", enter your height and see which label it suggests.
Setup details for each option are in the widget documentation.
What might still need a developer?
A few things go beyond copy and paste. You may want help if:
- Your theme hides custom code. Some locked-down themes or page builders don't let you add a script to product templates.
- You want try-on inside your own mobile app. That uses the REST API (
POST /api/v1/tryonwith anx-api-keyheader), which needs code. - You want custom placement or styling. Moving buttons to an unusual spot may need a small template edit.
- Your site uses a headless setup. If your storefront is a separate app, someone needs to add the tag in that codebase.
Even then, the work is usually small. A freelancer can often add one script tag in an hour or two.
How do you check it works before shoppers see it?
Run through this checklist on your phone, since most fashion shoppers browse on mobile.
- The "Try it on" button shows on every product you want, and not on items it doesn't suit.
- A try-on with your own photo shows the real garment, not a placeholder.
- "Find my size" suggests the label you would pick in a fitting room.
- Each garment type uses its own chart, so a dress isn't sized from a tops chart.
- The page still loads quickly with the widget on.
- Your API key is locked to your domain.
Ask one or two friends with different body types to test too. Their results will show you whether your size chart ranges have gaps.
What does it cost to test it alone?
You can test at no cost. The Free plan is $0 and includes 3 try-ons, 3 measurements and 5 invoices a month, which is enough to check setup on a few products.
When you are ready to go live, paid plans are Micro at $14 a month, Starter at $49, Growth at $129 and Scale at $299. Every paid plan has a 3-day free trial with no card required. See the current plans and limits for details.
Before you buy any try-on tool, set your expectations about what it can change. Our guide to how try-on affects clothing returns explains what the research says and what to measure.
Set up try-on yourself this afternoon
FAQs
Can I add virtual try-on to WooCommerce without a plugin?
Yes. You paste one script tag into your product template. There is no separate WooCommerce plugin to install or update.
Do shoppers need to download anything?
No. Shoppers use try-on on your own product pages. They upload one photo in the browser and see your garment on their body.
What happens if I make a mistake in the script tag?
The buttons simply won't appear. Check that the key matches the one in your dashboard and that it is locked to the right domain.
Can I turn try-on off for some products?
On Shopify, you control it through the app embed and its settings. On other platforms, only load the tag on the templates you want.
How long does setup take?
Most of the time goes into entering your size charts. The install or paste step itself takes a few minutes.
Try ZeDaq.ai free
Virtual try-on and Find my size for your store, plus client, order and invoicing tools for tailors, in one subscription.

