
Training Apprentices in a Tailoring Shop
By the ZeDaq.ai team · · 4 min read
On this page
- What should an apprentice learn first?
- What does a stage-by-stage plan look like?
- How do you teach measuring?
- How do you give useful feedback?
- Should you use a written agreement?
- What does a first week look like?
- How do you keep a training log?
- How do you decide when an apprentice is ready?
- How can software help the training?
Tailoring apprentice training works best in stages: shop safety and tools first, then hand stitches, simple garments, measuring, and finally fittings and client contact. Move an apprentice on only when they can repeat the current stage without help.
This guide is for shop owners who take on apprentices. It works alongside managing staff in a tailoring shop, and the ZeDaq tailor tools can keep their orders and measurements organized.
What should an apprentice learn first?
Start with the basics that keep them and your clients safe.
- How to use scissors, needles, pins and the machine without injury.
- How to read a tape measure in the units you use.
- How to keep the workspace clean and tools in their place.
- Basic fabric types and what each is used for.
Spend real time here. Rushing this stage causes costly mistakes later.
What does a stage-by-stage plan look like?
Use clear stages with a task and a test for each. The time per stage depends on the person, so do not set fixed dates.
| Stage | Skills | Pass test |
|---|---|---|
| 1. Tools and safety | Tools, tape, shop routine | Sets up and clears the bench alone |
| 2. Hand work | Basic stitches, buttons, hems | Makes clean, even stitches |
| 3. Machine work | Straight and curved seams | Sews a simple pouch or cushion cover |
| 4. Simple garments | Skirts, shirts, trousers | Completes one garment to your standard |
| 5. Measuring and fitting | Taking and recording measurements | Measures a client within your tolerance |
| 6. Client work | Fittings, alterations, delivery | Handles a small order from start to end |
This is an example structure, so adjust it to your shop.
How do you teach measuring?
Measuring is the skill that decides whether a garment fits, so teach it on purpose. Have the apprentice measure several people and compare the results with yours.
- Show the body points: chest, waist, hips, shoulder, sleeve and inseam.
- Measure together on the same person.
- Let the apprentice measure alone and compare.
- Repeat until the numbers agree.
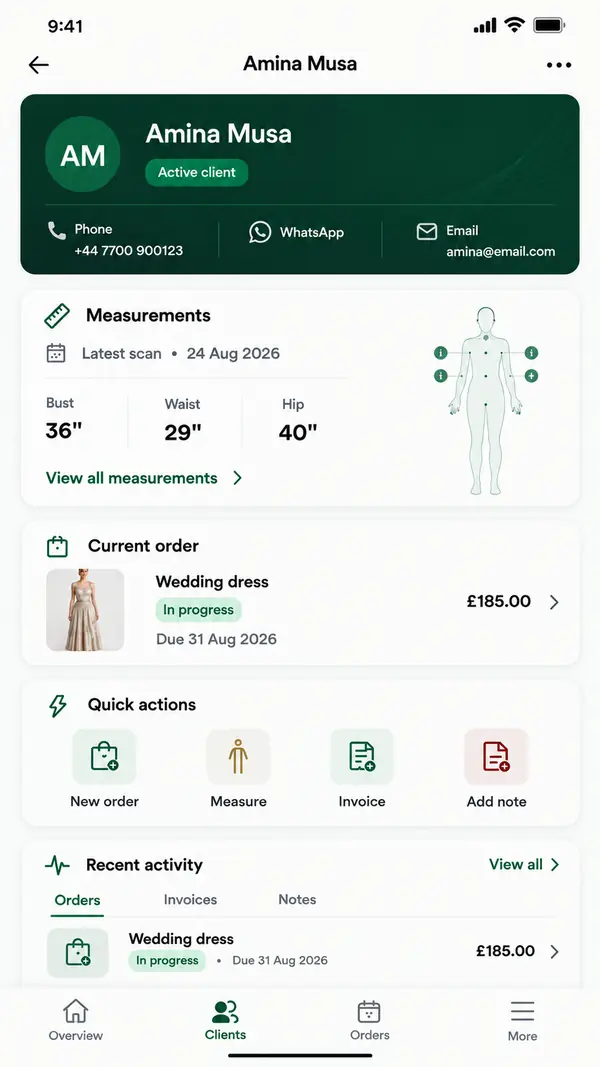
Record every measurement in the same place each time. ZeDaq.ai has tailor tools that can send a client a link to enter measurements on their phone, which saves time on routine cases and keeps records in one client file.
How do you give useful feedback?
Check work at the end of each task, not only at the end of the week. Be specific about what is wrong and show the fix.
- Point to the exact seam or hem.
- Let the apprentice redo it.
- Praise what is right, so they know what to repeat.
Keep a simple log of tasks done and your notes. It shows progress and helps you decide when to move them on.
Should you use a written agreement?
A written agreement avoids confusion about duties, hours, pay or allowances, and how long training lasts. See what to include in a tailoring contract for the client side, and ask a local advisor about rules for apprentices where you work. Rules for apprentices and trainees differ by country.
What does a first week look like?
A first week sets the tone, so plan it. Keep tasks small and the goals clear.
- Day one: tour the shop, show the tools and explain the rules.
- Day two: practice measuring with the tape on a mannequin and on a colleague.
- Day three: practice basic hand stitches on scrap fabric.
- Day four: sort fabric and label patterns, so they learn what you stock.
- Day five: review the week together and set goals for the next one.
End each day with a five-minute check on what they learned and what confused them.
How do you keep a training log?
A log makes progress visible to both of you. Use a notebook or a shared file with one line per task.
- Date and task.
- What went well.
- What to improve.
- Your sign-off when the stage is passed.
Review the log together once a month. It also gives you evidence if you later need to explain why you moved someone up, or didn't.
How do you decide when an apprentice is ready?
Look for consistent results, not speed. An apprentice is ready for more when they:
- Finish work to your standard without constant checking.
- Spot and fix their own mistakes.
- Handle clients politely and keep records tidy.
- Meet deadlines on small orders.
Give them one real order at a time. Review it together afterward.
How can software help the training?
A shared order board shows apprentices what is due and what the finished standard looks like. Client records show past measurements to learn from. You can compare the options in the guide to the best software for tailors and fashion designers.
Keep clients, orders and measurements in one place
FAQs
How long does a tailoring apprenticeship take?
It varies by person, the garments you make and how much time they spend in the shop. Judge by skill at each stage, not by the calendar.
Should apprentices work on client garments?
Yes, but start with simple tasks and check the work. Do not give a new apprentice a high-value garment.
How do I keep an apprentice motivated?
Give clear stages, quick feedback and real tasks. Showing progress helps.
Should I pay apprentices?
Rules differ by country, and arrangements vary from shop to shop. Agree terms in writing and check local requirements.
Try ZeDaq.ai free
Virtual try-on and Find my size for your store, plus client, order and invoicing tools for tailors, in one subscription.