Shopify Store Launch Checklist for Fashion Brands
By the ZeDaq.ai team · · 5 min read
On this page
Before a Shopify fashion store goes live, finish six groups of tasks: products and photos, size and fit information, policies, payments and shipping, apps, and a full test order. This checklist puts them in order so you can work through them in a single pass and tick each one off.
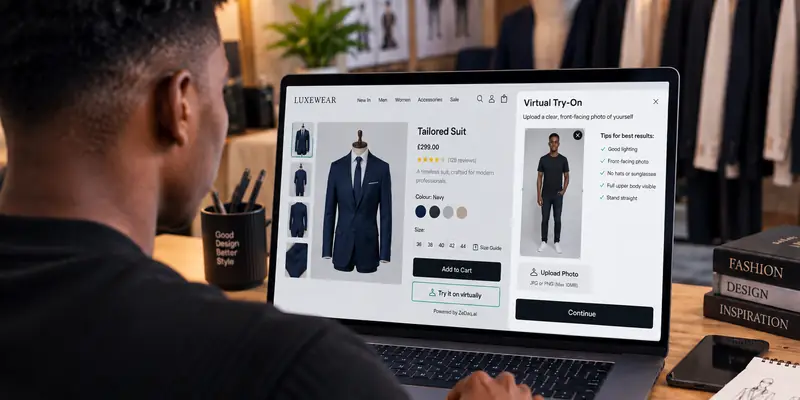
It is written for founders launching their first store. If you want the full story of building a brand around it, read how to launch a clothing brand on Shopify. For the fit tools, the guide to adding virtual try-on to Shopify walks through the app setup.
What products and photos do you need ready?
Shoppers can't touch clothes, so photos and descriptions do the selling.
- Every product has a clear title that names the garment type
- Each product has a front, back, side and detail photo
- Photos use consistent lighting and background
- The model's height and the size they wear are listed
- Fabric composition and care instructions are written
- Every size and color is set up as a variant with its own stock count
- Alt text is added to images so the page is accessible
Accessibility matters at launch because it is harder to fix later. The accessibility checklist for clothing stores covers it in more detail.
What size and fit information should you add?
Shoppers can't try anything on, so give them the information to choose a size with confidence.
- A size chart for each garment type, such as tops, outerwear, dresses and bottoms
- Body measurements for each size, not only garment measurements
- A fit note on each product, such as "runs small" or "relaxed fit"
- A link to a measuring guide
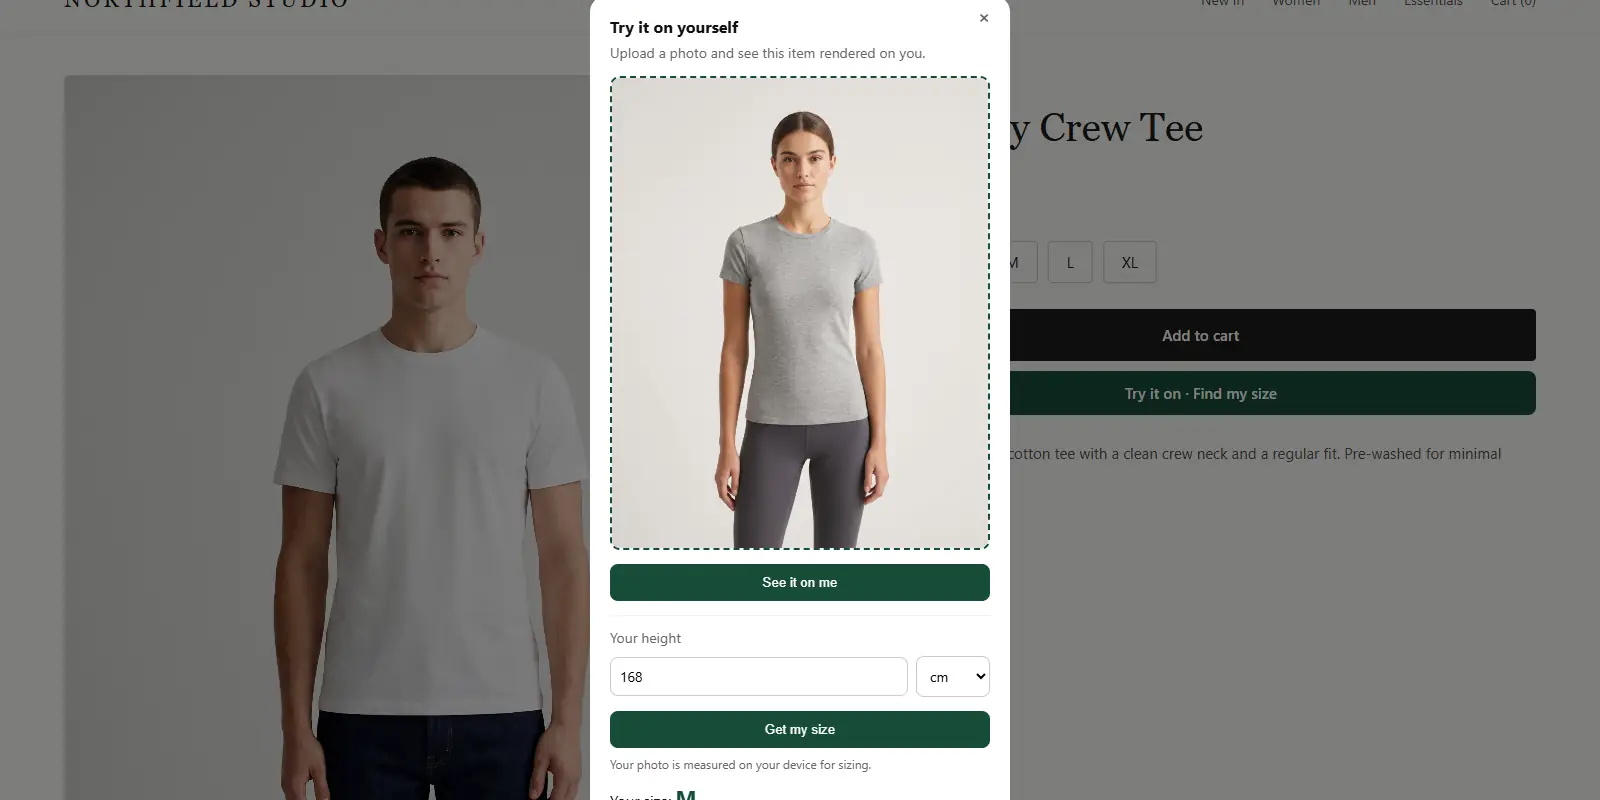
If you use ZeDaq.ai, you enter your own size guide in the app, one chart per garment type. The scan, which takes a photo and the shopper's height, then recommends your own labels and sizes up to the largest relevant measurement. The size recommendation setup shows each step.
Which policies must be in place?
Write these pages before launch and link them from the footer.
- Returns and exchange policy
- Shipping policy with delivery times and countries
- Privacy policy
- Terms of service
- Contact page with a working email
Whatever template you start from, edit each page to match what you really do. For legal requirements in your country, check your own government or regulator's site, because this is general guidance and not legal advice.
How do you set up payments, taxes and shipping?
These are the settings most likely to cause a failed first order.
- Turn on a payment provider that works in your country.
- Set up taxes according to the rules of the places you sell to, using your tax authority's guidance.
- Create shipping zones and rates for every region you will ship to.
- Set your store currency and check how prices display.
- Add your business address and contact details.
Run one real payment through to see the money arrive in your account. A test with a test gateway doesn't prove your live account is ready.
Which apps should you install, and which can wait?
Install fewer apps than you think you need. Every app adds code to your store.
- Reviews or social proof, if you already have customers
- A sizing or try-on app, if fit is your biggest question
- An email tool for order confirmations and abandoned carts
Wait on the rest until you have traffic. For the Shopify version of ZeDaq.ai, install it from the Shopify App Store and switch on the app embed in the Theme Editor. Every paid plan has a 3-day free trial with no card required, and the Free plan includes 3 try-ons and 3 measurements a month, which is enough to test the flow.
What should you test before you go live?
Test like a shopper, on a phone and on a computer.
- Open the store on your phone and browse the menu.
- Search for a product and filter by size.
- Add an item to the cart and change the quantity.
- Complete a checkout with a real card, then refund yourself.
- Check the order confirmation email.
- Try the size tool or try-on on at least three products.
- Click every footer link.
Ask a friend who has never seen the store to place an order while you watch. Where they hesitate is where shoppers will hesitate.
What should you do on launch day?
- Remove the password page
- Connect your domain and check it loads with https
- Submit your sitemap to search engines
- Announce on your social channels
- Keep your phone nearby for the first orders
For the try-on side of launch, the virtual try-on launch checklist has a longer list.
Add size recommendation to your launch
FAQs
How long does it take to launch a Shopify fashion store?
It depends on the size of your catalog and how ready your photos are. Many founders finish the setup tasks in a few weeks, though you should set your own schedule.
Do I need a size chart for every product?
You need one for every garment type, and each product should point to the right one. Tops, jackets, dresses and bottoms fit differently.
Should I launch with a returns policy?
Yes. Shoppers look for it before they buy, and you need it ready for the first order.
Can I add try-on after launch?
Yes. You can install the app and switch on the embed at any time, without changing your products.
Try ZeDaq.ai free
Virtual try-on and Find my size for your store, plus client, order and invoicing tools for tailors, in one subscription.