How to Show Size Recommendations on Shopify Product Pages
By the ZeDaq.ai team · · 4 min read
On this page
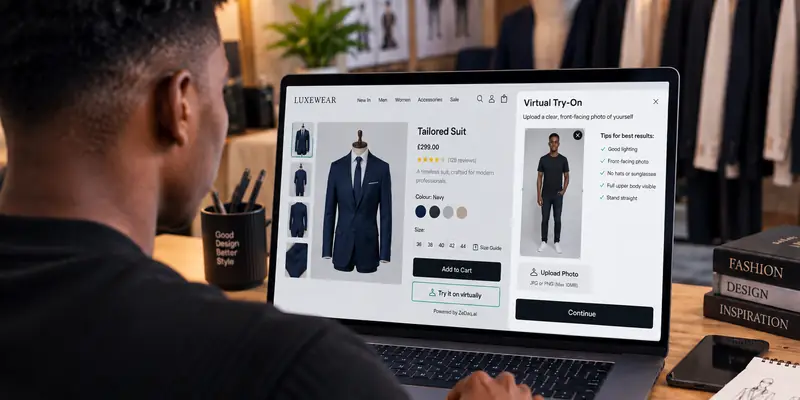
To show size recommendations on Shopify product pages, install a sizing app from the Shopify App Store, add your size chart in the app, and switch on its app embed in the Theme Editor. Shoppers then get a suggested size from your own chart right on the product page, without leaving your store.
This guide walks through that setup with ZeDaq.ai, where the recommendation comes from a short body scan. If you also want shoppers to see the garment on themselves, the full virtual try-on setup for Shopify uses the same app and the same embed.
What does a size recommendation on a product page actually do?
It answers the question "which size should I order?" before the shopper adds to cart. The shopper gives a little information about their body, and the app matches it against your size chart.
There are two common ways to collect that information:
- Questionnaires ask for height, weight, age and fit preference, then estimate measurements.
- Body scans measure the shopper from a photo, then match chest, waist and hips to your chart.
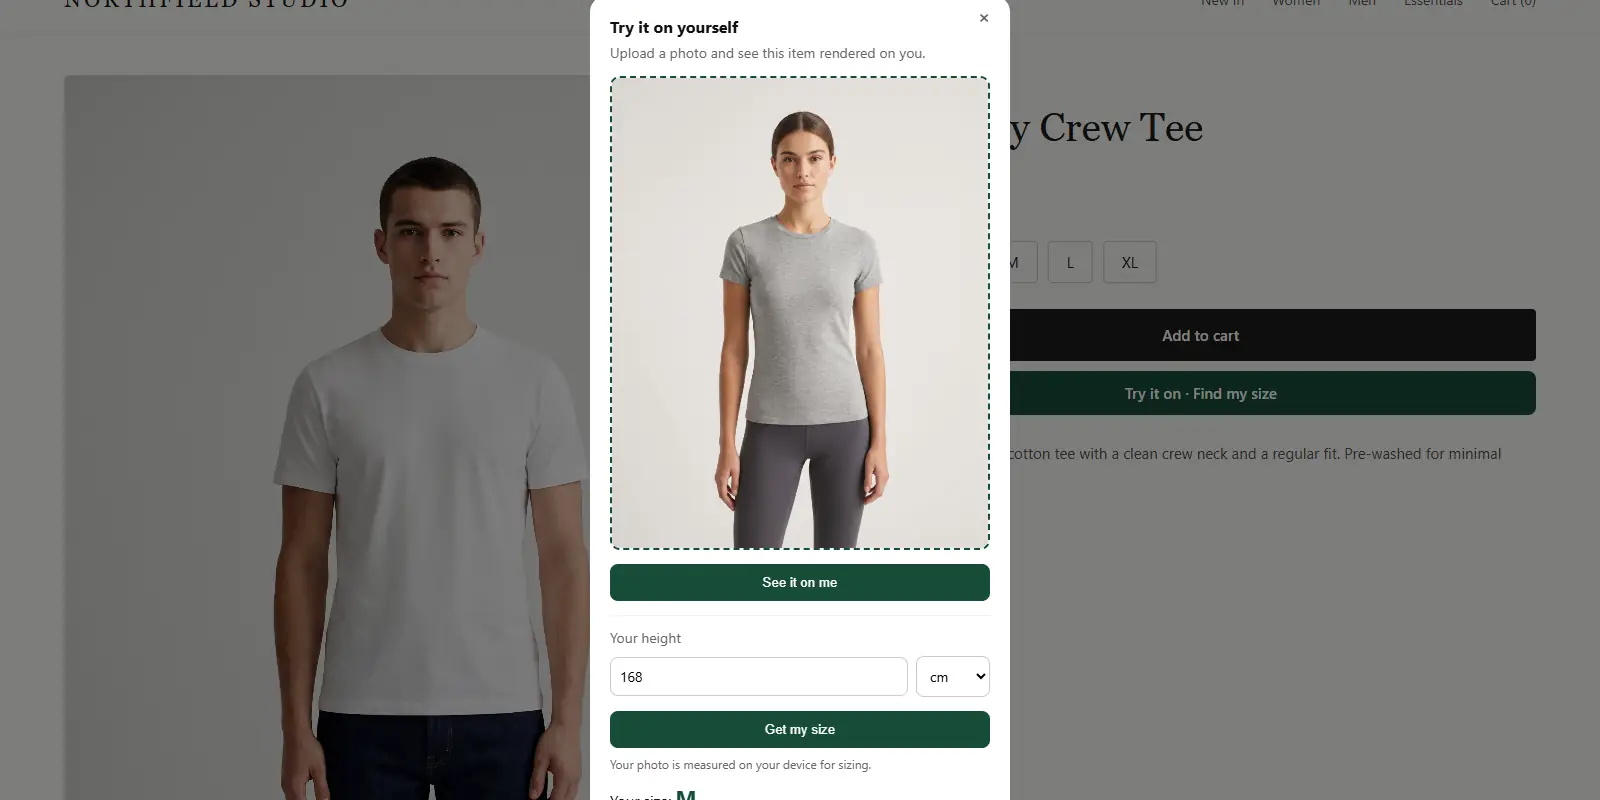
ZeDaq.ai uses a scan. The shopper uploads one full-length photo and types their height. Pose detection runs in their browser, so only measurements are sent for sizing.
See the shopper side: try it on yourself
Try it on yourself
Live renderUpload a photo, pick a piece, see it rendered on you.
Pick something to try on
What do you need before you start?
Have these ready so setup takes one sitting:
- A Shopify store on an Online Store 2.0 theme. App embeds and app blocks need a 2.0 theme.
- Your size guide as body measurements. Use the measurements of the person who fits each size, not the flat width of the garment.
- One chart per garment type you sell. Tops, jackets, dresses and bottoms fit differently, so each gets its own chart.
If you aren't sure your chart is ready, the guide to the data you need before installing covers which columns matter and how to clean them up.
How do you add size recommendations step by step?
Step 1: Install the app
Install ZeDaq.ai from the Shopify App Store and approve the permissions. The app opens inside your Shopify admin.
Step 2: Add your size chart
In the app, open Your size chart. Pick a garment type, choose centimeters or inches, and enter a minimum and maximum for each size. A tops chart only needs chest. A dresses chart uses chest, waist and hips.
Use Test a shopper before saving. Type a set of measurements and check that the size it suggests matches what your team would say in a fitting room.
Step 3: Switch on the app embed
In your Shopify admin, go to Online Store → Themes → Customize. Open App embeds in the left sidebar and turn on ZeDaq.ai Virtual Try-On. Save.
Step 4: Set the garment type
In the embed settings, set Garment type to match the product: upper body, lower body or dresses. This tells the scan which of your charts to use.
Step 5: Test it on your own products
Open a product page on your phone. Tap the try-on button, upload a full-length photo, then tap Find my size, enter your height and check the result.
What does the shopper see?
The shopper sees a "Find my size" button inside the try-on window. After the scan, they see one size label from your chart, such as "M" or "UK 12".
If they fall between two sizes, the app picks the roomier one and says so. A garment that is slightly loose is easier to wear or alter than one that is tight across the hips or chest. If you haven't added a chart for a garment type yet, shoppers get a standard UK, US, EU or AU size instead.
How much does it cost to run?
Each size scan uses one measurement from your monthly plan. The Free plan includes 3 measurements a month, which is enough to test. Paid plans start with Micro at $14 a month, and every paid plan has a 3-day free trial with no card required.
For how try-on renders and scans are counted across plans, see Shopify try-on app pricing explained, or check the current ZeDaq.ai pricing.
How do you get better recommendations?
Small changes to your chart make the biggest difference:
- Close the gaps. If medium ends at 95 cm chest and large starts at 97 cm, a 96 cm shopper falls between. Make ranges meet.
- Match the fit you sell. A relaxed hoodie and a fitted shirt shouldn't share one chart. Add a separate garment type, or adjust the ranges.
- Write a fit note. One line such as "runs small, size up if between sizes" helps the shopper trust the suggestion.
Menswear works the same way, though chest and waist matter more than hips. The guide to size recommendation for menswear stores covers suits, shirts and trousers.
Show your own sizes on every product page
FAQs
Does the shopper need an account?
No. The shopper uploads a photo and types their height on your product page. There is no sign-up and no app to download.
Is the shopper's photo uploaded for sizing?
No. For sizing, the photo is analyzed in the shopper's browser and only the measurements are sent. If the shopper also runs a try-on, that photo is sent to render the image.
Can I use different charts for tops and trousers?
Yes. Add one chart per garment type: tops, outerwear, dresses and bottoms. The embed's garment type setting picks which chart a product uses.
What happens if I don't add a size chart?
Shoppers still get a size, from a standard UK, US, EU or AU chart. Adding your own chart makes the suggestion match your brand's labels and fit.
Try ZeDaq.ai free
Virtual try-on and Find my size for your store, plus client, order and invoicing tools for tailors, in one subscription.