How to Launch a Clothing Brand on Shopify
By the ZeDaq.ai team · · 4 min read
On this page
- Step 1: Who is your brand for?
- Step 2: What should your first collection include?
- Step 3: How do you price your products?
- Step 4: How do you set up your Shopify store?
- Step 5: How do you help shoppers choose a size?
- Step 6: How do you set up payments, shipping and policies?
- Step 7: How will people find your store?
- Step 8: How do you test before launching?
To launch a clothing brand on Shopify, define your niche and customer, plan a small first collection, set prices that cover your costs, build the store, add clear sizing, set up payments and shipping, then test everything before you open. Start small and learn from your first orders.
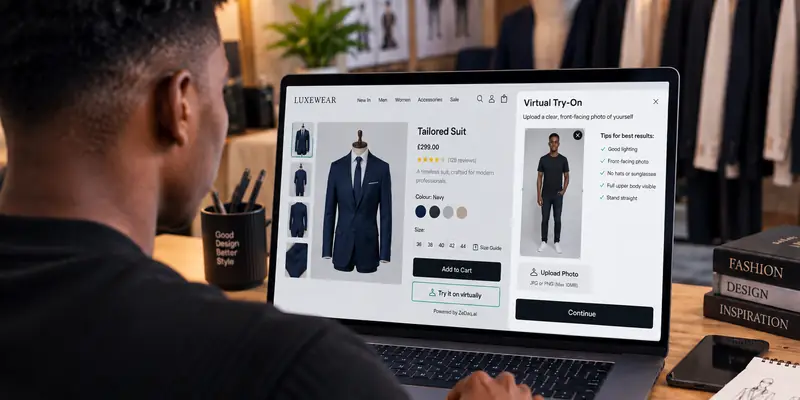
This guide is a roadmap, not a full course. When you reach the product page stage, the guide to adding virtual try-on to Shopify shows how to help shoppers see and size your clothes.
Step 1: Who is your brand for?
Be specific about your customer and what makes your clothes different. "Women's clothing" is too broad. "Modest workwear for women who commute" is easier to design for and to market.
Write down:
- Who you are selling to.
- The one problem your clothes solve.
- Three brands you will be compared with.
Step 2: What should your first collection include?
Start small. A handful of products you can make well beats a large catalog you cannot support.
- Choose pieces that suit your skills and your supplier or maker.
- Limit sizes and colors at first, since each combination needs stock.
- Order samples and test fit and fabric before you commit.
Step 3: How do you price your products?
Add up every cost, apply a markup and compare with similar brands. The full method, with a worked example, is in the guide on how to price clothing for an online store.
Step 4: How do you set up your Shopify store?
Shopify publishes its plans on its pricing page (checked November 2026). Basic is listed at $39 a month on monthly billing, or $29 a month on yearly billing. Check the page for current plans and card rates.
Then work through these tasks:
- Create your account and choose a plan.
- Pick a theme suited to fashion photography. Use an Online Store 2.0 theme if you want to use app embeds and blocks.
- Add your logo, colors and fonts.
- Create collections, such as tops and dresses.
- Add products with clear titles, photos and variants.
Good photos matter most. Show each item from the front, back and in detail, plus on a model if you can.
Step 5: How do you help shoppers choose a size?
Fit is the biggest question for online clothing shoppers. Answer it on the product page.
- Publish a size chart with body measurements, not just labels.
- Add a fit note, such as "runs small".
- Add a size recommendation tool.
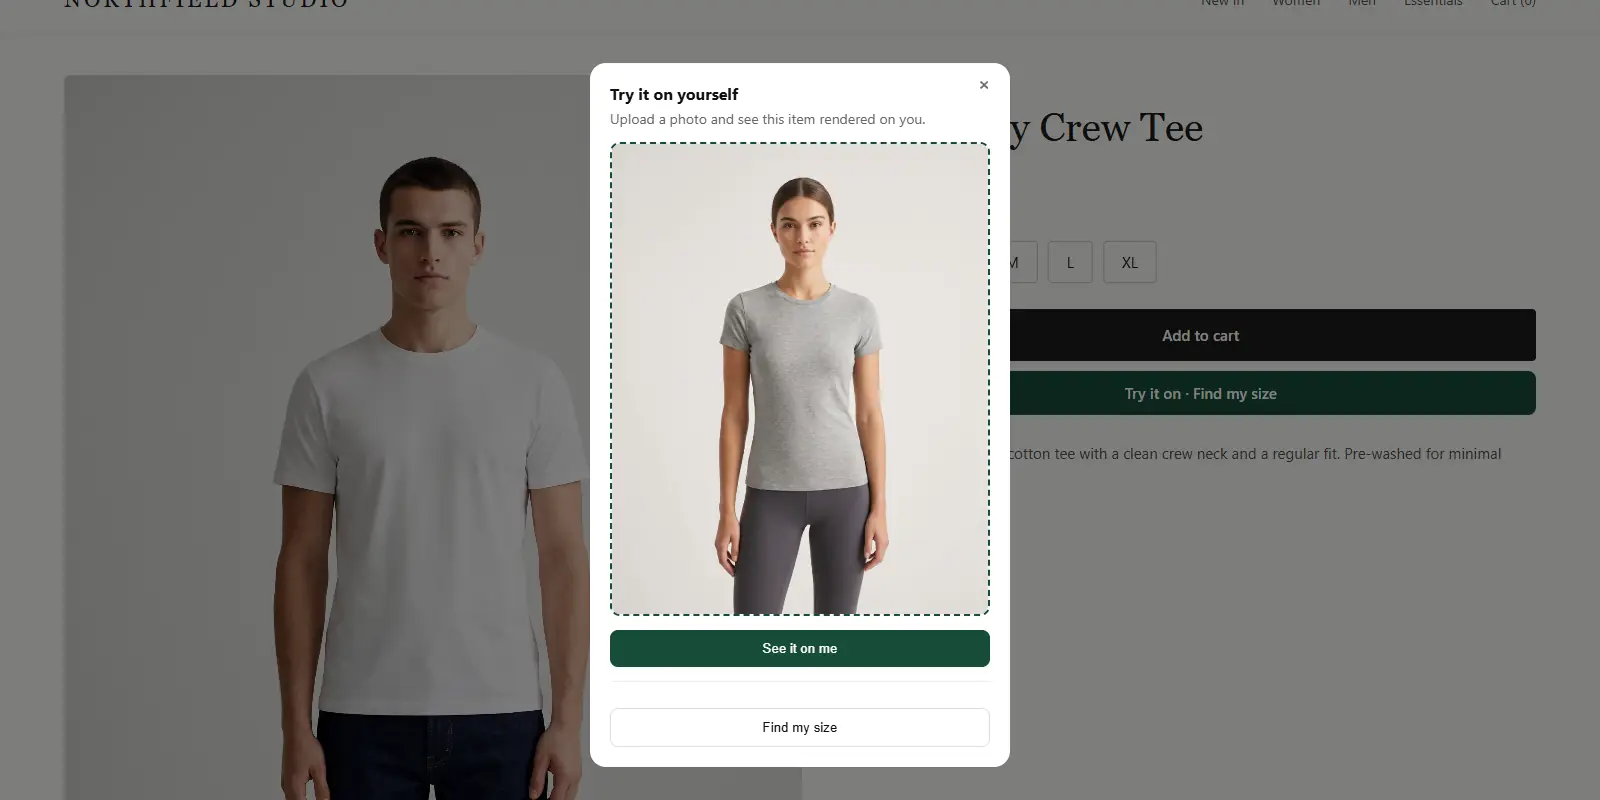
ZeDaq.ai is a Shopify app that does two things. Shoppers upload one photo to see your real garment on their body, and a 30-second scan with their height recommends a size from your own size chart. Setup takes four steps: install the app, add your chart, switch on the app embed and test it. The price for each plan is on the ZeDaq.ai pricing page, including a free plan.
If you try an app and decide it is not right, the guide to uninstalling a Shopify app cleanly shows how to remove it without leftovers.
Step 6: How do you set up payments, shipping and policies?
Before launch, complete the settings that customers rely on.
- Payments. Set up a payment provider and test a real order.
- Shipping. Decide on rates, zones and delivery times.
- Returns policy. State the window, the condition of items and who pays for postage.
- Taxes. Check the rules where you sell. This is general information, not tax advice.
Write the policies in plain words. Unclear ones create support work.
Step 7: How will people find your store?
You need traffic from the first week. Common starting points are:
- Search engines, which take time to build. See Shopify SEO for clothing stores.
- Social media, with real photos of your clothes.
- Email, by collecting addresses before launch.
- Friends, family and local networks for the first orders.
Step 8: How do you test before launching?
Test as a customer would.
- Place a test order and check the confirmation email.
- Open the store on a phone and walk through checkout.
- Try the size tool on your own products.
- Ask three people to find a product and buy it. Note where they hesitate.
- Fix problems, then launch.
After launch, review orders, returns and questions weekly. They show which products, photos and sizes need work.
Not sure which tools to use? The comparison of AI virtual try-on apps for Shopify can help you choose.
Add sizing and try-on to your new store
FAQs
How much does it cost to start a clothing brand on Shopify?
Your costs include the store plan, stock or production, photos, packaging and marketing. Shopify's plan prices are on its pricing page, linked above.
Do I need to hold stock?
Not always. You can make to order or pre-order. Choose the model your supplier and cash flow support.
Can I start with a free tool for sizing?
ZeDaq.ai has a free plan with 3 try-ons and 3 measurements a month, which is enough to test it. Paid plans start with Micro at $14 a month. On a store's first paid monthly plan, Micro costs $1 for the first month, then $14 a month.
How long does it take to launch?
It depends on your products. The store setup can be quick, but samples and photos usually take longer.
Try ZeDaq.ai free
Virtual try-on and Find my size for your store, plus client, order and invoicing tools for tailors, in one subscription.