Mood Boards for Bespoke Clients
By the ZeDaq.ai team · · 5 min read
On this page
- Why use a mood board with bespoke clients?
- What goes on a bespoke mood board?
- How do you build the board with the client?
- How do you turn the board into a design brief?
- What does a finished board look like in practice?
- What tools can you use to make a board?
- How does the board fit into the rest of the order?
A mood board for bespoke clients is a single page of images, fabrics and notes that shows the style they want before you draw or cut anything. Build it with the client in one short session, then use it as the brief you both agree on. It saves time because it replaces vague words like "elegant" with pictures you can both point to.
This guide is for tailors and designers who run a tailor and fashion designer business. It covers what to put on a board, how to build one and how to turn it into a clear brief.
Why use a mood board with bespoke clients?
Clients often know how they want to feel in a garment but not how to describe it. Words like "classic" or "modern" mean different things to different people.
A board fixes that. Pictures show the shape, color and mood, and they surface disagreements early, when a change costs nothing. It also gives the client a way to say "not that" without feeling awkward.
What goes on a bespoke mood board?
Keep it focused on one garment or one outfit. A board with too many ideas won't guide anyone.
- Silhouette references: Two or three photos of the shape the client likes, such as a nipped waist or a straight leg.
- Details: Collar, sleeve, pocket, button and hem styles.
- Color palette: A few swatches or photos that set the color range.
- Fabric ideas: Photos or real swatches that show texture and weight.
- Occasion note: One line on where and when it will be worn.
- Things to avoid: One or two images the client dislikes.
The "avoid" section is often the most useful part. Clients find it easier to say what they don't like.
How do you build the board with the client?
Run a short session of 20 to 30 minutes, either in person or on a call. Follow these steps:
- Ask for images before the meeting. Ask the client to send five to ten pictures they like, from any source.
- Sort them together. Group photos by what they show: shape, color, detail.
- Ask why for each one. "What do you like about this?" The answer is often a detail, not the whole garment.
- Cut it down. Remove anything that repeats or conflicts.
- Write a caption for each image. For example, "Collar shape" or "Color tone only".
- Confirm the board. Ask the client to reply with an agreement that this is what they want.
Captions matter. Without them, you may copy the wrong thing from a picture.
How do you turn the board into a design brief?
A brief is a short written summary built from the board. It should fit on one page.
| Brief section | What to write |
|---|---|
| Garment | Type, occasion, season |
| Silhouette | Shape and fit, in plain words |
| Details | Collar, sleeves, closures, pockets |
| Fabric and color | Fabric type, color range, any must-haves |
| Avoid | What the client rules out |
| Budget and date | The price range agreed and the date it's needed |
Send the brief to the client and ask for a written "yes". The guide to cost breakdown of a bespoke garment helps you explain how fabric, labor and finishing affect the price, so the budget line in the brief is realistic.
What does a finished board look like in practice?
Here is a worked example for a made-to-order bridesmaid dress.
- Silhouette: Two photos of a fitted bodice with a flowing skirt. Caption: "Shape through the waist."
- Details: One photo of thin straps and one of a back zip. Caption: "Straps and closure."
- Color: Three swatches in dusty green. Caption: "Range, not exact match."
- Fabric: A photo of chiffon. Caption: "Light, with a lining."
- Occasion: "Outdoor wedding in the evening."
- Avoid: A photo of a heavy beaded bodice. Caption: "Too heavy."
With these six items, you and the client already agree on most of the dress. Only fabric choice and final measurements remain.
What tools can you use to make a board?
Keep tools simple. A shared folder of images, a slide or a note on your phone is enough. Some tailors print the pictures and keep a physical board in the studio.
What matters is that the board is saved with the client's record. If it lives only in a chat, you will struggle to find it three weeks later.
How does the board fit into the rest of the order?
The board comes first, then measurements, then fabric and sketches. It sets the direction, and later steps refine it.
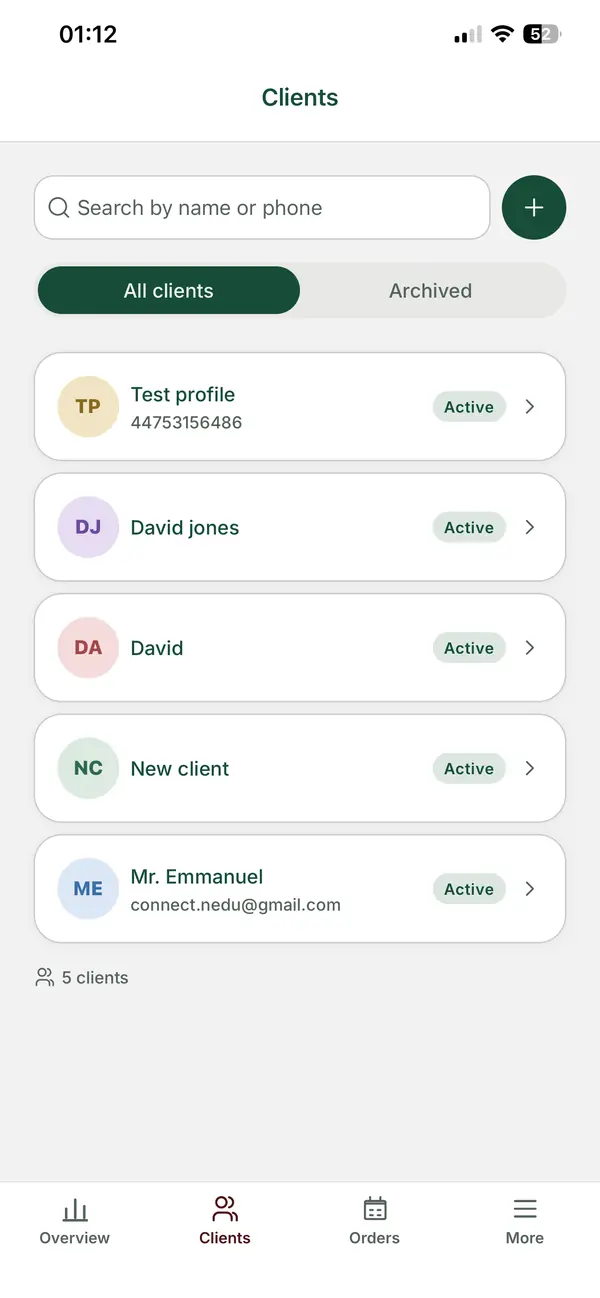
Once the brief is agreed, collect measurements. The article on measurement capture tips for clients at home shows how to get accurate numbers without a visit. ZeDaq.ai's tailor tools let you send clients a link to open on their phone and record their measurements, and they hold your client records, orders and delivery calendar.
After that, keep the client informed as the order moves. See what order status updates clients want for what to send and when.
Keep clients, orders and measurements together
FAQs
How many images should a mood board have?
Between six and twelve is usually enough. Fewer than that gives little to work from, and more makes the direction unclear.
Should the client or the designer build the board?
Build it together. The client brings the images, and you help sort them and explain what is possible.
Can a mood board be used for a wedding or event outfit?
Yes. Add the dress code, venue and date to the board so the style, fabric and timing all work together.
What if the client's references are too expensive to make?
Say so early and show what drives the cost. Offer a similar look with a different fabric or simpler details.
Try ZeDaq.ai free
Virtual try-on and Find my size for your store, plus client, order and invoicing tools for tailors, in one subscription.