Can Virtual Try-On Handle Reversible and Convertible Garments?
By the ZeDaq.ai team · · 5 min read
On this page
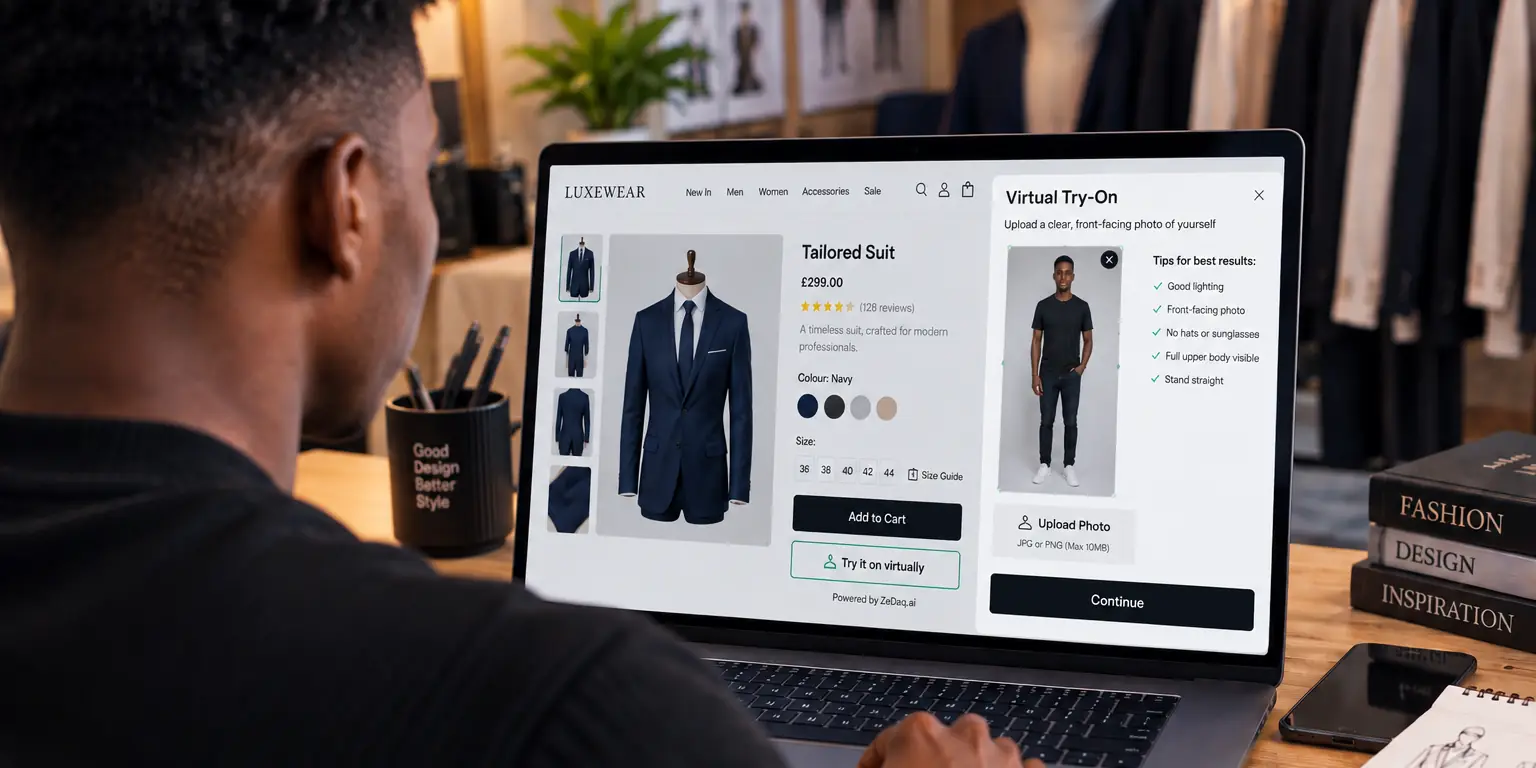
Yes, virtual try-on can handle reversible and convertible garments, but it shows one look at a time. Photo-based try-on renders the garment image you give it, so each side of a reversible jacket or each way of wearing a convertible dress needs its own clear image.
That means the work is mostly in how you photograph and list the product. If you are new to the idea, our guide to virtual fitting rooms for clothing websites explains the basics before you get into two-way styles.
Why are two-way garments harder to show online?
A reversible or convertible garment is really several products in one. A shopper is buying the jacket, but also the second color on the inside, or the five ways to tie a dress.
On a normal product page, that creates three problems:
- Shoppers only see one version in the main photo. The other side is often hidden in the fourth or fifth image.
- Shoppers can't picture each version on their own body. A model photo of the halter style doesn't tell them how the strapless style will sit.
- Fit can change between styles. A wrap worn one way may sit higher at the waist than when it is worn the other way.
Virtual try-on helps with the second problem. Good photography and clear copy solve the first and third.
See how one garment looks on your own photo
Try it on yourself
Live renderUpload a photo, pick a piece, see it rendered on you.
Pick something to try on
How does photo try-on deal with a reversible garment?
With ZeDaq.ai, the shopper uploads one photo and sees the store's real garment on their body. The render follows the garment image, so it shows whichever side is facing out in that image.
For a reversible garment, treat each side as its own look:
- Photograph side A flat or on a model, with the whole garment in frame.
- Photograph side B the same way, with the same lighting and angle.
- Give each side its own product image, or its own variant such as "Navy side" and "Camel side".
- Test try-on on each variant yourself, and check the render shows the side you expect.
The shopper can then run try-on once for each side and compare the two results.
How does it deal with a convertible or multi-way garment?
Convertible dresses, multi-way wraps and zip-off trousers can be worn in several configurations. Try-on can't fold a strap or remove a sleeve by itself. It shows the configuration in the image.
So pick the configurations that matter most:
| Garment | Configurations worth photographing |
|---|---|
| Multi-way dress | The two or three most popular styles, such as halter and one-shoulder |
| Convertible trousers | Full length and shorts length |
| Detachable-sleeve top | With sleeves and without |
| Hood or collar that removes | With and without the hood |
| Reversible skirt | Each side |
If a garment can be worn ten ways, you don't need ten images. Choose the styles shoppers ask about, and describe the rest in words or a short video.
What image rules make two-way try-on work?
Try-on output depends a lot on the input image. These rules help with any garment, and matter more when you have several looks:
- One configuration per image. Don't show both sides of a jacket in one photo.
- The whole garment in frame. Cropped hems or sleeves give the render less to work with.
- Plain background. A clean background helps the garment stand out.
- Consistent angle. Shoot each side or style from the same angle so the results are easy to compare.
- Label each image. Use the side or style name in the variant or image alt text.
Test each image yourself before you go live. Run try-on with your own photo and check that the color, length and neckline look right for that configuration.
How should the product page explain the options?
Shoppers buying a two-way garment need to understand what they get. A short block on the page does most of the work:
- Name the looks. "Wear it two ways: navy or camel."
- Show each look. Put one photo of each near the top of the gallery.
- Invite try-on per look. "Try each side on yourself."
- Explain fit changes. "The halter style sits higher at the waist."
- Give one size. Most two-way garments come in one size label, so make clear the size covers every style.
If you sell on WooCommerce, the same steps apply. The script-tag widget adds "Try it on" to the product template, and our WooCommerce try-on guide covers setup.
Is it worth adding try-on for two-way products?
It depends on how many you sell and how much each one costs to support. Each render uses one try-on from your monthly plan, and a shopper who checks both sides uses two.
Check whether your plan has room for that. Our breakdown of try-on costs for a small fashion store shows how the plans compare. ZeDaq.ai's Free plan includes 3 try-ons a month to test, and paid plans start at $14 a month.
To see whether it helps your store, track product page behavior before and after you add try-on. The guide to measuring results from try-on sets out a simple test.
Try a two-way garment on your own photo
FAQs
Can try-on flip a reversible garment automatically?
No. Try-on renders the image you provide. Give each side its own image so shoppers can try both.
Should each side be a separate variant?
It often helps. A variant per side makes it clear which look the shopper is trying and buying, though both sides share one size.
Does a convertible dress need a photo for every style?
No. Photograph the two or three styles shoppers care about most, and describe the others in your copy.
Does trying on both sides use two try-ons?
Yes. Each render counts as one try-on on your plan.
Try ZeDaq.ai free
Virtual try-on and Find my size for your store, plus client, order and invoicing tools for tailors, in one subscription.

