Which Measurements Does a Tailor Need for a Shirt?
By the ZeDaq.ai team · · 4 min read
On this page
A tailor needs about ten measurements to make a shirt: neck, chest, waist, hips, shoulder width, sleeve length, upper arm, wrist, back length and finished shirt length. The first four set the fit through the body, and the rest set how the shirt hangs and moves.
This list is for tailors and shirt makers who want a repeatable routine, whether they measure in person or collect numbers remotely. If you keep measurements for many clients, the ZeDaq.ai tailor tools store them next to each client's orders.
What are the core body measurements for a shirt?
These four measurements decide whether the shirt fits through the body. Take them over a thin layer of clothing, with the client standing naturally.
- Neck. Measure around the base of the neck, where a collar sits. Leave one finger of space under the tape.
- Chest. Measure around the fullest part, under the arms and across the shoulder blades. Keep the tape level.
- Waist. Measure around the natural waist, the narrowest part of the torso.
- Hips. Measure around the fullest part of the seat. A shirt that ends below the hips needs this number.
Record the number you measured, not the number plus ease. Add ease later, when you draft the pattern.
Which measurements control the shoulders and sleeves?
Sleeves are where most shirt fittings go wrong. Take these four carefully.
- Shoulder width. Measure from the edge of one shoulder bone across the back to the other.
- Sleeve length. Measure from the shoulder point, over a slightly bent elbow, to the wrist bone.
- Upper arm. Measure around the fullest part of the arm, relaxed, not flexed.
- Wrist. Measure around the wrist bone. Add room for a watch if the client wears one.
For a deeper walkthrough of two of these, the guide to measuring neck and sleeve covers the common errors.
Which length measurements does a shirt need?
Length is easy to forget because it is not about the body's size. It is about the style.
- Back length. Measure from the bump at the base of the neck down the spine to the natural waist. This shows how long the client's torso is.
- Shirt length. Measure from the base of the neck, over the shoulder, down to where the hem should end. Ask the client whether they wear the shirt tucked in or out.
A shirt worn untucked needs a shorter hem than one worn tucked, so always note which. If the same client also orders trousers, see measurements for trousers.
Do you need different measurements for different shirt styles?
Yes, a few. The core list stays the same, but the style changes what you add.
| Style | Extra measurements or notes |
|---|---|
| Dress shirt | Cuff style, collar height, whether the shirt is tucked in |
| Casual shirt | Shirt length for untucked wear, preferred looseness |
| Kaftan-style or tunic shirt | Chest and hip ease, side slit height |
| Short-sleeve shirt | Sleeve length to the preferred hem, upper arm |
This table is a working checklist, not a standard. Adjust it to the garments you make.
How do you avoid the common measuring mistakes?
A few habits prevent most remakes:
- Keep the tape snug, not tight. A tight tape gives a shirt that pulls across the chest.
- Measure posture as it is. If the client stands with a stoop or one shoulder lower, write it down.
- Measure twice. Take each number two times and recheck any that differ.
- Write down fit preference. Slim, regular and relaxed need different ease from the same body numbers.
- Date the record. Bodies change, so a measurement older than a year deserves a recheck.
If a client can't visit, a remote method can work for a simple shirt. The guide to taking measurements from client photos explains the limits.
How should you record the measurements?
Many of these measurements also appear in dressmaking. For dresses, which add bust shaping and skirt length, see measurements for a dress.
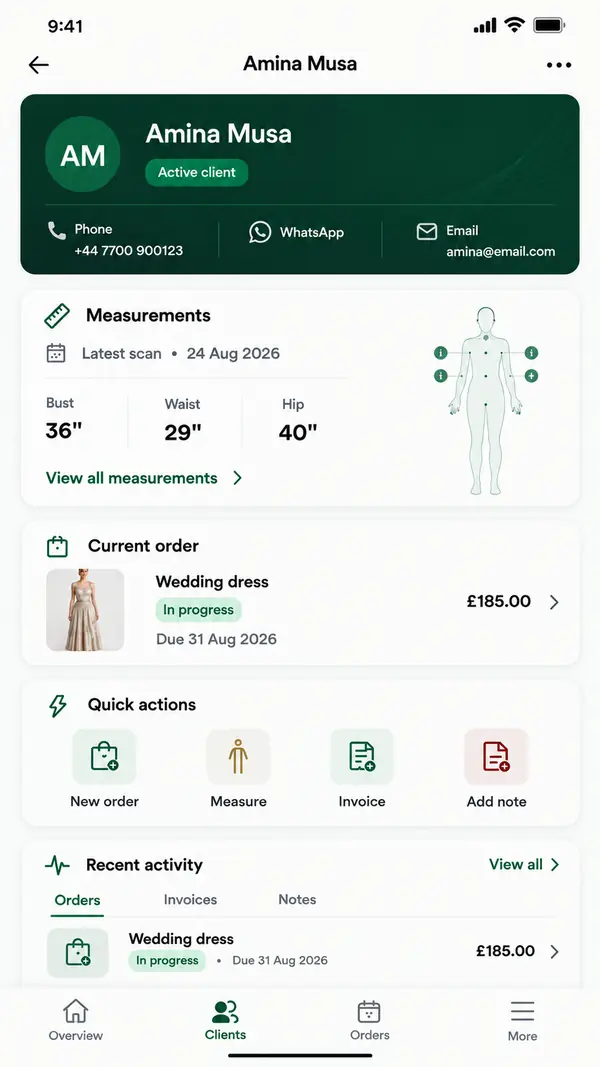
Write each measurement with its name, the unit and the date. Add the client's fit preference and any posture notes beside it.
Paper books get lost and spreadsheets get messy. ZeDaq.ai lets a client open a link on their phone to give their measurements, and you keep them with the client's record, orders and a delivery calendar. The tools also cover invoicing in multiple currencies, including NGN, GBP and USD, and the ZeDaq Business app for iOS and Android.
For comparison, here is how a finished shirt should sit on the body. The guide on how a T-shirt should fit is a useful reference when you explain fit to clients.
Keep every client's shirt measurements in one place
FAQs
How many measurements does a tailor take for a shirt?
About ten for a made-to-measure shirt. Some tailors add back width and armhole depth for a closer fit.
Should I measure over clothes or without?
Measure over a thin layer, such as an undershirt. Thick clothes add bulk and make the numbers too large.
What is the difference between body and garment measurements?
Body measurements are the client's actual size. Garment measurements are the finished shirt's size, which includes ease.
Can a client measure themselves for a shirt?
Yes, with a helper and clear instructions. A self-measured chest and sleeve are the numbers most likely to be off, so check those first.
Try ZeDaq.ai free
Virtual try-on and Find my size for your store, plus client, order and invoicing tools for tailors, in one subscription.