Shopify App Blocks: Placing a Try-On Button in Your Theme
By the ZeDaq.ai team · · 5 min read
On this page
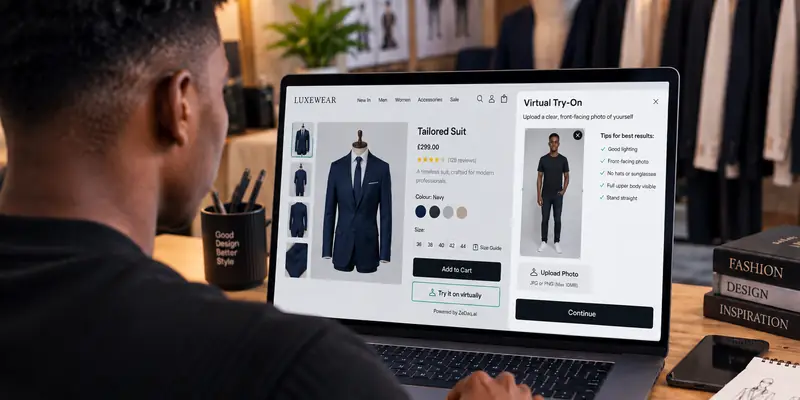
To place a try-on button with a Shopify app block, open your product template in the Theme Editor, add the try-on app's block to the product section, and drag it where you want it. App blocks let you choose the exact spot, such as under the price or next to the Buy button, without editing theme code.
This guide covers placement only. For the full install, from the App Store to your first test, see how to add virtual try-on to Shopify.
What is a Shopify app block?
An app block is a piece of an app that you add to a theme section, like any other block. Apps ship these blocks inside a "theme app extension", which is the part of an app that plugs into your theme. Shopify says app blocks let you "add app functionality exactly where you want to use it in your theme".
There is a second type, the app embed. Shopify describes app embeds as elements that "float or display as an overlay in your theme". A chat bubble or a floating corner button is a typical app embed.
| App block | App embed | |
|---|---|---|
| Where it appears | Inside a section, where you place it | Floating or overlay, over the page |
| How you add it | Add block in a section | Toggle in App embeds |
| Control over position | Exact spot in the layout | Fixed by the app |
| Theme support | Online Store 2.0 themes | Shopify says any theme version |
Does your theme support app blocks?
App blocks need an Online Store 2.0 theme. Shopify's theme versions page lists app blocks under features that vintage themes don't have. Shopify's free Dawn theme is built with Online Store 2.0 features.
A quick way to check: open Online Store → Themes → Customize, go to a product page, and look for an Add section button. If there isn't one, you may have a vintage theme. Our guide on whether try-on works with any Shopify theme covers what to do in that case.
How do you add the ZeDaq.ai try-on block?
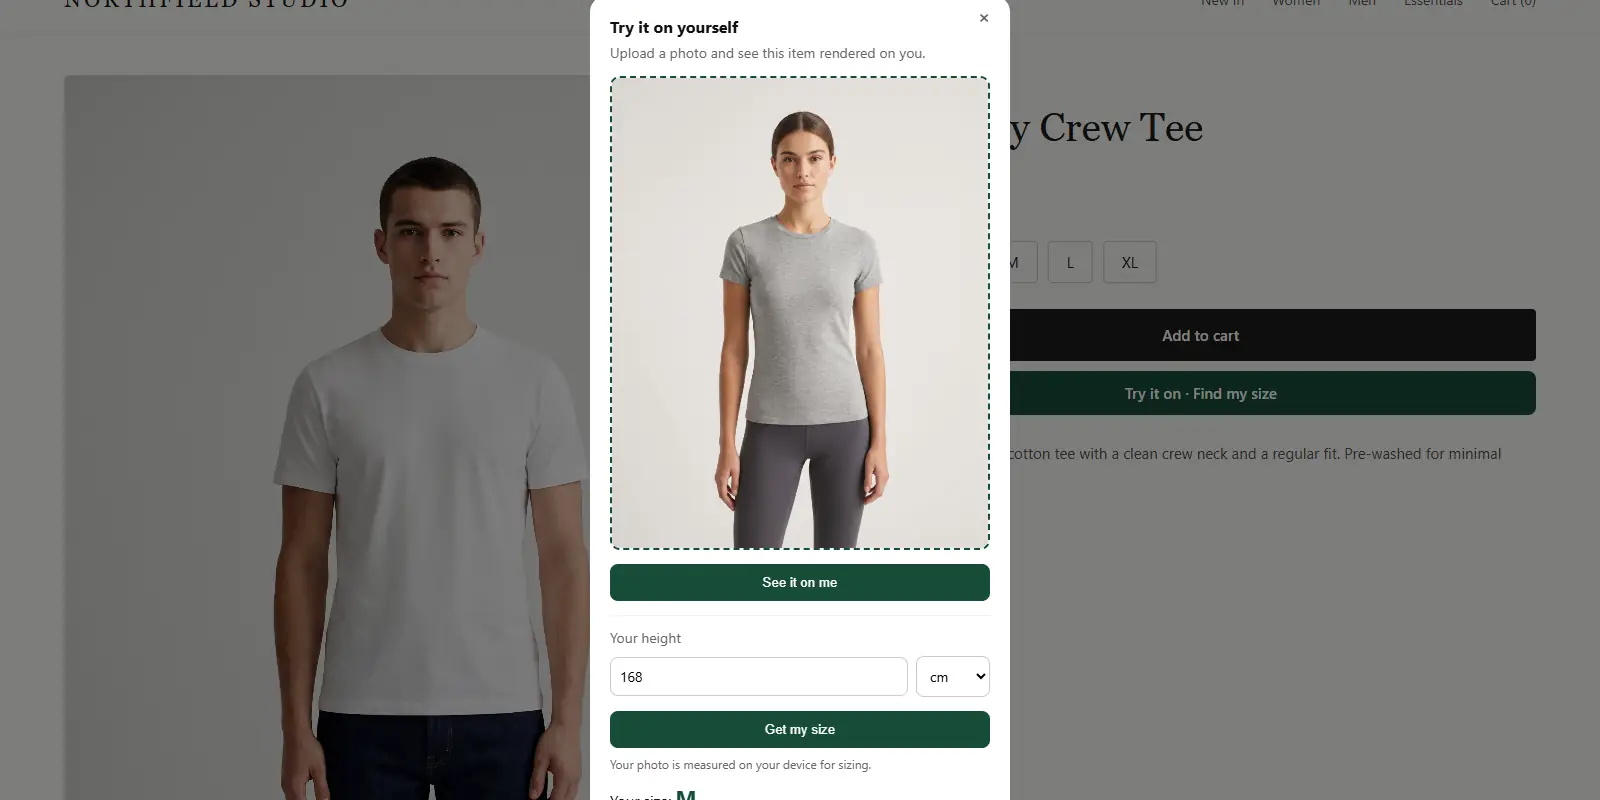
ZeDaq.ai ships two theme pieces: an inline app block called ZeDaq Try-On (inline) and a floating app embed called ZeDaq.ai Virtual Try-On. Both open the same try-on window. You can use one or both.
The quick way: from the ZeDaq.ai app
- Install ZeDaq.ai from the Shopify App Store.
- Open the app in your Shopify admin.
- Click Add to product page. This opens the Theme Editor on your product template with the inline block already staged.
- Check where it sits, then click Save.
Shopify doesn't let an app add a block to your live theme on its own, so the final Save is always yours.
The manual way: from the Theme Editor
- In your Shopify admin, go to Online Store → Themes, then click Customize on your live theme.
- Use the page picker at the top to open Products → Default product.
- In the left sidebar, find the main product section and click Add block.
- Under Apps, pick ZeDaq Try-On (inline).
- Drag the block to where you want it, for example just under the Buy buttons.
- Click Save.
These steps follow Shopify's own steps for adding an app block.
Which settings should you change in the block?
Click the block in the sidebar to see its two settings:
- Button label. Leave it blank to use the default, or write your own, such as "See it on you".
- Garment type. Choose Top / upper body, Bottom / lower body or Dress. This also picks which of your size charts Find my size uses.
If you sell more than one garment type, set the garment type to match each product template. For example, use a separate product template for dresses with the block set to Dress. Our guide to matching your size chart in a Shopify try-on app explains how each garment type links to a chart.
Where should the try-on button go?
Put it where shoppers make their size and style decision, which is close to the Buy button. Good spots:
- Just under the variant picker. The shopper sees it right after choosing a size or color.
- Just under the Buy buttons. It reads as a helpful extra, not a blocker.
- Next to the size chart link, if your theme shows one, because both answer fit questions.
Avoid placing it far down the page, below reviews or long descriptions, where many shoppers won't scroll.
Should you also turn on the floating app embed?
Only if you want a second entry point. The floating button stays on screen as the shopper scrolls, which can help on long product pages. But two buttons on one page can feel cluttered.
If you only want the inline block, check Theme Editor → App embeds and make sure ZeDaq.ai Virtual Try-On is off. If you want the floating button instead, switch it on there and skip the block.
Why doesn't the button show up?
Check these in order:
- You didn't save. The block only goes live after you click Save in the Theme Editor.
- The product has no featured image. The inline block needs one, because it uses that image as the garment.
- Wrong template. If a product uses a custom template, add the block to that template too.
- Vintage theme. App blocks won't appear if the theme doesn't support them.
Showing try-on can also help you handle fit questions before an order ships. For the after-sale side, see these returns policy ideas that protect margins.
Put a try-on button next to your Buy button
FAQs
Do I need to edit theme code to add an app block?
No. You add, move and remove app blocks in the Theme Editor. No Liquid or code changes are needed.
Can I place the try-on block on collection pages?
The ZeDaq.ai inline block shows on product pages only. It needs a product's featured image to work.
Can I use the inline block and the floating button at the same time?
Yes, both can run together and open the same try-on window. Most stores pick one to keep the page clean.
How do I remove the try-on button?
Open the Theme Editor, click the block in your product section and choose Remove block, then save. For the floating button, switch it off under App embeds.
Try ZeDaq.ai free
Virtual try-on and Find my size for your store, plus client, order and invoicing tools for tailors, in one subscription.