How to Sell Print-on-Demand T-Shirts on Shopify
By the ZeDaq.ai team · · 4 min read
On this page
- What does print on demand mean for a t-shirt store?
- How do you choose a niche and a design?
- How do you connect a print provider on Shopify?
- Why should you order samples first?
- How do you set prices and margins?
- How do you handle sizing on print-on-demand shirts?
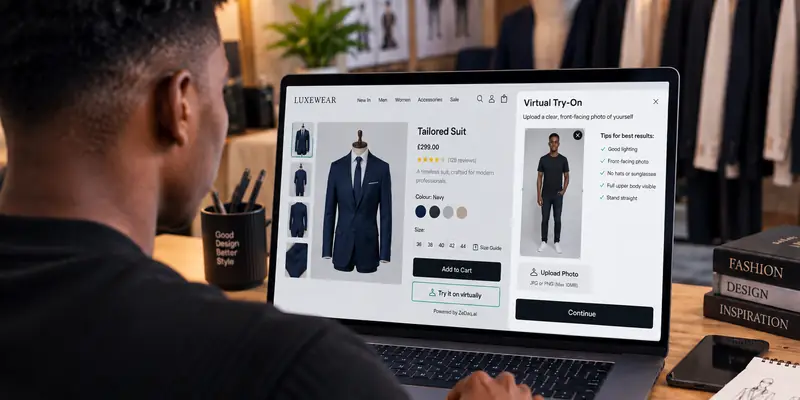
- Should a print-on-demand store offer virtual try-on?
To sell print-on-demand t-shirts on Shopify, choose a niche, connect a print provider through a Shopify app, order samples, set your prices and publish product pages with a clear size chart. The provider prints and ships each order, so you never hold stock.
This guide is for store owners starting a custom tee store. Once the basics work, you can add fit tools by following the steps to add virtual try-on to Shopify.
What does print on demand mean for a t-shirt store?
Print on demand means a third-party provider prints your design on a blank shirt only after a customer orders. You supply the design and the storefront. The provider handles printing, packing and shipping.
The trade-off is control. You rely on the provider for quality, speed and shirt sizing, so your choice of provider matters.
How do you choose a niche and a design?
A shop that sells "t-shirts" competes with everyone. A shop that sells shirts for one group of people has a clearer message.
Ask yourself:
- Who is this for? A hobby, a profession, a community or a local culture.
- What do they already say or wear? Phrases, symbols and jokes they recognize.
- Can you make designs consistently? Plan a first collection of a handful of designs, not hundreds.
Make sure you own or have permission to use every image, font and phrase on your shirts. Avoid trademarked names and logos.
How do you connect a print provider on Shopify?
You connect a provider through an app from the Shopify App Store. Many providers offer one. The usual flow looks like this:
- Create your Shopify store and choose a theme.
- Install the provider's app from the App Store.
- Upload your design and choose the shirt model and colors.
- Preview the mockup and publish the product to your store.
- Place a test order to see how the order reaches the provider.
Read the provider's own pages for costs, print areas and shipping times, since these change. Don't assume two providers work the same way.
Why should you order samples first?
A mockup is not a real shirt. Order at least one sample of each shirt model you plan to sell before you launch.
Check these points on the sample:
- Print quality. Colors, sharpness and placement.
- Fabric feel. Soft or stiff, thick or thin.
- Fit. Whether it runs small, large, boxy or fitted.
- Packaging and delivery. How it arrives and how long it takes.
Take photos of the sample on a real person. They are more honest than a flat mockup, and shoppers trust them more.
How do you set prices and margins?
Work backward from what the customer pays. Your margin is the sale price minus the provider's base cost, shipping, payment fees and any ad spend.
Write the formula in a spreadsheet and test it for each product. Then check that a discount code doesn't wipe out your profit. Pricing rules differ by provider and region, so use each provider's own cost pages for current numbers.
How do you handle sizing on print-on-demand shirts?
Sizing is the most common source of customer questions, because the blank shirt comes from the provider and not from you. Most providers publish a size chart for each shirt model, often in more than one unit.
Follow these steps:
- Copy the provider's chart for the exact model you sell.
- Show it on the product page, with units labeled.
- Add a fit note, such as "relaxed fit" or "runs small", based on your sample.
- Switch models only after you update the chart.
If you change the shirt model, update the chart. A wrong chart creates returns that you can't easily recover, because a custom print can rarely be resold.
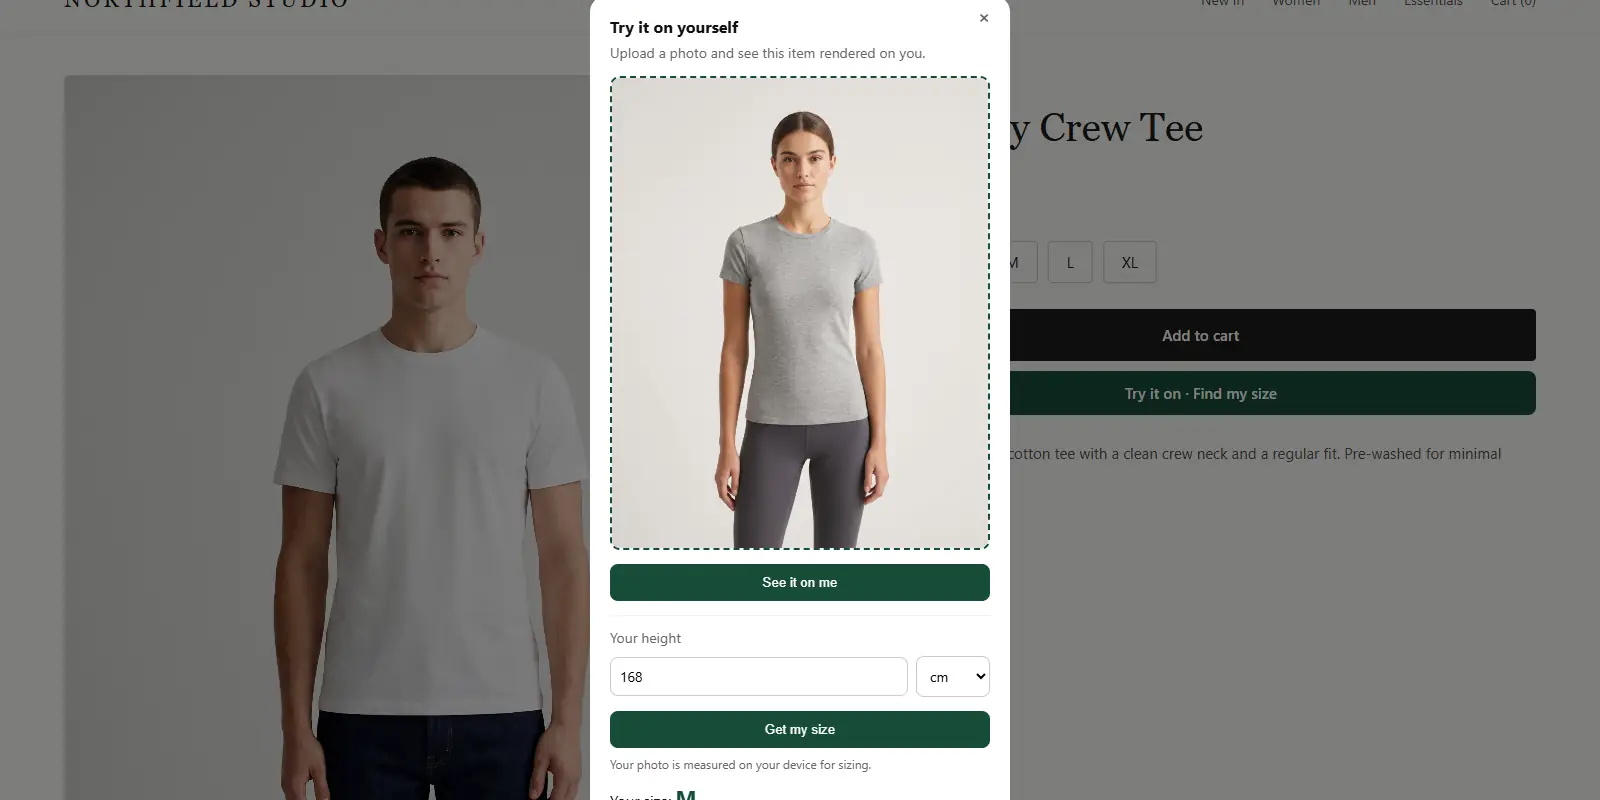
ZeDaq.ai can help here. It gives a size recommendation from a 30-second body scan, one photo plus height, and matches it to the size chart you enter, one chart per garment type. Our look at streetwear on Shopify shows how oversized cuts are handled, and the guide to selling vintage clothing shows another way to deal with sizing.
Should a print-on-demand store offer virtual try-on?
It can be worth testing. A shopper can't touch a custom shirt, so seeing it on their own body may build confidence. Read the full discussion in print-on-demand and virtual try-on before you decide.
ZeDaq.ai is available as a Shopify app. The Free plan costs $0 and includes 3 try-ons and 3 measurements a month, so you can test it on your own shirts. Check the current pricing page for paid plans.
Let shoppers see your tees on themselves
FAQs
Do I need to hold inventory?
No. The provider prints each shirt after an order, so you don't stock shirts yourself.
Should I order a sample of every design?
Order a sample of each shirt model and each print style at least once. You don't need one per design if the model and print method are the same.
Can I use more than one print provider?
Yes. Many stores do, for example to cover different regions or products. Keep each provider's size chart separate.
How do I keep customers from ordering the wrong size?
Show the exact chart for the shirt model, add a fit note based on your sample and consider a size recommendation tool.
Try ZeDaq.ai free
Virtual try-on and Find my size for your store, plus client, order and invoicing tools for tailors, in one subscription.