Adding Virtual Try-On to a Next.js Headless Store
By the ZeDaq.ai team · · 4 min read
On this page
To add virtual try-on to a Next.js headless store, create a route handler that receives the shopper's photo, calls the ZeDaq.ai POST /api/v1/tryon endpoint with your x-api-key, and returns the rendered image. Because the handler runs on the server, the key stays out of client code.
This guide covers the server side and a thin client form. For how the API works in general, read our virtual try-on API guide for developers. Next.js changes quickly, so check the docs for your version.
Where should the API call live in Next.js?
Put it in a Route Handler. The Next.js docs describe a route file that exports functions named after HTTP methods and uses the Web Request and Response APIs (Next.js route handler docs).
Store the key in a server-only environment variable. Do not prefix it so that it is exposed to the browser.
How do you write the route handler?
This handler reads a JSON body, forwards it to the API and returns the result. It assumes your catalog gives you a product image URL for each product.
// app/api/tryon/route.ts
const BASE = 'https://www.zedaq.ai';

async function toBase64(url: string) {
  const res = await fetch(url);
  return Buffer.from(await res.arrayBuffer()).toString('base64');
}

export async function POST(request: Request) {
  const { personImageBase64, productImageUrl, garmentType } = await request.json();
  const headers = {
    'x-api-key': process.env.ZEDAQ_API_KEY!,
    'Content-Type': 'application/json',
  };
  let res = await fetch(`${BASE}/api/v1/tryon`, {
    method: 'POST',
    headers,
    body: JSON.stringify({
      person_image_base64: personImageBase64,
      product_image_base64: await toBase64(productImageUrl),
      garment_type: garmentType,
    }),
  });
  let data = await res.json();
  if (res.status === 202) {
    return Response.json({ status: 'pending', jobId: data.job_id }, { status: 202 });
  }
  return Response.json(data, { status: res.status });
}
Look up productImageUrl from your own catalog on the server instead of trusting the browser. That stops visitors from making your server fetch any address they like.
How do you handle slow renders?
The API returns 202 with a job_id and a poll_url when a render takes longer. The handler above passes the job ID back, and a second route checks it. Polling about every 2 seconds is what the API reference recommends.
// app/api/tryon/[jobId]/route.ts
export async function GET(
  _req: Request,
  { params }: { params: Promise<{ jobId: string }> }
) {
  const { jobId } = await params;
  const res = await fetch(`https://www.zedaq.ai/api/v1/tryon/status/${jobId}`, {
    headers: { 'x-api-key': process.env.ZEDAQ_API_KEY! },
  });
  return Response.json(await res.json(), { status: res.status });
}
The Next.js docs show params as a promise in recent versions, so await it as above. Usage is only charged when a render succeeds.
This design keeps each request short. That matters on hosting with strict time limits, so the browser polls instead of one request waiting.
What does the client look like?
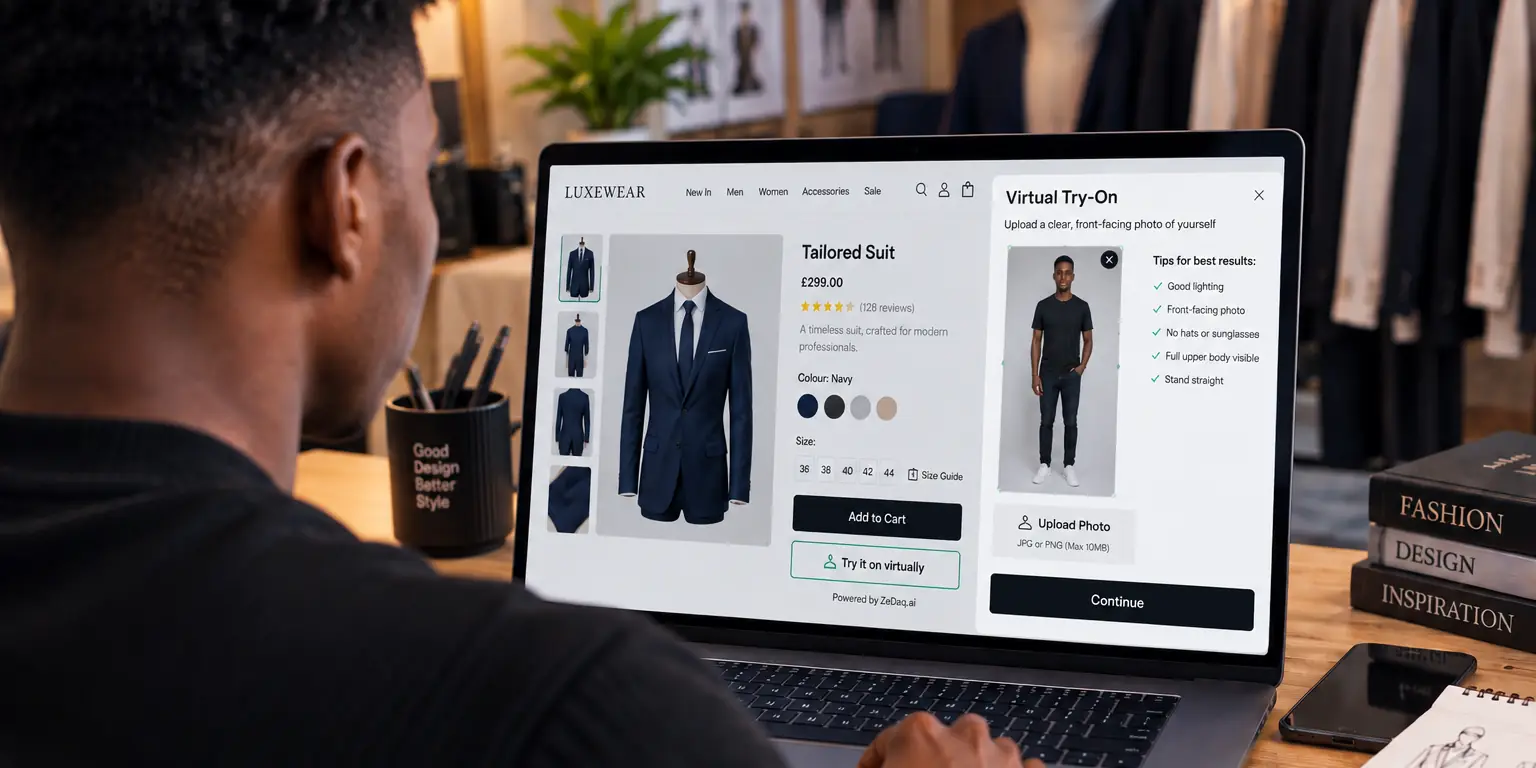
A small client component posts the photo and polls until the status is no longer 202. Resize the photo to about 800px wide first, as the API docs suggest. The React storefront guide has a full upload component you can reuse here.
On the client, call /api/tryon, then repeat GET /api/tryon/{jobId} every 2 seconds. When the response is 200, show data:${mime_type};base64,${image_base64} in an image tag.
Can you use a Server Action instead?
You can, if your app already uses Server Actions for forms. The call to the API is the same, but the file has to travel as form data, and large uploads may hit your framework's body limits.
For a headless store, a route handler is usually easier to test with curl and to reuse from a mobile app.
How do you keep it safe and fast?
- Lock the key. Restrict it to your domain in the dashboard.
- Validate input. Accept only JPEG or PNG files and reject large ones.
- Rate-limit the route. Each render counts toward your plan.
- Show friendly errors. Pass the API's
messagefor cap and trial errors. - Pair with sizing. Add a size hint near the button, as in how to show size recommendations on Shopify product pages.
To forecast how many renders you need, read the guide to virtual try-on API usage and cost.
What if your commerce backend is not Shopify?
The route handler does not care where products live. For a composable stack, see our guide to virtual try-on on commercetools. For Shopify Hydrogen, follow the Hydrogen guide.
Get an API key for your headless store
FAQs
Do I need a separate backend for Next.js?
No. Route handlers run on the server side of the same project. You only need a backend if you already have one you prefer.
Where do I store ZEDAQ_API_KEY?
Use your host's server environment variables. Keep it out of any variable that Next.js exposes to the browser.
Can I call the API from the browser directly?
Not with a server key. The API reference says to keep server keys on your server, so route calls through your own handler.
Does this work with the Pages Router?
The API call is the same. You would write an API route instead of a route handler, so follow the docs for your router.
Try ZeDaq.ai free
Virtual try-on and Find my size for your store, plus client, order and invoicing tools for tailors, in one subscription.