Virtual Try-On on PrestaShop: What Are Your Options?
By the ZeDaq.ai team · · 6 min read
On this page
You have two practical ways to add virtual try-on to a PrestaShop store: paste a script-tag widget into your product template, or call a try-on REST API from your own code. A third route, a ready-made PrestaShop module, depends on what the module catalog offers and who maintains it.
ZeDaq.ai does not have a dedicated PrestaShop module. It does work on custom sites, so the same approach described in the guide to virtual try-on for WooCommerce applies here: a widget or the API.
How does PrestaShop add features like try-on?
PrestaShop extends the store through modules. Its documentation says the software "comes with a set of modules that can be installed/uninstalled and configured as desired" (PrestaShop module docs).
That gives you three ways to bring in a try-on feature:
- A packaged module that someone built for PrestaShop.
- A script tag added to your theme's product template.
- An API call from a custom module or your own backend.
Each trades speed of setup against control. The rest of this guide covers all three.
What is the script-tag widget route?
The widget is the fastest option and needs no module. ZeDaq.ai offers a script-tag widget for WooCommerce, Wix, Squarespace, BigCommerce and custom sites. A PrestaShop store can use it as a custom site.
You paste one script tag into the product template:
<script src="https://www.zedaq.ai/widget/zedaq.js" data-key="…" defer></script>
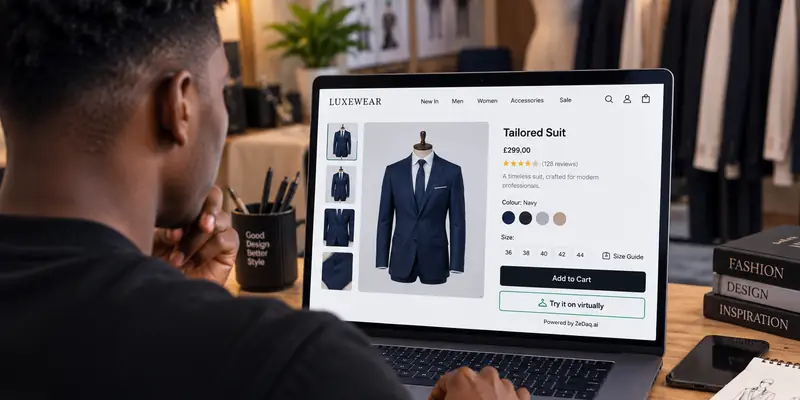
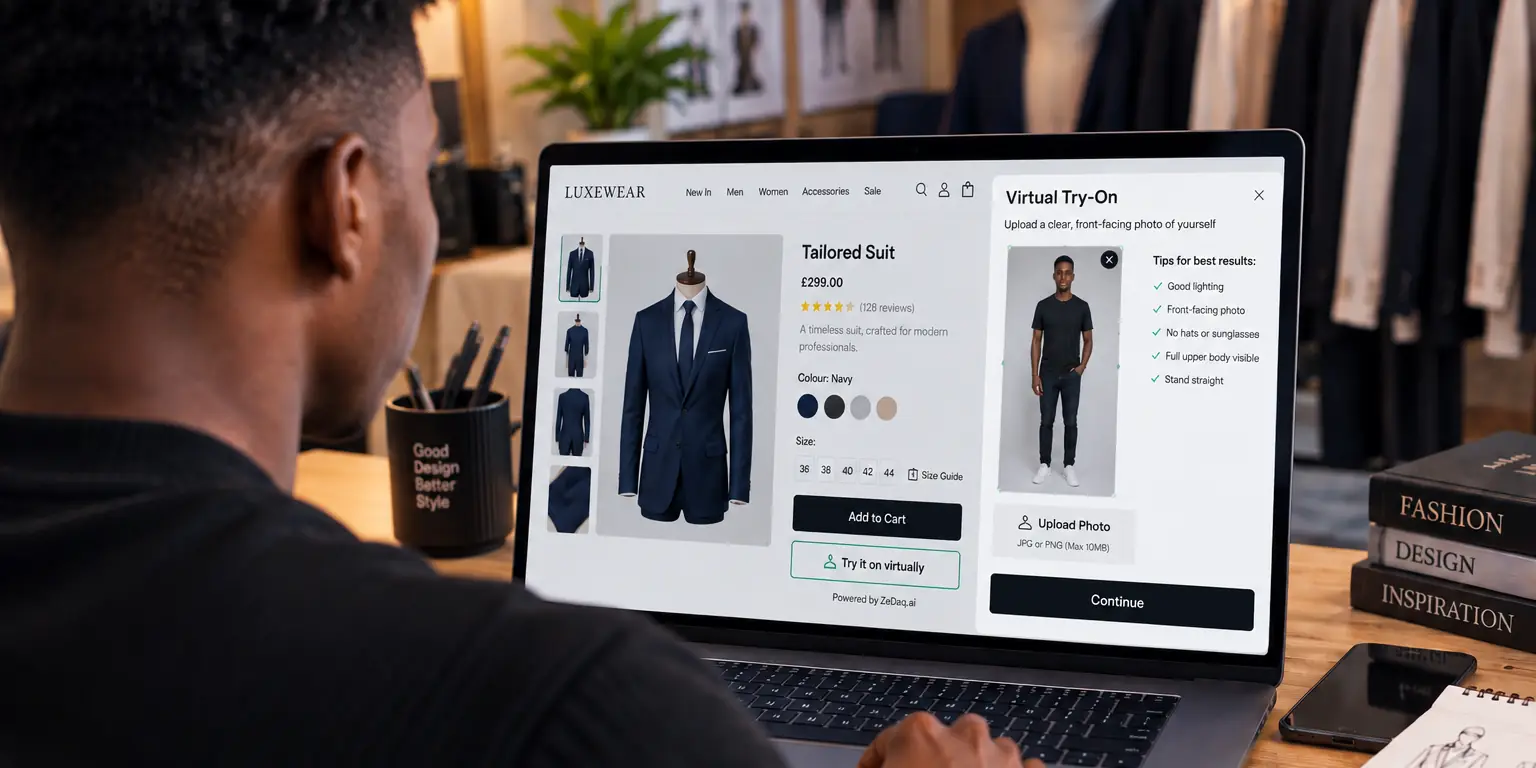
It adds two things to the product page: "Try it on" and "Find my size". The shopper uploads one photo and sees your real garment on their body.
How do you set it up safely?
The widget key is visible in the page source, so it has to be locked to your store's domain. You do this in the ZeDaq.ai Dashboard under API keys. The widget setup docs list the optional settings, such as garment type and where the button appears.
Follow these steps:
- Create an account and make an API key.
- Lock the key to your store's domain.
- Paste the script tag into your product template.
- Set the garment type if a product needs it.
- Test on a real product page, on your phone.
Keep a copy of the template before you edit it, and test on a staging copy of the store if you have one.
What is the REST API route?
The API gives you full control of the experience. You send a request to POST /api/v1/tryon with your key in an x-api-key header. The request carries the shopper's photo and your product image as base64.
A render may return immediately or ask you to poll until it finishes. The API reference in the docs has the exact request and response format.
This route suits stores with a developer, or agencies building a custom PrestaShop module. You design the button, the upload step and the result screen yourself.
What about a ready-made PrestaShop module?
PrestaShop's documentation lists "Modules and Services" and "Module Catalog" sections. This guide has not tested any particular try-on module, so it does not recommend one.
If you evaluate a module, ask these questions:
- Does it work with your PrestaShop version and theme?
- Who maintains it, and when was it last updated?
- Where does the shopper's photo go, and how long is it kept?
- Does it recommend sizes from your own size chart?
- Is pricing per render, per month or one-time?
The guide on what to look for in a try-on provider expands on these points.
Which option should you pick?
| Situation | Best fit |
|---|---|
| You want it live today, no developer | Script-tag widget |
| You want a custom look and flow | REST API |
| You prefer one-click installs | A packaged module, after your own checks |
For most small fashion stores, the widget is the sensible starting point. You can move to the API later if you outgrow it.
The same choice comes up on other platforms. See the options for virtual try-on on Wix and try-on on Squarespace.
What should you check before going live?
A try-on tool touches customer photos, your product pages and your page speed. Run through these checks first.
- Photo handling: know what happens to a shopper's photo. With ZeDaq.ai, a sizing scan is analyzed in the shopper's browser and only measurements are sent. If the shopper also runs a try-on, that photo is sent to render the image. Say so in your privacy policy.
- Domain lock: confirm the key only works on your store's domain.
- Theme updates: if you change the product template, note the edit so a theme update does not remove it.
- Product images: the widget fetches product images only from your own domain or common store CDNs, so check that your images load from one of those.
- Garment type: set upper body, lower body or dresses so the render matches the product.
Keep a short test log. Write down the product, the date and what you saw, so you can compare after changes. It also gives you something concrete to share if you ask a developer for help.
Also decide who owns the setup. If a freelancer or agency maintains your theme, tell them about the script tag, so a later redesign does not drop it by accident.
How do you run a small pilot first?
Do not roll try-on out to every product on day one. Start small and learn.
- Pick a handful of products across tops, bottoms and dresses.
- Add the widget to those product pages only.
- Test on a phone and a laptop, in good light and poor light.
- Ask a few friends or customers to try it and tell you where they got stuck.
- Fix the problems you find, then extend it to more products.
A pilot also shows how many renders you use, which tells you which plan fits. The Free plan is enough for the first tests.
When the pilot ends, decide with facts. Did shoppers find the button? Did the sizes it suggested match what your team would say? Did the pages still load quickly? If the answers are yes, extend it to the rest of the catalog.
How much does it cost?
ZeDaq.ai's pricing has a Free plan at $0 with 3 try-ons, 3 measurements and 5 invoices a month. Paid plans are Micro at $14 a month, Starter at $49, Growth at $129 and Scale at $299.
Every paid plan has a 3-day free trial with no card required. That is enough time to test the widget on a real product page.
Test try-on on your PrestaShop store
FAQs
Is there a ZeDaq.ai PrestaShop module?
No. ZeDaq.ai works through a script-tag widget or a REST API, both of which you can use on a PrestaShop store.
Do I need a developer to add the widget?
Not usually. If you can edit your product template, you can paste the script tag. An API integration does need a developer.
Does the widget show size recommendations too?
Yes. It adds "Try it on" and "Find my size". Merchants enter their own size chart in the Dashboard under Size charts.
Can I use the API with my own design?
Yes. Call POST /api/v1/tryon with your x-api-key header and build the interface around it.
Try ZeDaq.ai free
Virtual try-on and Find my size for your store, plus client, order and invoicing tools for tailors, in one subscription.