Virtual Try-On on Wix: What Are Your Options?
By the ZeDaq.ai team · · 6 min read
On this page
- What are the ways to add try-on to a Wix store?
- How does the script-tag widget work on Wix?
- How do you add the widget to Wix step by step?
- When should you use the API instead?
- How do you get good results on a Wix fashion store?
- How much does try-on on Wix cost?
- How does Wix compare with other non-Shopify platforms?
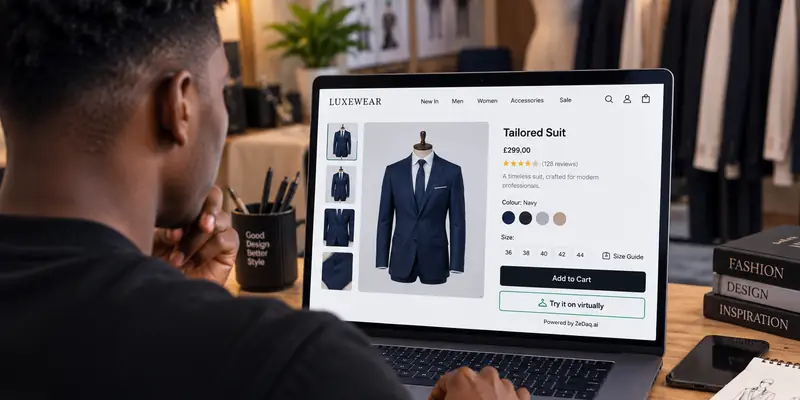
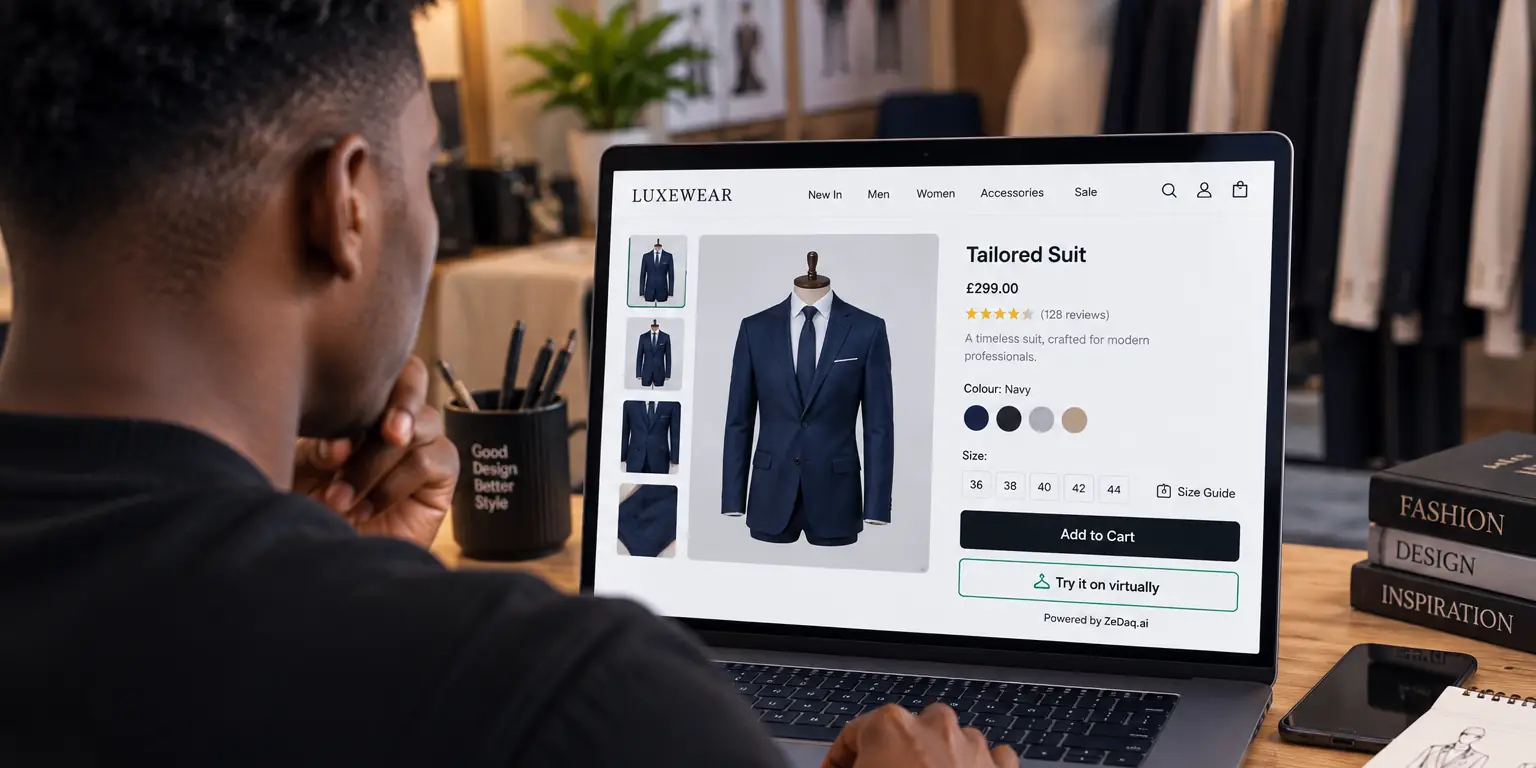
Your two main options for virtual try-on on Wix are a script-tag widget added through Wix's Custom Code settings, which places a "Try it on" button on your store, and a try-on REST API for custom or headless builds. The widget needs no developer, while the API lets you design the experience yourself.
Wix works differently from Shopify, where try-on usually comes as an app. The setup is closer to other non-Shopify platforms, and our guide to virtual try-on for WooCommerce follows the same script-based approach. This article covers what's specific to Wix.
What are the ways to add try-on to a Wix store?
There are three realistic routes. Each suits a different kind of store.
| Option | How it works | Best for |
|---|---|---|
| Script-tag widget | Paste one line of code into Wix Custom Code | Most Wix Stores fashion sites |
| REST API | Your developer sends photos to an API and shows the result | Custom or headless builds |
| Apps from the Wix App Market | Install a listed app, if one fits your needs | Stores that prefer an app install |
We haven't reviewed Wix App Market apps here. If you go that route, check each app's listing for what it actually does with clothing, and test it on your own products.
How does the script-tag widget work on Wix?
ZeDaq.ai offers a widget for Wix, as well as WooCommerce, Squarespace, BigCommerce and custom sites. You paste one script tag, and it adds two buttons for shoppers: "Try it on" and "Find my size."
With Try it on, the shopper uploads one photo and sees your real garment on their body. With Find my size, a 30-second scan from one photo plus height returns a size from your own size chart.
See the widget from the shopper's side
Try it on yourself
Live renderUpload a photo, pick a piece, see it rendered on you.
Pick something to try on
What do you need before you start?
- A published Wix site with a connected domain. Wix's guide to embedding custom code lists both as requirements, checked November 2026.
- A ZeDaq.ai account and API key. Create the key in Dashboard → API keys and lock it to your store's domain.
- Clear product images. A front view of the whole garment on a plain background works best.
- Your size charts. Enter one per garment type in Dashboard → Size charts: tops, outerwear, dresses and bottoms.
How do you add the widget to Wix step by step?
These steps follow Wix's own Custom Code instructions, checked November 2026. Wix can change its menus, so check that page if a label looks different.
- Create your API key. In the ZeDaq.ai dashboard, go to Dashboard → API keys, create a key and lock it to your Wix domain.
- Open Custom Code in Wix. In your site's dashboard, go to Settings, then Custom Code under Development & integrations.
- Add the code. Click + Add Custom Code and paste the script tag:
<script src="https://www.zedaq.ai/widget/zedaq.js" data-key="YOUR_KEY" defer></script>
- Choose where it loads. Wix lets you choose all pages or specific pages. Pick the pages that show your products.
- Choose the placement. Wix offers Head, Body – start or Body – end. Follow the setup notes in the widget documentation.
- Save and publish. Then open a product page on your phone and tap "Try it on."
Replace YOUR_KEY with your own key. Never share an unlocked key, because anyone could use it on another site.
When should you use the API instead?
The REST API suits stores where a developer controls the front end. That might be a headless build, a custom checkout flow or a lookbook page that doesn't use Wix Stores product pages.
The call is POST /api/v1/tryon with your key in an x-api-key header. Your code sends the request from your own page and shows the result in your own design. Request fields and responses are listed in the API reference.
Choose the API if:
- You want full control over the button, layout and loading states.
- Your product pages are not standard Wix Stores pages.
- You want try-on in more than one place, such as a website and an app.
Choose the widget if you want try-on working in an afternoon without a developer.
A quick way to decide
Ask who will maintain the feature a year from now. If the answer is "me, without a developer," pick the widget, since setup is one line of code. If you already pay a developer to look after a custom front end, the API keeps try-on inside the code they already manage. You can also start with the widget and move to the API later, since both use the same account and API key setup.
How do you get good results on a Wix fashion store?
The widget can only work with what your store gives it. These checks matter most:
- Use the full garment as the main image. Close-ups of a collar or hem don't give the AI enough to work with.
- Keep backgrounds plain. White or light gray keeps garment edges clear.
- Set up size charts by garment type. A tops chart needs chest. A dresses chart uses chest, waist and hips.
- Add a photo tip near the button. Ask shoppers for a full-length, front-facing photo in good light.
- Test on mobile. Many Wix templates stack sections differently on phones, so check where the buttons appear.
Dresses need extra care because of length and fabric. Our guide on dress try-on and what to watch covers sheer fabrics, maxi lengths and photo prep.
How much does try-on on Wix cost?
ZeDaq.ai pricing is the same whatever platform you use. Plans are listed on the pricing page:
| Plan | Price | Notes |
|---|---|---|
| Free | $0 | 3 try-ons, 3 measurements and 5 invoices a month |
| Micro | $14/mo | |
| Starter | $49/mo | |
| Growth | $129/mo | |
| Scale | $299/mo |
Every paid plan has a 3-day free trial with no card required. The Free plan is enough to install the widget and test it on your own products before you commit.
How does Wix compare with other non-Shopify platforms?
The script tag is the same across platforms. What changes is where you paste it.
- On Wix, it goes into Settings → Custom Code.
- On Squarespace, the location is different. See our guide to try-on on Squarespace.
- On BigCommerce, it goes into your storefront's product template. See our guide to try-on on BigCommerce.
In every case, lock your API key to the store's domain before going live.
Get your API key and add try-on to Wix
FAQs
Is there a ZeDaq.ai app in the Wix App Market?
No. On Wix, ZeDaq.ai works through the script-tag widget or the REST API.
Does the widget need a Wix premium plan?
Wix's Custom Code guide lists a published site and a connected domain as requirements. Check your Wix plan details to confirm you can connect a domain.
Will shoppers need to install anything?
No. Try-on and "Find my size" run on your product page in the browser.
Where do I lock my API key to my Wix domain?
In the ZeDaq.ai dashboard, under Dashboard → API keys. Lock it before you paste the script, so the key only works on your store.
What if the buttons don't appear after publishing?
Check that the code is set to load on your product pages, that the site is published, and that the key is locked to the exact domain shoppers visit.
Try ZeDaq.ai free
Virtual try-on and Find my size for your store, plus client, order and invoicing tools for tailors, in one subscription.