Virtual Try-On on Medusa: An Open-Source Integration Guide
By the ZeDaq.ai team · · 5 min read
On this page
- What is Medusa, and where does try-on fit?
- What do you need before you start?
- Which integration route should you pick?
- How do you build the API version in a storefront?
- How do you add size recommendations?
- How should you structure the code?
- Why choose an open-source stack for try-on?
- What should you test before launch?
- What does it cost to run?
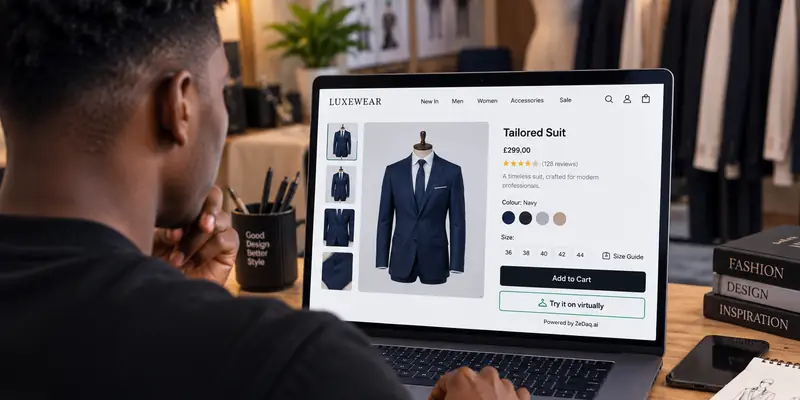
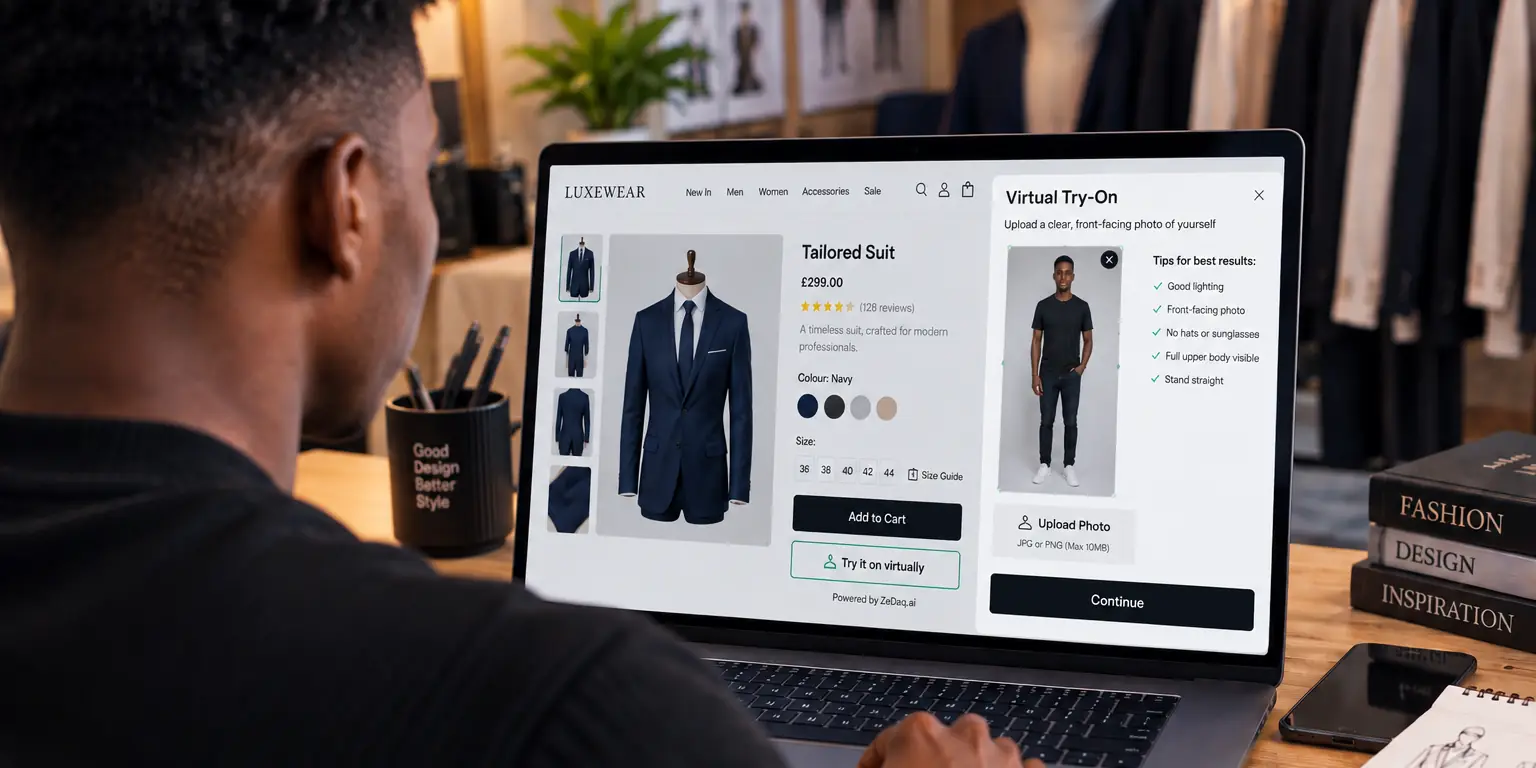
To add virtual try-on to a Medusa store, add a "Try it on" component to your storefront and have it call a try-on REST API with the shopper's photo and the product image. You can also load a script-tag widget if you want a faster start.
This guide is for developers. It uses the ZeDaq.ai API, which the virtual try-on API guide for developers describes in more general terms.
What is Medusa, and where does try-on fit?
Medusa describes itself on GitHub as "an open-source commerce platform with a built-in framework for customization". Its core is licensed under the MIT License, according to the same page.
The Medusa docs list commerce modules for things like inventory, carts, payments and orders. They also list a framework for custom API endpoints and workflows, and an admin dashboard.
Try-on is a shopper-facing feature, so it belongs in the storefront, not in the backend modules. That is the same place you would put a size guide or a reviews widget.
What do you need before you start?
- A running Medusa storefront. Medusa offers a Next.js Starter Storefront as a place to begin.
- A ZeDaq.ai account and API key. Create it in Dashboard → API keys and lock it to your storefront domain.
- Product images with a clear view. A full-length front shot on a plain background works best.
- Your size charts. Enter one per garment type in Dashboard → Size charts: tops, outerwear, dresses and bottoms.
Which integration route should you pick?
| Route | What you build | Best for |
|---|---|---|
| Script-tag widget | One script tag in your layout | A quick test on a live storefront |
| REST API | Your own button, upload form and result panel | Matching your design system |
The widget adds "Try it on" and "Find my size" buttons. You paste <script src="https://www.zedaq.ai/widget/zedaq.js" data-key="…" defer> into the product template, with a domain-locked key. See the widget documentation for the optional attributes.
How do you build the API version in a storefront?
Follow these steps.
- Create a component. Build a client-side component for the product page with a file input for the shopper's photo.
- Read the product image. Use the image URL from the product data your page already loads from Medusa.
- Encode both images. Convert the shopper photo and the product image to base64.
- Call the API. Send
POST /api/v1/tryonwith thex-api-keyheader and a JSON body. - Render the result. Show the returned image in a modal or panel.
The body fields are person_image_base64, product_image_base64 and an optional garment_type (upper_body, lower_body or dresses). The API reference has the full list.
How do you handle a slow render?
A 202 response includes a job_id and a poll_url. The docs say to poll that URL every 2 seconds until a 200 returns the image. A successful 200 includes image_base64 and mime_type.
Where should the key live?
The key is visible to anyone who views your page source, so it must be locked to your domain. The docs say requests from any other origin are refused. Never use an unlocked key on a public page.
If Medusa's own docs say anything about secrets in the storefront, follow them. For example, the Next.js starter page notes that storefront requests pass a publishable API key. That key is for Medusa, and it is separate from your ZeDaq.ai key.
How do you add size recommendations?
The scan endpoint, POST /api/v1/scan, returns body measurements and a size from your own chart. If you have no chart for a garment type, it falls back to a generic UK, US, EU or AU size.
Medusa stores your variants, so match the size label the scan returns to the variant option on the page. Keep your option names the same as your chart labels, such as "S", "M" and "L". That way you can preselect the variant.
How should you structure the code?
Keep the try-on in one self-contained component so you can switch it on or off per product.
- Props. Pass the product image URL and the garment type from the product page.
- State. Track four states: idle, uploading, waiting and done, plus an error state.
- Garment type. Store the type with the product, for example as product metadata, so the right value is sent each time.
- Fallback. If the call fails, show a short message and let the shopper keep browsing.
This keeps the integration easy to remove or change later, and it keeps your Medusa backend untouched.
Why choose an open-source stack for try-on?
An open stack lets you place the button, the upload flow and the result exactly where your design needs them. You are not limited to a theme's app slots.
The trade-off is that you build and maintain the component yourself. If your team is small, start with the widget and move to the API when you need more control.
What should you test before launch?
- Domain lock. The key should work on your domain only. Other origins get
domain_not_allowed. - Caps. Show a clear message for
tryon_cap_reachedandmeasurement_cap_reached. - Garment types. Try an upper-body, a lower-body and a dress product.
- Phones. Test photo upload on a real phone, not just a desktop browser.
- Variants. Check that the size from the scan selects the right variant.
If you are weighing other stacks, the guide to virtual try-on on commercetools shows the same pattern on a different headless platform. For Webflow sites, see virtual try-on on Webflow.
What does it cost to run?
Each try-on render counts as one try-on, and each scan counts as one measurement. The Free plan includes 3 try-ons and 3 measurements a month.
Paid plans are Micro at $14/mo, Starter at $49/mo, Growth at $129/mo and Scale at $299/mo. Every paid plan has a 3-day free trial with no card required. Current limits are on the pricing page.
Before you pick a flow, look at what shoppers see in a virtual fitting room for clothing websites.
Get an API key and test on your storefront
FAQs
Is there a Medusa plugin for ZeDaq.ai?
No. ZeDaq.ai does not ship a Medusa plugin. You connect through the REST API or the script-tag widget.
Can I use the widget with a Next.js storefront?
Yes, the widget supports custom sites. Add the script tag to your layout or product template and lock the key to your domain.
Does the shopper's photo get sent for sizing?
For sizing, the docs say the browser helper measures the photo on the device and the photo itself is not sent. Only measurements go to the scan endpoint.
Do I need to change my Medusa backend?
Not for the widget or for calls made from the storefront. The try-on is a frontend addition that talks to the ZeDaq.ai API.
Try ZeDaq.ai free
Virtual try-on and Find my size for your store, plus client, order and invoicing tools for tailors, in one subscription.