Mobile Camera Capture for Try-On: HTML5 Input vs Native SDK
By the ZeDaq.ai team · · 7 min read
On this page
- What are the three ways to capture a photo?
- How does the HTML5 file input work?
- How does getUserMedia work?
- When should you use a native SDK?
- How do the three compare on the things that matter?
- What should you do before sending the photo?
- How do you handle orientation and cropping?
- How do you test camera capture properly?
- What about privacy when you capture from the camera?
- How do you design for bad photos?
- What fallback should every capture flow have?
- Which one should you pick?
For most try-on features, a plain HTML5 file input with the capture attribute is the simplest way to get a photo from a phone camera. Use getUserMedia when you need a live preview or an on-screen guide, and a native SDK only when you are building a mobile app.
This comparison is for developers choosing how shoppers provide a photo to a try-on API. It covers three approaches, their trade-offs and a decision guide. Browser behavior changes, so test on real devices and check MDN for current support.
What are the three ways to capture a photo?
| Approach | What it is | Best for |
|---|---|---|
| HTML5 file input | <input type="file">, optionally with capture |
Websites and quick launches |
getUserMedia |
Browser API that opens a live camera stream | Websites needing a preview or guide overlay |
| Native SDK | Camera code in an iOS or Android app | Mobile apps |
Each one produces an image you can send to the API. They differ in control, effort and what the shopper sees.
How does the HTML5 file input work?
A file input with accept="image/*" lets the shopper choose a photo from the gallery or take a new one. On phones, the browser shows its own picker.
<input type="file" accept="image/*">
Adding capture asks the browser to open the camera directly. The MDN page on the capture attribute describes the values user (front camera) and environment (rear camera). It is a hint, not a guarantee. Some browsers ignore it, and desktop browsers usually show a file picker.
What are the strengths of the file input?
- Almost no code. One element and a handler.
- Native camera quality. The phone's own camera app takes the photo, with its own focus and exposure.
- No camera permission prompt in your page. The operating system handles access.
- Gallery option. Shoppers can use an existing full-length photo.
What are the limits?
- No live guide. You can't draw an outline to show where to stand.
- Inconsistent photos. The shopper may crop the body or hold the phone sideways.
capturesupport varies. Always keep the normal picker as a fallback.
For try-on, the gallery option is a real benefit. A shopper may already have a suitable photo, and the flow stays fast.
How does getUserMedia work?
getUserMedia is a browser API that opens a live video stream from the camera, which you draw into a <video> element and capture to a canvas. See the MDN guide to getUserMedia.
const stream = await navigator.mediaDevices.getUserMedia({
  video: { facingMode: "user" },
});
video.srcObject = stream;
It requires a secure context, so your page must be served over HTTPS, and the shopper must grant permission.
What are the strengths of getUserMedia?
- Guides and overlays. Show an outline, a countdown or a "step back" message.
- Consistent framing. You can check the image before sending it.
- Live features. Needed for any live-camera experience, such as eyewear, which is covered in how live-camera eyewear try-on works.
What are the limits?
- More code and more testing. Different browsers, in-app browsers and devices behave differently.
- Permission friction. A denied permission needs a clear fallback.
- Lower image quality in some cases. The stream is often lower in resolution than the native camera app.
- In-app browsers. Social apps' built-in browsers can restrict camera access.
When should you use a native SDK?
If shoppers use your own iOS or Android app, you can use the platform's camera frameworks directly. You get the best control over focus, orientation and quality, and can add a guide that matches your app design.
The cost is that you build and maintain it for two platforms. If you are in that situation, read about try-on in a React Native shopping app, which explains how a cross-platform app approaches it. Native code is overkill for a website.
How do the three compare on the things that matter?
| Question | File input | getUserMedia | Native SDK |
|---|---|---|---|
| Effort | Lowest | Medium | Highest |
| Works on a mobile website | Yes | Yes (HTTPS) | No, app only |
| Guide overlay | No | Yes | Yes |
| Gallery photos | Yes | Not by default | Possible |
| Permission prompt in page | No | Yes | Yes |
| Photo consistency | Varies | Good | Best |
What should you do before sending the photo?
Whichever method you choose, prepare the image:
- Check orientation. Phone photos can carry rotation data; handle it so people aren't sideways.
- Resize in the browser. A smaller file uploads faster on mobile data.
- Validate on the server. Never trust client checks. See the guide to securing shopper photo uploads.
- Tell the shopper what happens to the photo. Say it near the button.
For ZeDaq.ai, the shopper uploads one photo and sees the store's real garment on their body. API calls use POST /api/v1/tryon with an x-api-key header, covered in the API reference. Keep the key on your server.
How do you handle orientation and cropping?
Phones store a rotation flag in the photo instead of turning the pixels, so the same picture can look correct in one place and sideways in another. Normalize it before you upload. Drawing the image to a canvas, or using a small image library, applies the rotation and removes the flag.
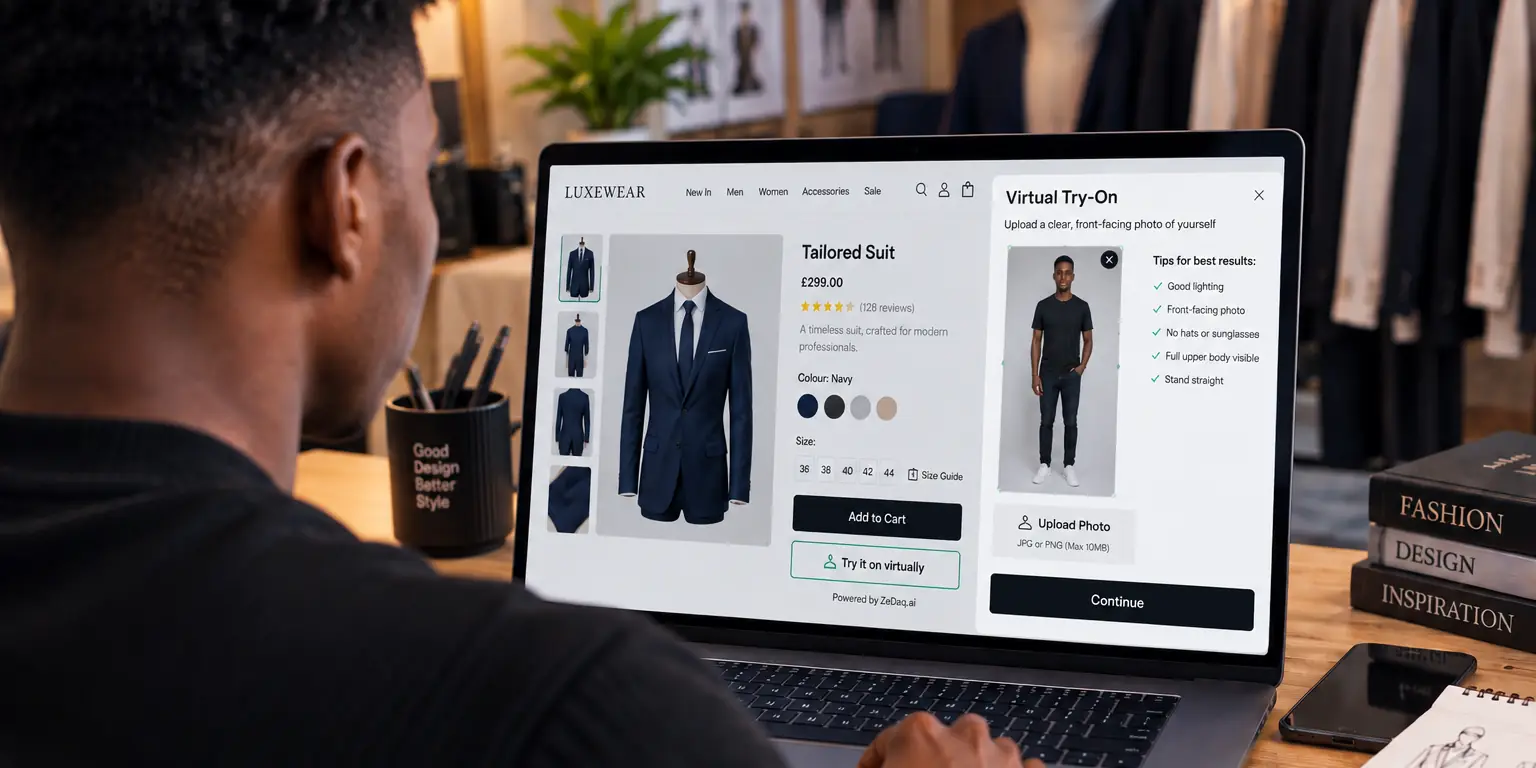
Cropping is the other trap. Try-on needs the whole body, head to feet. If you build a custom capture with getUserMedia, draw a simple frame so the shopper knows where to stand. If you use the file input, put the instruction above the button, because you can't control what the camera app shows.
How do you test camera capture properly?
Test on real phones, not just a desktop browser with device mode switched on. Include one recent iPhone, one Android phone from a popular brand, and one older, slower device. Try each in the default browser and in a social app's in-app browser.
Check four things on each: does the camera open, does the photo come back the right way up, how long does the upload take on mobile data, and what happens if you deny permission. Write the results in a small table and fix the worst problem first.
What about privacy when you capture from the camera?
A camera feed is sensitive. Only start the stream after the shopper taps a button, stop it as soon as you have the photo, and never record in the background. Say clearly what the photo is used for. Shoppers hesitate when the purpose is vague, so one plain sentence beside the button helps.
How do you design for bad photos?
Even a good capture method produces bad photos sometimes. Plan for it:
- Give a short instruction before capture: stand straight, full body in frame, good light.
- Show a plain error if the image is too dark or the body is cropped.
- Let the shopper retake the photo without starting over.
- Keep a fallback, so a failed camera permission still leads to a file upload.
Good prompts reduce failures more than any technical choice. If you use the widget on a WooCommerce site instead of building the capture yourself, the WooCommerce try-on guide shows the paste-in route.
What fallback should every capture flow have?
Plan for the case where the camera does not work at all. A shopper may deny permission, use an older browser, or open your page inside a social app. In each case the flow should drop back to a plain file upload with the same instruction text.
A good fallback order is: try the live camera if you built one, then the file input with capture, then the file input without it. The shopper should never see a dead end, only a slightly different way to provide the same photo.
Which one should you pick?
Use this short decision guide:
- Building a website and want the fastest launch? Use the file input.
- Need a guide overlay or a live preview? Use
getUserMedia, with a file input fallback. - Building a mobile app? Use the native camera, or a cross-platform camera module.
- Not sure? Start with the file input, measure how many photos fail, and upgrade only if the failure rate justifies it.
Send your first try-on photo to the API
FAQs
Does the capture attribute work on desktop?
Usually not. Desktop browsers normally show a file picker, so design for that case.
Is getUserMedia safe to use?
It's a standard browser feature that needs HTTPS and the shopper's permission. The shopper can deny it, so always provide a fallback.
Should I let shoppers pick from their gallery?
Yes, it's often useful. A suitable full-length photo they already have is easier than taking a new one.
Do I need a native SDK for a Shopify store?
No. A Shopify store runs in the browser, so the web methods apply, and the ZeDaq.ai Shopify app handles the flow for you.
Which camera should I request, front or rear?
For a full-length photo, the rear camera gives better quality, but the shopper often needs someone to hold it. The front camera is easier for solo use but lower in quality, so offer both.
Try ZeDaq.ai free
Virtual try-on and Find my size for your store, plus client, order and invoicing tools for tailors, in one subscription.