Webflow Ecommerce: Custom Code Embeds for Product Pages
By the ZeDaq.ai team · · 4 min read
On this page
To add custom code to Webflow Ecommerce product pages, place a Code Embed element on the product template page, paste your script tag, and publish. Because the template is shared, the code then runs on every product that uses it.
The same approach adds a try-on widget. For background on the widget model, the guide to virtual try-on without a plugin explains why a script tag works on stores that have no app. Here we focus on Webflow.
What do you need before you start?
- A paid Webflow plan. Webflow says the Code Embed element requires a paid site plan or Workspace (checked November 2026).
- An Ecommerce product template. This is the page every product shares.
- Your widget key. Create it in the ZeDaq.ai Dashboard under API keys.
- Your live domain. The key must be locked to your store's domain.
Where does the code go on a product page?
Webflow offers a few places for custom code. Pick based on what the code does.
| Place | What it affects | Good for |
|---|---|---|
| Code Embed on the product template | Every product on that template | Widgets tied to product pages |
| Page settings custom code | One page | A single landing page |
| Site settings custom code | The whole site | Scripts needed everywhere |
For a try-on widget, the product template is the natural place, since the code belongs only on product pages. Webflow's help center also covers custom code in the CMS if you want to pass CMS values into your code.
How do you add the widget step by step?
- In the ZeDaq.ai Dashboard, create a key under API keys and lock it to your store's domain.
- In the Webflow Designer, open your Ecommerce product template page.
- Drag a Code Embed element near the product details or the add to cart area.
- Paste the script tag below, replacing the key.
- Save, publish and open a product on your live domain.
<script src="https://www.zedaq.ai/widget/zedaq.js"
  data-key="YOUR_WIDGET_KEY"
  data-garment-type="upper_body"
  defer></script>
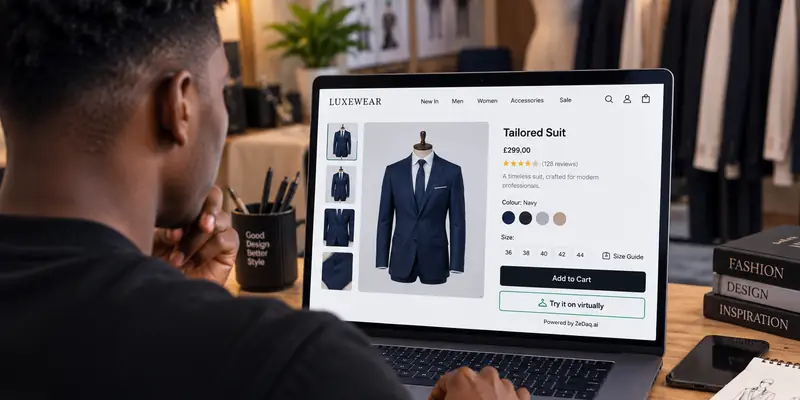
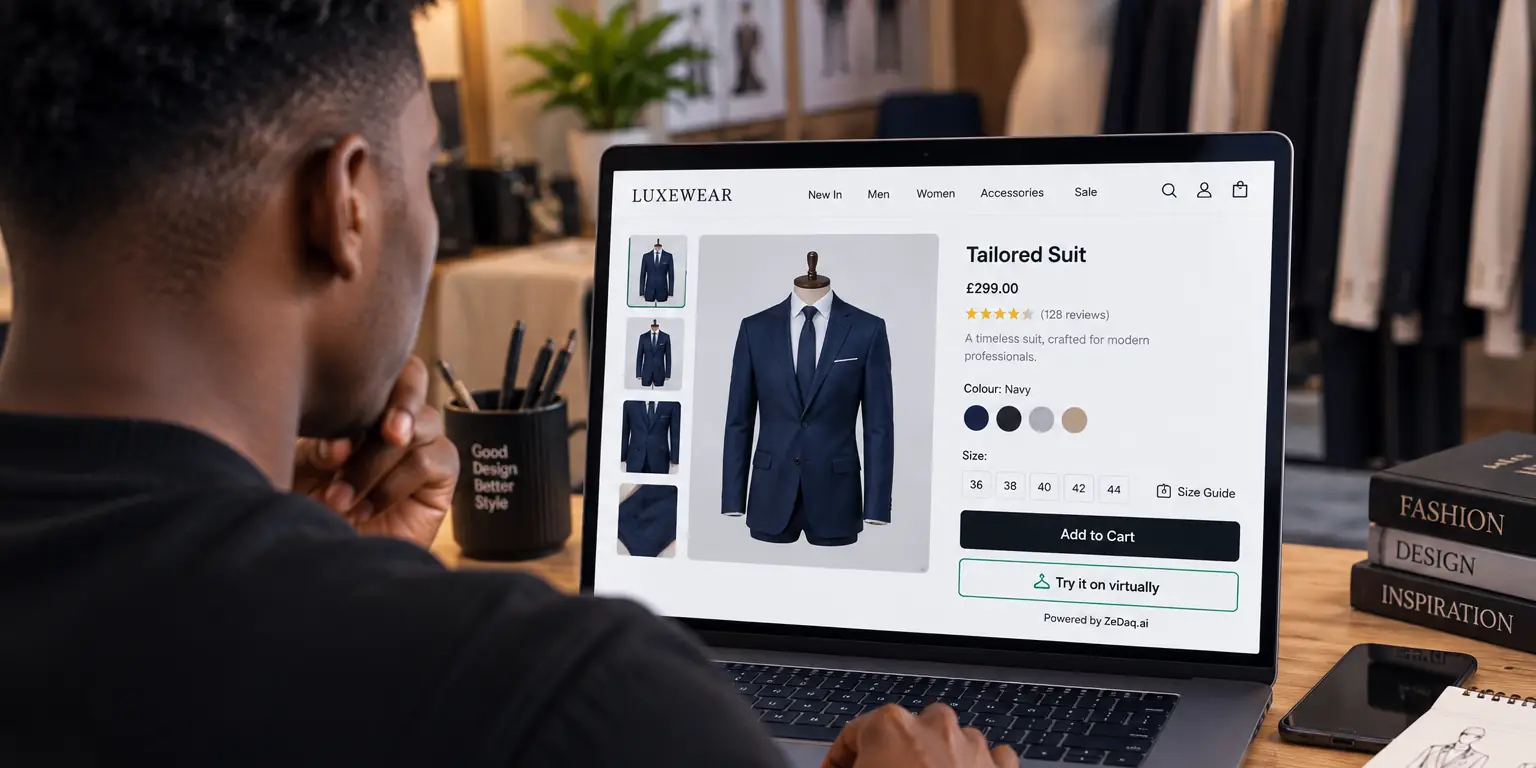
The widget adds a "Try it on" button and a "Find my size" option. Setup details are in the widget documentation.
Which attributes can you set?
The widget reads a few data- attributes on the script tag, according to the ZeDaq.ai API docs.
data-keyis your widget key.data-garment-typesets the garment type, such asupper_body.data-targettakes a CSS selector, so the button appears inline in that spot instead of the default floating button.data-product-imagesets the product image. If you omit it, the widget uses your product gallery or the page'sog:image.data-button-labelchanges the button text.data-size="off"turns off the size feature.
Webflow lets you add custom attributes to its own elements too, which helps you give the target element a stable ID or class for data-target. Check the API docs for the full list of accepted garment types.
What goes wrong most often?
- A domain error. The widget key appears in your page source, so unlocked keys are refused with a
domain_lock_requirederror. Requests from a domain you did not allow returndomain_not_allowed. Make sure the domain you test on is the one you locked. - The Embed does not appear. Webflow notes that code for other frameworks won't render. A plain script tag is fine, but test it on a published page, not only in the Designer.
- Wrong garment type. If the type does not match the product, the result will be off. Use separate templates for very different garments, or set the type per product.
- Image not found. The widget fetches images only from your own domain or common store CDNs. Check where your product images are hosted.
How do you test it properly?
Publish to your staging or live domain and open a product page on a phone. Tap the button, upload a clear full-length photo, and check the result. Then try "Find my size" and compare the answer with your size chart.
Repeat on two products with different garment types. Merchants enter their size guide in the Dashboard under Size charts, one chart per garment type, so the answer should match your own labels.
Can you call the API instead of using the widget?
Yes. If you build a custom front end, send POST /api/v1/tryon with an x-api-key header from your server. The reference is in the API documentation. The guide for developers adding try-on compares both routes.
Embed the same idea on other builders too. See Wix custom code on product pages and Squarespace code injection for those platforms.
Get a widget key and add try-on to Webflow
FAQs
Do I need a paid Webflow plan to use a Code Embed?
Webflow says the Code Embed element requires a paid site plan or Workspace. Check your plan before you start.
Does the code run on every product?
If you put it on the product template page, yes. Every product that uses that template will load the widget.
Is there a ZeDaq.ai app for Webflow?
No. Use the script-tag widget with a Code Embed, or call the REST API from your own code.
Can I put the key in the page safely?
For the widget, yes, as long as the key is locked to your domain. For API calls, keep the key on your server.
Try ZeDaq.ai free
Virtual try-on and Find my size for your store, plus client, order and invoicing tools for tailors, in one subscription.