Marketplace Sizing Data Requirements: Zalando, ASOS and Others
By the ZeDaq.ai team · · 4 min read
On this page
Marketplace sizing data requirements differ from one marketplace to the next, so the safest approach is to keep one clean master size file and map it to each marketplace's format. Each marketplace publishes its own partner rules, and you should read those before you upload a single product.
This guide shows what to prepare, where to look for the official rules, and how to keep your own store consistent. If you also run your own site, the same master file feeds virtual try-on for WooCommerce and other custom stores.
Where do you find each marketplace's sizing rules?
Always start with the marketplace's own partner documentation. Rules change, and a blog post (including this one) can go out of date.
Zalando runs a partner learning hub with guides for its Partner Program and Connected Retail models. As of November 2026, its Zalando Partner University lists articles on attributes, images and onboarding articles. It also has a "Fit and Shape" attribute guide. Checked November 2026.
For ASOS, look in the partner or brand onboarding material you receive when you are accepted, and in ASOS's customer care pages to see how sizing appears to shoppers. We could not confirm ASOS's partner sizing rules from a public page, so ask your account contact for the current spec.
Other marketplaces follow the same pattern: a seller portal, a product feed or template, and a set of required attributes.
Save a dated copy of each rule set when you read it. If a listing is rejected later, you can see whether the rules changed or your file did.
What sizing data do marketplaces usually ask for?
Requirements vary, but you will usually meet some mix of these fields:
- A size label in the marketplace's accepted format (for example, a letter size or a numeric size).
- A size system or region, such as UK, US or EU.
- Fit and shape attributes, such as regular, slim or relaxed.
- A size chart or measurements, in body or garment terms.
- Model information, such as the size the model wears.
Treat this list as a checklist of what to have ready, not as any one marketplace's official list. Check each portal for the exact fields.
How do you build a master size file?
A master file is one spreadsheet that holds the truth about every size you sell. You then export from it to each channel.
- List every product and size. One row per size variant, using your own SKU.
- Add your own size label. This is what appears on your tag and in your store.
- Add body measurements for each size. Use a minimum and maximum for chest, waist and hips, in centimeters.
- Add garment measurements such as length and sleeve length, laid flat.
- Add a fit note. One plain phrase, such as "relaxed through the body".
- Add one column per marketplace for the size label that channel expects.
The last step is your size mapping. If a marketplace calls your "M" a "38", the mapping column records it once, and every export uses it.
How do you avoid mismatched sizes across channels?
Mismatches happen when the same garment carries different size labels on different channels. A shopper who bought a medium on one site then orders a medium on another and gets a different fit.
Keep these habits:
- Change sizes in the master file first, then re-export.
- Never edit a size label directly inside a marketplace portal without updating the master.
- Keep body measurements in one unit. Convert at export time, not by hand.
For the clothing-size basics that sit under a master file, see the guide to WooCommerce variable products for clothing sizes. If you also sell on Etsy, Etsy sizing information that works shows how to write listing-level detail.
How can your own store use the same data?
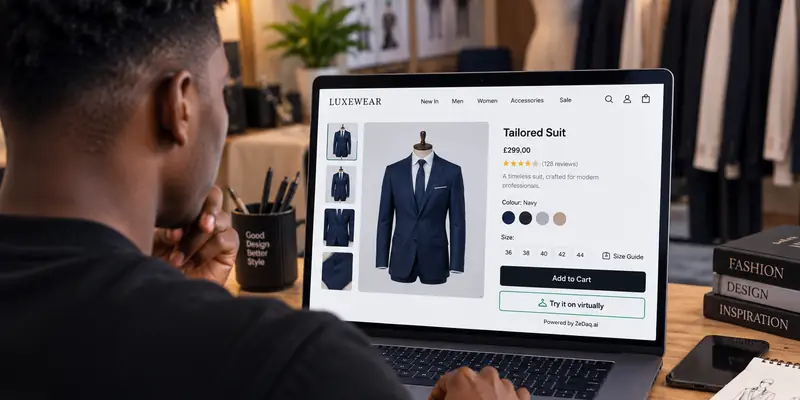
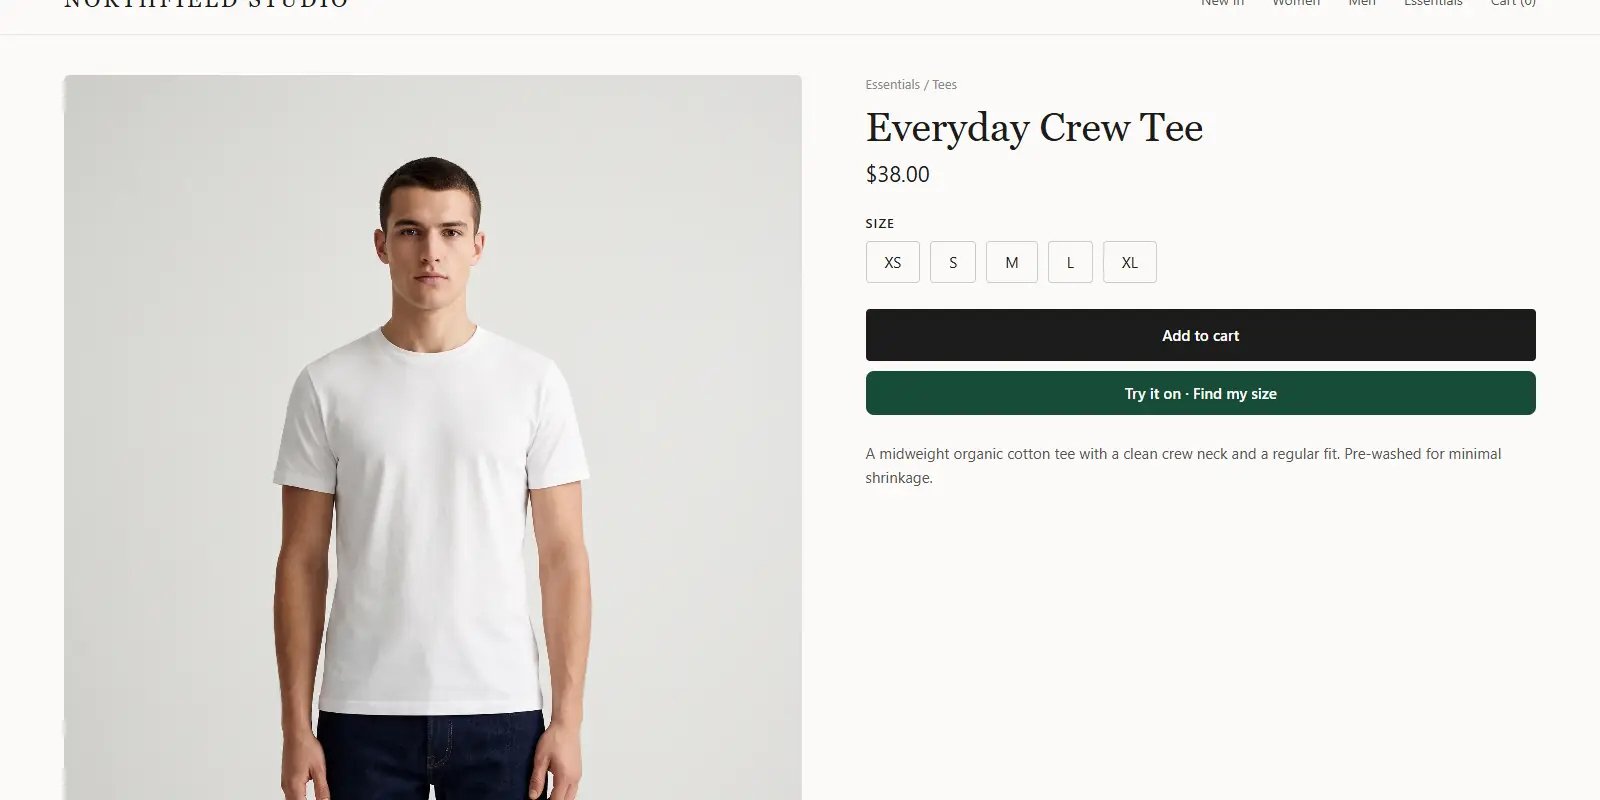
Your own site can use the same master file, and this is where size data pays off twice. On your store, the ZeDaq.ai size recommendation reads a 30-second body scan (one photo plus height) and matches it to your own size chart.
Merchants enter one chart per garment type (tops, outerwear, dresses and bottoms) in Dashboard → Size charts. The scan then recommends your own labels, and sizes up to the largest relevant measurement when a shopper falls between two sizes.
Developers can call the REST API with POST /api/v1/tryon and an x-api-key header. The full reference is in the virtual try-on API guide for developers and the API reference.
Use your size data on your own store
FAQs
Do all marketplaces use the same size labels?
No. Each marketplace sets its own accepted labels and systems. Keep a mapping column per channel so you only convert once.
Should I use body or garment measurements?
Keep both in your master file. Body measurements help shoppers choose a size, and garment measurements show how the piece will sit.
What if a marketplace rejects my size values?
Compare your file with the field list in the marketplace's own partner portal. Fix the mapping column in your master file, then export again.
Can I use one size chart on every channel?
Use one source of truth, but let each channel have its own label column. The measurements stay the same while the labels change.
Try ZeDaq.ai free
Virtual try-on and Find my size for your store, plus client, order and invoicing tools for tailors, in one subscription.