Lazy-Loading a Try-On Widget Without Hurting Core Web Vitals
By the ZeDaq.ai team · · 4 min read
On this page
- What are Core Web Vitals, and where can a widget hurt them?
- How does the ZeDaq.ai widget load?
- Should you delay the script even further?
- How do you stop the button from causing layout shift?
- How do you test the effect?
- Which pages should load the widget at all?
- Widget or API, which is lighter on the page?
- What is a safe rollout plan?
To keep a try-on widget from hurting Core Web Vitals, load its script with defer, reserve space for its button so the page doesn't shift, and test before and after on a real product page. A deferred script doesn't block the page from drawing its main content.
This guide is for developers adding a third-party widget to a store. It builds on the virtual try-on API for ecommerce developers and uses ZeDaq.ai's script-tag widget as the example.
What are Core Web Vitals, and where can a widget hurt them?
Core Web Vitals are Google's measures of page experience. web.dev explains them as loading, interactivity and visual stability.
A widget can touch each one:
- Loading (LCP). If the script competes with your main product image for bandwidth, the image appears later. See web.dev on optimizing LCP.
- Interactivity. A script that runs a lot of code on load can keep the page busy when the shopper taps.
- Visual stability (CLS). A button that appears late and pushes content down makes the page jump. See web.dev on layout shift.
How does the ZeDaq.ai widget load?
You paste one line into the product template:
<script src="https://www.zedaq.ai/widget/zedaq.js" data-key="…" defer></script>
The defer attribute tells the browser to download the file without blocking page parsing and run it afterward. MDN documents how defer works.
The key must be locked to your store's domain in Dashboard → API keys. The widget adds "Try it on" and "Find my size". Setup details are in the widget documentation.
Should you delay the script even further?
You can, but there is a trade-off. If the script loads late, the button appears late, and that can cause a layout shift or make shoppers think there is no try-on.
Three patterns, from simplest to most involved:
- Keep
deferand put the tag at the end of the template. This is enough for many stores. - Add the tag when the browser is idle. Inject the script from your own code after the page has loaded.
- Add the tag when the product area scrolls into view. The Intersection Observer API tells you when an element is visible.
Results depend on your theme and other apps, so test each pattern on your own store.
How do you stop the button from causing layout shift?
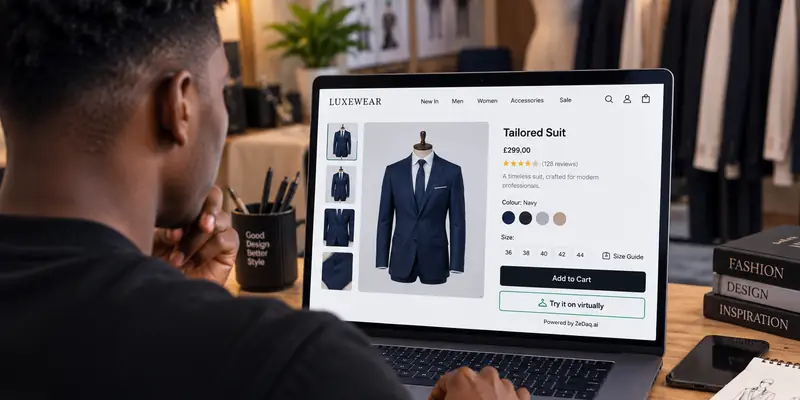
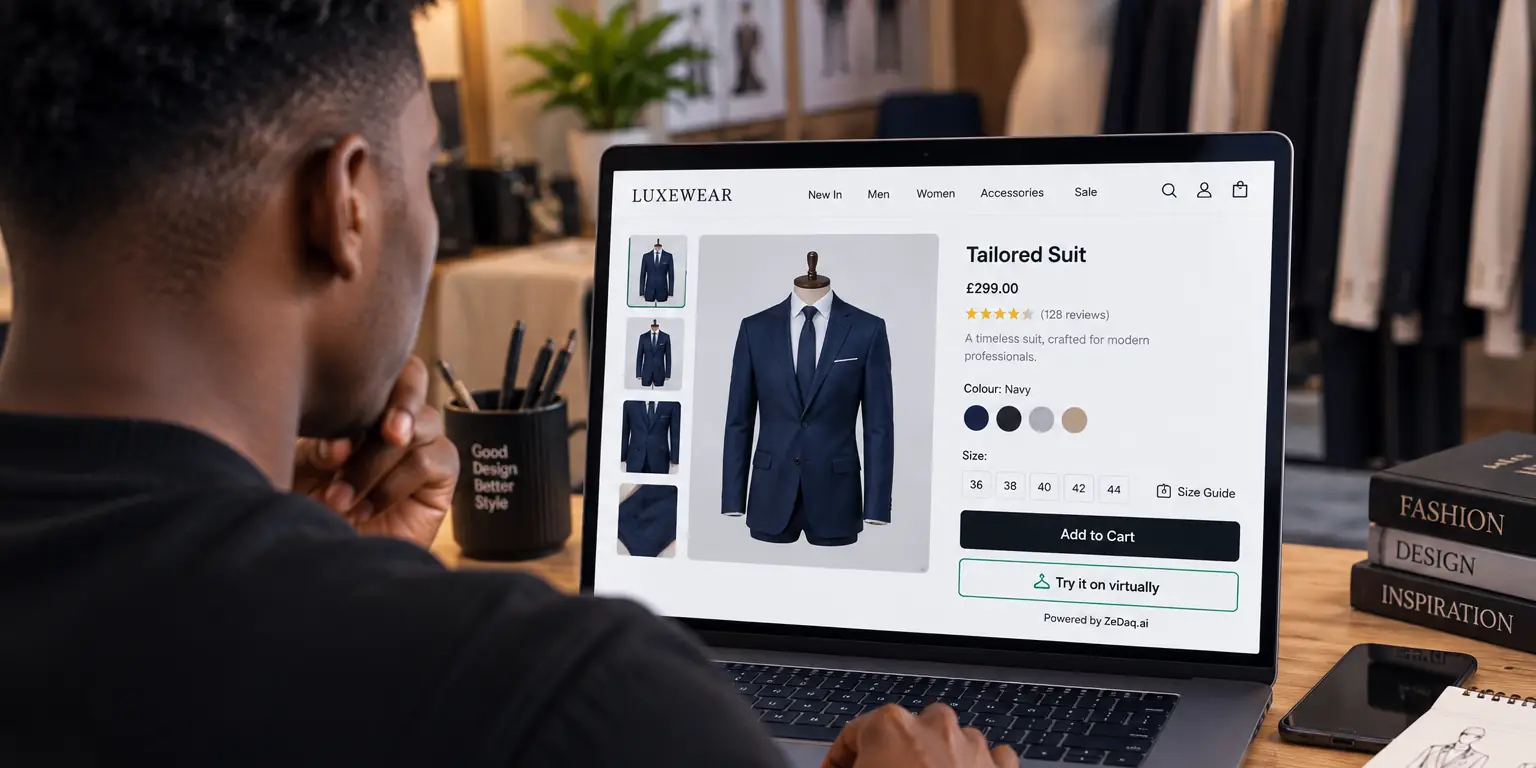
Reserve the space before the button exists. Add an empty container near the add-to-cart button with a fixed minimum height, then let the widget fill it.
Then check that the button's final position doesn't push the price or the add-to-cart button down after the page has painted.
How do you test the effect?
- Pick one product page and note its current results in a lab tool such as Lighthouse.
- Add the widget and run the same test again, several times, since results vary.
- Check field data too if your store has enough traffic, because lab tests can differ from real visitors' phones.
- Compare the three metrics, not only the overall score.
Check on a mid-range phone with a slow connection, since that's where a script's cost shows first. For the result side of the experience, read how fast a try-on result should load.
Which pages should load the widget at all?
The cheapest script is the one that never loads. Add the tag only to product templates for garments shoppers can try on, and leave it out of the home page, blog and cart.
If some products shouldn't show try-on, such as accessories, use a separate template or a condition so those pages skip the script. Check that your theme doesn't add the same tag twice, which wastes bandwidth and can cause two buttons.
Widget or API, which is lighter on the page?
With the widget, ZeDaq.ai supplies the buttons and flow. With the REST API (POST /api/v1/tryon with an x-api-key header), you build the interface yourself and control exactly when anything loads. The comparison in embeddable widget vs API helps you choose.
A good size guide also lowers the chance a shopper needs to interact at all, as writing size guides that work explains.
Build try-on into your store on your own terms
What is a safe rollout plan?
Release the widget to one product first and watch your metrics for a few days. If nothing worsens, add it to the rest of the range. Keep a note of the date, so that if a metric moves later you can tell whether the widget, a new app or a theme change caused it.
FAQs
Does defer delay the widget from working?
It delays running the script until the page has been parsed, which is usually quick. The button appears after that.
Should I use async instead?
async runs the script as soon as it downloads, which can interrupt rendering. defer is the safer default for a widget that isn't needed for the first paint.
Will the widget affect my product image's loading?
It shouldn't if you defer it and keep your main image's priority high. Always confirm with a before-and-after test on your own theme.
Do I need to lazy-load the widget on every page?
Only add it to pages where shoppers can try on a product. Leaving it off other pages avoids the cost entirely.
Try ZeDaq.ai free
Virtual try-on and Find my size for your store, plus client, order and invoicing tools for tailors, in one subscription.