How to Photograph Clothes for Your Store at Home
By the ZeDaq.ai team · · 4 min read
On this page
To photograph clothes at home, use bright window light, a plain wall or sheet as a background, a phone on a tripod, and a steamed garment. Shoot the front, back and a close-up of fabric detail for each piece.
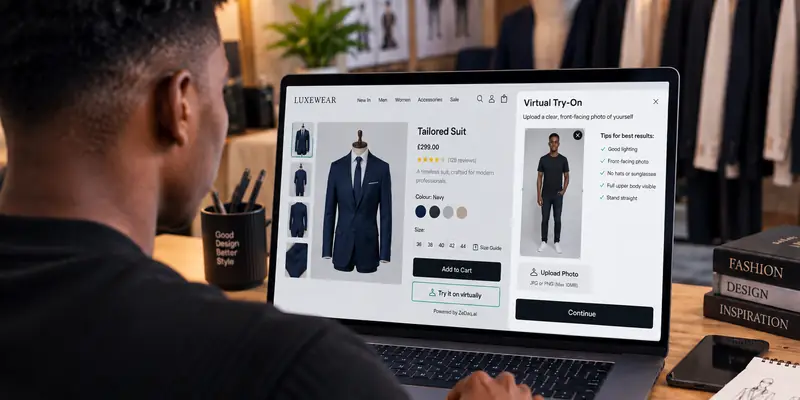
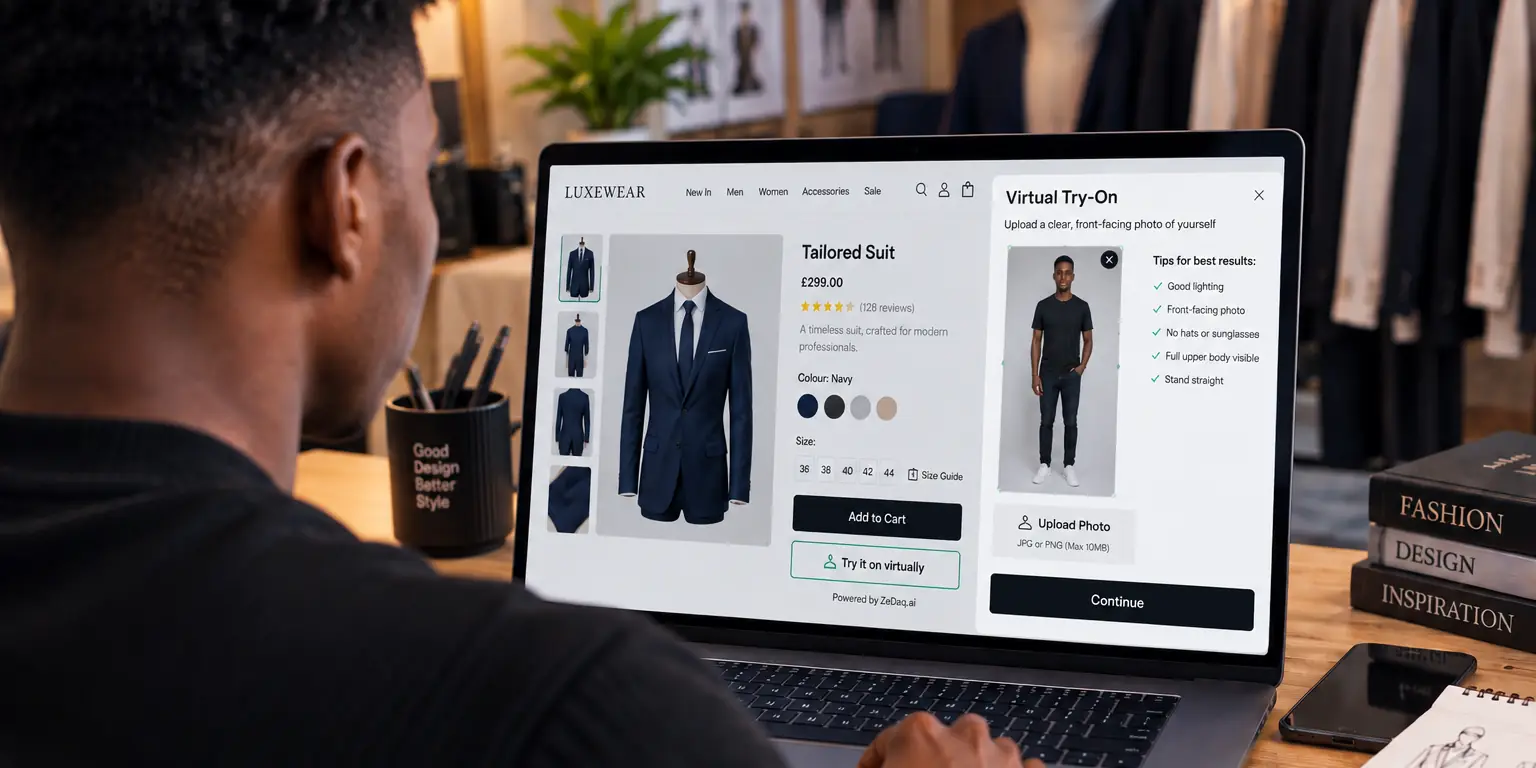
Good photos help shoppers judge a garment, and they also matter if you add virtual try-on to your Shopify store, since the tool shows your real garment on the shopper. This guide covers a simple setup that costs little.
What equipment do you need?
You can start with what you own:
- A phone with a clean lens.
- A tripod or a stack of books for a steady phone.
- A plain wall, or a sheet or paper roll as a backdrop.
- A steamer or iron.
- A hanger, a mannequin or a clothes rail.
- A white card or foam board to bounce light.
Add items later if you need them. Light and a steady camera matter most.
How do you set up the light?
Use daylight from a large window. Place the garment beside the window so light falls on it from the side, not from behind.
Avoid direct sun, which creates harsh shadows. Turn off room lights, since mixed bulbs change the color. Hold the white card opposite the window to soften shadows.
Shoot at a time of day when the light is steady, and keep the same time for every session so the whole catalog looks consistent.
A simple test: take one photo, then look at it on your phone at arm's length. If the garment looks yellow, blue or gray compared to the real thing, move closer to the window or turn off other lights. If one side is dark, add the white card.
Shadow under the garment can also be a problem when you lay it on the floor. Raise the camera and shoot straight down, or hang the item on a rail against the wall.
How do you prepare the garment?
Steam out creases first. Wrinkles are the most common problem in home photos.
Then check for lint, loose threads and tags. Pin or clip the back of the garment so it hangs flat on the front. A mannequin or a friend wearing the item shows shape better than a hanger.
What shots should you take for each product?
Take the same set for every product so your store looks tidy:
- Front, full length.
- Back.
- Close-up of fabric, print or stitching.
- Detail of the neckline, pocket or closure.
- One shot worn on a body, if you can.
Include a worn shot so shoppers can see how the garment sits. Add the size the model wears in the product description.
How do you set up the phone?
Clean the lens and keep the phone at chest height of the garment so lines do not tilt. Use a timer or a remote to avoid shake.
Shoot vertically if your theme shows portrait images. Keep the same distance and angle for each item. Turn off filters.
What does a quick session plan look like?
Batching saves time. Try this order for a session of several garments:
- Steam all the garments first.
- Set up the light and the phone once.
- Shoot every front view, then every back view, then the details.
- Change the background only when you must.
- Check a few photos on your computer before packing up.
Shooting by shot type, not by garment, keeps the angle and distance the same across the whole range. Write the product name on a sticky note and photograph it first for each garment, so you can sort files later without guessing.
How do you photograph tricky fabrics?
Some materials need extra care. Sheer fabric shows through, so place a plain light layer behind it. Shiny satin catches reflections, so move the garment so the window light hits it from the side. Black clothing loses detail, so add more light and check the stitching shows. Prints and patterns can look blurry, so take one close, sharp photo to show the design.
How do you edit the photos?
Keep editing light. Crop to the same ratio, adjust brightness, and correct the color so the photo matches the real garment. A shopper who receives a different shade is likely to return it.
Name the files clearly (for example "linen-shirt-front") and compress them so pages load quickly. If your theme handles large catalogs, see the best Shopify themes for large catalogs.
How do photos relate to fit and made-to-measure?
Photos show style, but not size. Pair them with a size chart and fit notes. For made-to-measure products, show the options clearly; the guide to made-to-measure on Shopify explains how.
If you want tools that help shoppers see and size garments, compare options in the best AI virtual try-on apps for Shopify.
Show your photographed clothes on your shoppers
FAQs
Can I use my phone instead of a camera?
Yes. A recent phone camera is enough for a web store if the light is good and the phone is steady.
Do I need a model?
Not at the start. A mannequin or a flat lay works, though one worn shot helps shoppers judge fit.
What background is best?
A plain, light, evenly lit one. White or neutral walls keep attention on the garment.
How many photos per product should I take?
Enough to show the front, back and details. Use the same set for every product.
Try ZeDaq.ai free
Virtual try-on and Find my size for your store, plus client, order and invoicing tools for tailors, in one subscription.