Building a Custom Fashion Store: How to Choose Your Stack
By the ZeDaq.ai team · · 5 min read
On this page
- Should you build a custom store at all?
- What parts does a fashion store need?
- Which architecture patterns work?
- How do you choose a language and framework?
- How should you handle payments and security?
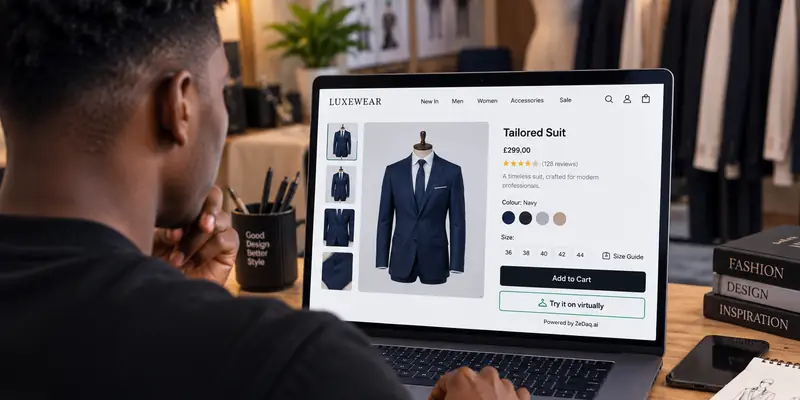
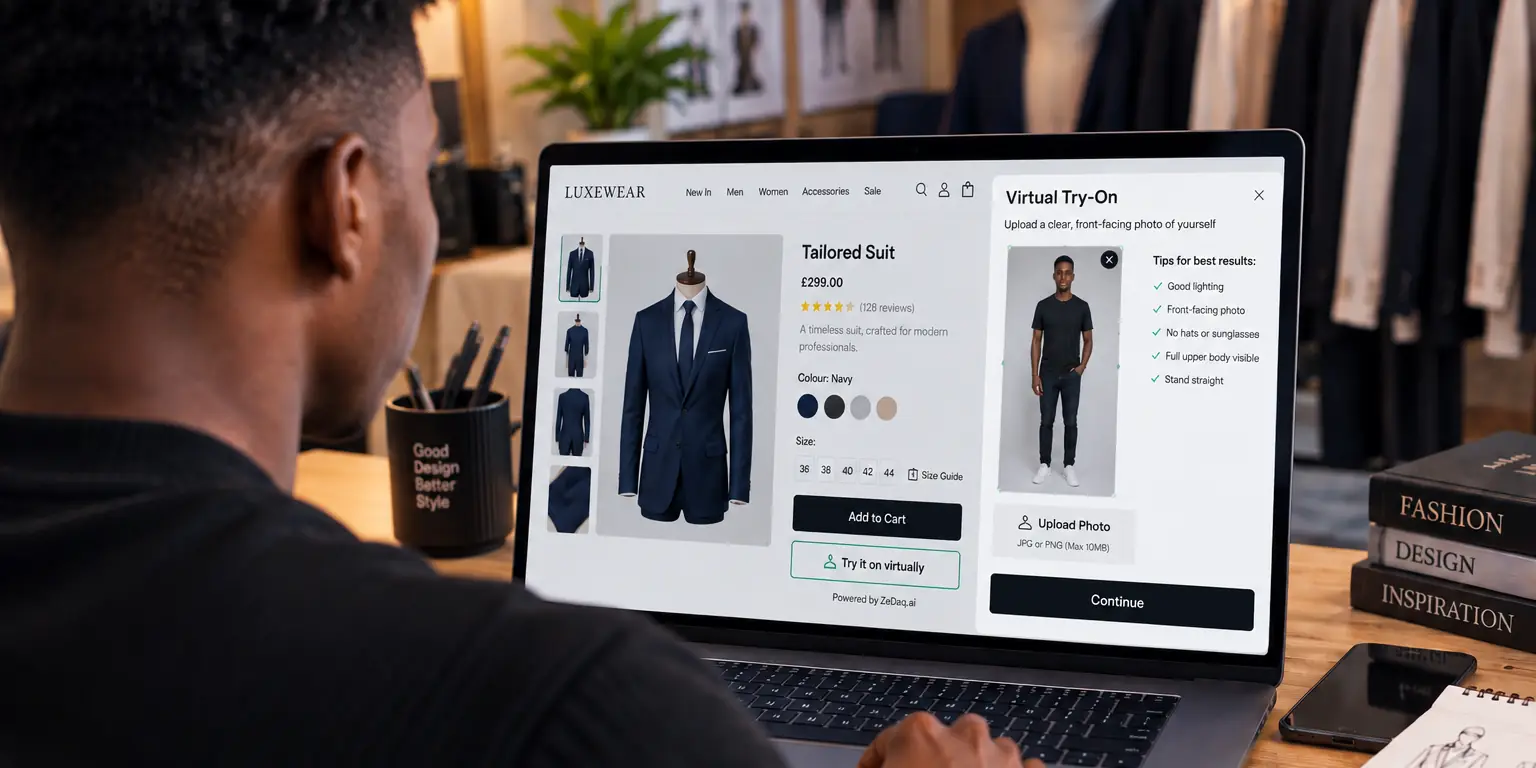
- How do you add size help and try-on to a custom store?
- Where does try-on sit in the shopper journey?
- What is a sensible build order?
To choose a custom ecommerce stack for a fashion store, list the parts every store needs, decide which ones you will build and which you will buy, and keep the pieces separate so you can swap them later. Fashion adds two special needs on top of a normal store: variants for size and color, and help with fit.
This guide is for developers and owners weighing a custom build against a hosted platform. If you plan to add fit tools through code, the virtual try-on API for ecommerce developers shows what the integration looks like.
Should you build a custom store at all?
Only if a hosted platform cannot do what you need. Custom work costs more to build and more to maintain, and you own every bug and security update.
Choose custom when:
- you need a checkout or pricing flow that platforms do not allow,
- your catalog is complex, such as made-to-measure orders,
- you already have a developer team who will maintain it.
For a small brand with a standard catalog, a hosted platform is usually faster. Our comparison of the best ecommerce platform for a small clothing brand covers that route.
What parts does a fashion store need?
Split the store into pieces. Each can be built, bought or borrowed.
| Part | What it does | Fashion-specific concern |
|---|---|---|
| Catalog | Products, variants, images | Size and color combinations |
| Search and filters | Finding items | Filter by size in stock |
| Cart and checkout | Order capture | Multiple items with different sizes |
| Payments | Taking money | Methods your customers use |
| Order management | Fulfilment, returns | Exchange for a different size |
| Content | Pages, lookbooks | Image-heavy pages |
| Fit tools | Size help, try-on | Your own size charts |
Write this table for your own project, and mark each row "build", "buy" or "later".
Which architecture patterns work?
Three patterns cover most cases.
A monolith
One codebase handles pages, cart and admin. It is easiest to start with and easiest to debug. It suits a small team.
A headless store
A back end holds catalog and orders, and a separate front end shows them. This gives design freedom, but you maintain two systems.
Hosted back end, custom front end
You use a platform for catalog and checkout and build your own storefront on top. Many stores land here because the risky parts, such as payments, stay with the platform.
Pick the simplest pattern you can maintain. Complexity you add on day one is complexity you debug later.
How do you choose a language and framework?
Choose what your team already knows. A familiar language beats a fashionable one.
Check three things:
- Hiring. Can you find developers for it in your region?
- Libraries. Does it have mature tools for payments, images and search?
- Hosting. Can you run it where you want, within your budget?
PHP, Python, Node.js and React front ends all work. None of them is the right answer for everyone.
How should you handle payments and security?
Do not store card details yourself. Use a payment provider's hosted fields or checkout page, so card data never touches your server. Read the provider's own documentation for the rules that apply to you.
Keep secrets, such as API keys, on the server. Browser code can be read by anyone. Where a key must appear in a page, as with a script widget, lock it to your domain.
How do you add size help and try-on to a custom store?
You have two routes with ZeDaq.ai, depending on how much control you want.
- The script-tag widget. Paste the
<script src="https://www.zedaq.ai/widget/zedaq.js" data-key="…" defer>tag into your product template. It adds "Try it on" and "Find my size". The key must be locked to your store's domain in Dashboard → API keys. Details are in the widget docs. - The REST API. Call
POST /api/v1/tryonfrom your server with anx-api-keyheader, and build the interface yourself. See the API reference.
Merchants enter their own size guide in Dashboard → Size charts, one chart per garment type. The scan then recommends your own labels.
Plan the product template early so either route has a place to go. The same ideas appear in our guide to adding try-on to a React storefront and the webflow custom code embed guide.
Where does try-on sit in the shopper journey?
Try-on lives on the product page, so plan that template early. Our guide to a virtual fitting room for clothing websites shows what shoppers see and where the button belongs.
What is a sensible build order?
Build in this order so you can launch early:
- Catalog with variants.
- Cart and checkout through a payment provider.
- Order emails and a basic admin.
- Size charts on product pages.
- Fit tools such as size recommendation and try-on.
- Returns and exchanges.
Launch after step three if you can. Add the rest while real customers use the store.
Test the try-on API on your own product images
FAQs
Is custom cheaper than Shopify?
Not usually at the start. You pay for development and maintenance instead of a platform plan, and the trade-off only pays off if you need something a platform cannot do.
Can I add try-on to any stack?
Yes, through the widget for a script tag or the REST API for server code. Both work with custom sites.
Should I build my own checkout?
Avoid it where you can. A provider's hosted checkout keeps card data off your server and reduces the code you must secure.
What if I outgrow my first stack?
Keep catalog, checkout and fit tools as separate pieces. That makes it easier to replace one without rebuilding the rest.
Try ZeDaq.ai free
Virtual try-on and Find my size for your store, plus client, order and invoicing tools for tailors, in one subscription.