Adding Try-On to WooCommerce Product Pages Without a Plugin
By the ZeDaq.ai team · · 4 min read
On this page
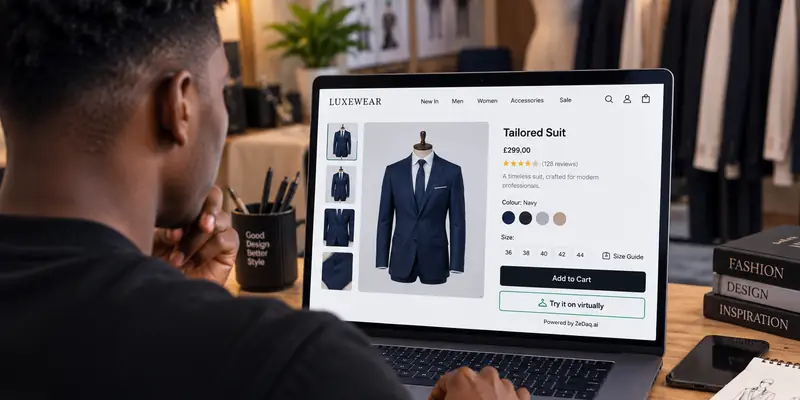
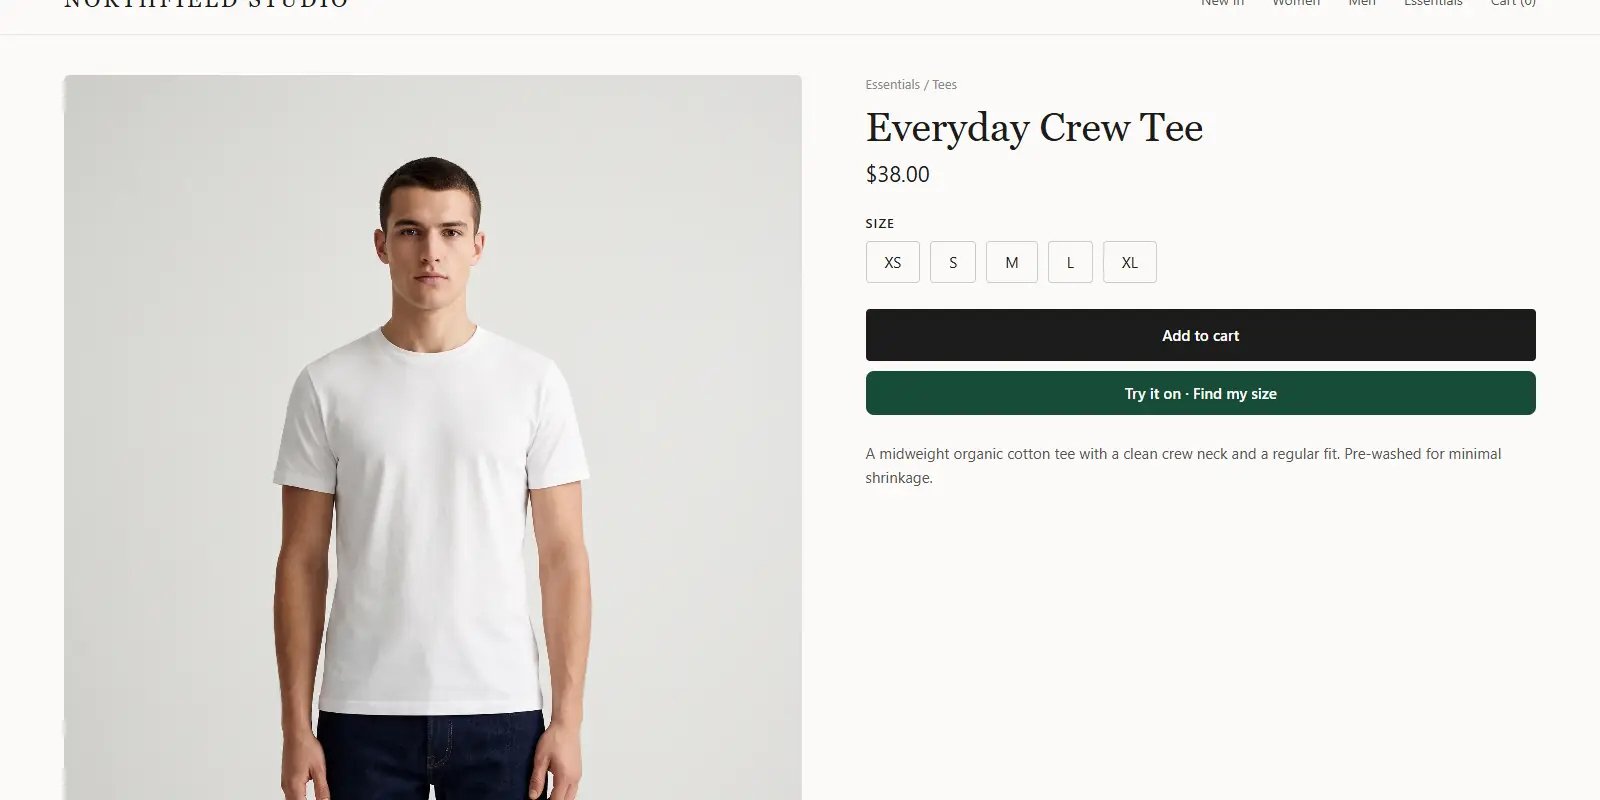
You can add virtual try-on to WooCommerce without a plugin by pasting one script tag into your single product template. The widget then adds a "Try it on" button and a "Find my size" option to the product page.
This guide shows the steps for store owners and developers. For the wider picture, read virtual try-on for WooCommerce.
Why use a script tag instead of a plugin?
A script tag does not install anything on your WordPress site. You add one line to a template, and you remove it by deleting that line.
This keeps your site simple. There is no extra admin screen to maintain and no plugin update to keep track of. If you stop using the widget, you delete the tag and the button disappears.
It also suits stores that already run a long list of plugins. Fewer moving parts means fewer things that can clash after an update.
ZeDaq.ai does not have a WooCommerce plugin. The widget is the supported route for WooCommerce, Wix, Squarespace, BigCommerce and custom sites. If you want to build your own interface, the REST API is the other option, and the guide to embeddable widget vs API compares the two.
What do you need first?
- A ZeDaq.ai account and an API key.
- Access to edit your theme's single product template.
- Product images that show the garment clearly.
- Your own size chart, if you want size recommendations.
How do you add the widget step by step?
Step 1: Create a key locked to your domain
In the ZeDaq.ai dashboard, open Dashboard → API keys and create a key. Lock it to your store's domain, so nobody can use it from another site.
Step 2: Paste the script tag
Add this tag to your single product template, usually just before the closing body tag:
<script src="https://www.zedaq.ai/widget/zedaq.js" data-key="YOUR_KEY" defer></script>
Replace YOUR_KEY with the key from step 1. The defer attribute lets the page load before the widget does.
Step 3: Place it only on product pages
Add the tag to the product template, not the whole site. That keeps the widget off pages where it is not needed.
If you use a page builder, add an HTML block to the product template and paste the tag there. The WooCommerce hooks guide covers placing a button with theme hooks.
Step 4: Check your product images
Try-on uses the product image shown on the page, so use a clear, well-lit photo of the garment. Avoid heavy shadows, busy backgrounds and images that crop the garment. For variable products, test more than one color, since each variation may have its own image.
Step 5: Test on a real product
Open a product page on your phone and tap Try it on. Upload a full-length photo and check the result. Setup details are in the widget documentation.
What if you want size recommendations too?
The widget includes Find my size. You enter your own size guide in Dashboard → Size charts, one chart per garment type: tops, outerwear, dresses and bottoms.
The scan uses one photo plus height. It recommends your own labels and sizes up to the largest relevant measurement. Without a chart, it falls back to a generic UK, US, EU or AU chart.
What can go wrong?
Most problems come from a few causes.
| Problem | Likely cause |
|---|---|
| Button does not appear | The tag is not in the product template, or the domain lock does not match |
| Widget loads on every page | The tag is in the global footer |
| Wrong garment type | The product's size chart is not set |
| Script blocked | A caching or optimization tool is delaying scripts |
If you use a caching tool, clear the cache after adding the tag. Then reload the product page in a private browser window, so you see what a new visitor sees.
Check the browser console as well. A blocked script or a domain mismatch usually shows up as an error there, and it points you to the cause faster than guessing. If your key is locked to example.com and your store runs on www.example.com, make sure the domain you locked matches the one shoppers use.
Also test a staging copy of your store before you touch the live one. Add the tag there first, confirm the button works, and only then copy the same change to production. This keeps a typo from reaching shoppers. Other custom stores are covered in try-on for WooCommerce, Magento and custom stores.
When should developers use the API instead?
Use the REST API when you want your own interface. A try-on request is POST /api/v1/tryon with an x-api-key header. See the API reference and the guide to the virtual try-on API for developers.
Get a key and add try-on to your store
FAQs
Do I need a WooCommerce plugin for this?
No. You paste one script tag into your product template.
Is my API key safe in the page code?
The key is locked to your store's domain in the dashboard, so it only works from your site. Create the key with the lock before you publish.
Can I show the button only on some products?
Add the tag to a template that only applies to the products you choose. Use the product template for the categories you want.
What does it cost to test?
The Free plan costs $0 and includes 3 try-ons, 3 measurements and 5 invoices a month. Paid plans start at $14 a month with a 3-day free trial and no card required.
Try ZeDaq.ai free
Virtual try-on and Find my size for your store, plus client, order and invoicing tools for tailors, in one subscription.