Setting Up a Clothing Store on WooCommerce
By the ZeDaq.ai team · · 4 min read
On this page
- What do you need before you start?
- How do you install WordPress and WooCommerce?
- How do you choose a theme for a clothing store?
- How do you add products with sizes and colors?
- How do you add a size chart?
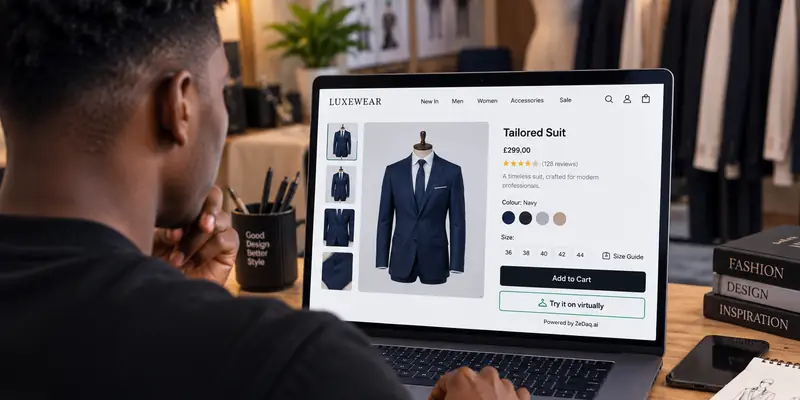
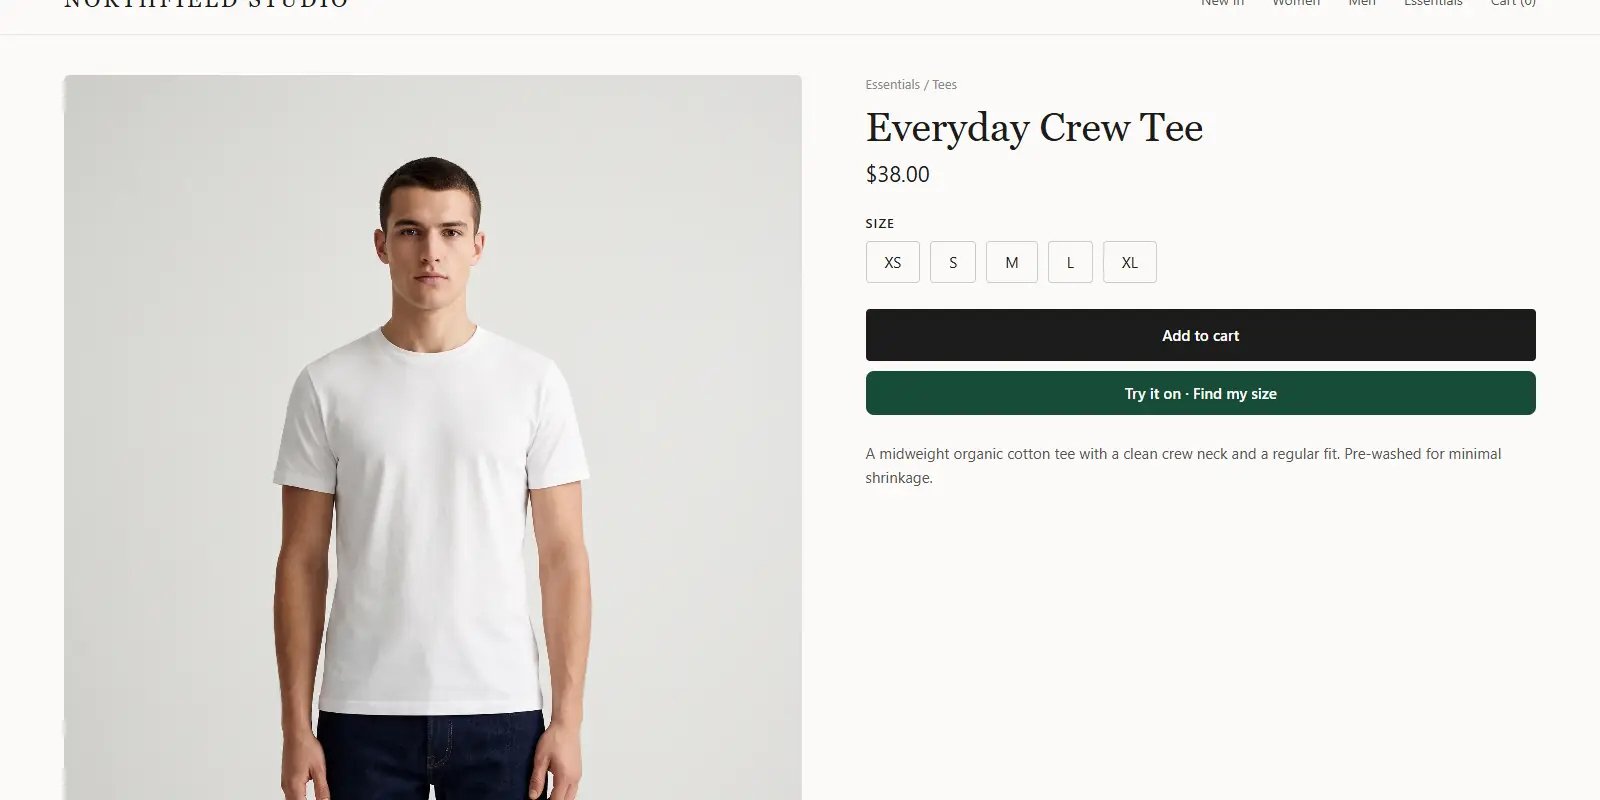
- How do you add try-on and size recommendations?
- How should you plan shipping and returns?
- What should you check before you launch?
To set up a WooCommerce clothing store, you choose hosting, install WordPress and the WooCommerce plugin, pick a fashion-friendly theme, add products with size and color variations, and then set up payments, shipping and a size guide. You own the site, which gives you control but also more to manage.
This guide is for people starting a fashion shop on WordPress. After the basics work, you can add fit tools, as shown in virtual try-on for WooCommerce. Check WooCommerce's own documentation for current steps, since screens change.
What do you need before you start?
Prepare these items first:
- A domain name that matches your brand.
- Hosting that supports WordPress and has good support. Compare plans yourself on the host's website.
- A product list, with names, descriptions, materials and prices.
- Photos that show each garment clearly.
- Your size chart, in body measurements.
- Your policies, covering shipping, returns and privacy.
Choose a payment method you can use in your country. WooCommerce offers many options, so check the current list in its documentation.
How do you install WordPress and WooCommerce?
- Set up your hosting and install WordPress, which many hosts do in a few clicks.
- In the WordPress dashboard, go to Plugins → Add New and search for WooCommerce.
- Install and activate it, then follow the setup wizard.
- Enter your store details, currency and shipping locations.
- Set up payment, and place a test order before you launch.
Keep WordPress, your theme and your plugins updated, and make regular backups.
How do you choose a theme for a clothing store?
A fashion store depends on images, so the theme must show them well. Check these points:
- Large product images with zoom.
- A fast mobile experience, since many shoppers browse on phones.
- Easy filters for size, color and category.
- Clear variation selectors for size and color.
- Regular updates from the theme's author.
Test the demo of any theme on a phone before you commit.
How do you add products with sizes and colors?
Clothing is usually a variable product, one product with options for size and color.
- Go to Products → Add New.
- Choose Variable product in the product data box.
- Under Attributes, add "Size" and "Color" and tick the option to use them for variations.
- Under Variations, generate variations and set price and stock for each.
- Add a clear photo for each color.
Use the same size labels on every product so shoppers learn how your store works. Keep stock numbers accurate, since selling an item you don't have creates a refund and a bad review.
How do you add a size chart?
Shoppers leave when they can't find their size. Put a size guide close to the size selector and make it readable on mobile.
Write the chart in body measurements, not garment widths, and make one chart per garment type, since tops, bottoms and dresses fit differently. The guide to setting up your size chart for accurate recommendations explains how to structure it.
How do you add try-on and size recommendations?
ZeDaq.ai doesn't have a WooCommerce plugin. It offers a script-tag widget for WooCommerce, Wix, Squarespace, BigCommerce and custom sites. You paste this into the product template:
<script src="https://www.zedaq.ai/widget/zedaq.js" data-key="…" defer>
Lock the key to your store's domain in Dashboard → API keys. The widget adds "Try it on" and "Find my size". Full details are in the widget documentation. Developers can also use the REST API.
Enter your own size chart in Dashboard → Size charts. The scan uses one photo plus height to recommend your own labels. The Free plan costs $0 and includes 3 try-ons and 3 measurements a month. Every paid plan has a 3-day free trial with no card required, and the pricing page lists the details.
How should you plan shipping and returns?
Write your policies before launch and place them in the footer and at checkout:
- Which countries you ship to and how long delivery takes.
- Your returns window, who pays for the label and the item condition you accept.
- How customers start a return.
Fashion has more returns than many categories, so plan for them. If you are comparing platforms, see how it works on setting up a clothing store on Wix and setting up a clothing store on Squarespace.
What should you check before you launch?
Use this checklist:
- A test order works from start to finish.
- Every product has a size and a color option that matches stock.
- The size guide appears on each product page.
- Photos load quickly on mobile.
- Policies, contact details and privacy information are published.
- Emails for orders and shipping are set up.
Add try-on and size advice to your store
FAQs
Is WooCommerce free?
The plugin is free to install, but you pay for hosting, a domain, themes or extensions you choose, and payment fees. Check each provider's current prices.
Do I need to know how to code?
Not for the basics. A developer helps with custom features, such as pasting the widget into a product template.
Should I use variable products for clothing?
Yes. Variable products let you offer size and color options with separate stock for each.
Can I sell on WooCommerce and social media together?
Yes, but each channel has its own rules. Check the documentation of each platform for current steps.
Try ZeDaq.ai free
Virtual try-on and Find my size for your store, plus client, order and invoicing tools for tailors, in one subscription.