Setting Up a Clothing Store on BigCommerce
By the ZeDaq.ai team · · 4 min read
On this page
To set up a clothing store on BigCommerce, plan your sizes first, build products with size and color variants, write fit-focused product pages and then add a size and try-on layer with a script tag. Fit is the main risk in fashion, so build around it from the start.
This guide is a practical checklist. The same widget approach is covered in our overview of virtual try-on for WooCommerce. Check BigCommerce's own documentation for current menu names and plan limits, as these change.
What should you decide before you build?
Settle these four things on paper first.
- Range and variants. List every product with its sizes and colors.
- Size data. Gather body measurements for each size.
- Photo standard. Pick one style, background and angle set.
- Policies. Write shipping, returns and exchange terms.
Of these, size data causes the most trouble later. If your sizes are not consistent, no tool can fix the recommendations built on top of them.
How do you set up clothing products with variants?
Treat each garment as one product with options. Shoppers pick a size, and often a color, on the same page.
- Use the same size labels across the store.
- Name products with the garment type and key detail.
- Keep categories simple: dresses, tops, trousers, outerwear.
- Track stock per size so you do not oversell.
Check BigCommerce's documentation for how it handles product options and inventory on your plan.
What should a fashion product page include?
Give shoppers what they would ask a sales assistant.
- Photos on a model, with the model's height and the size worn.
- Fabric, care and fit notes.
- A size guide link.
- Clear delivery and returns information.
If you want a full checklist, the guide to writing size guides that reduce returns is a useful companion.
How do you add size recommendation and try-on?
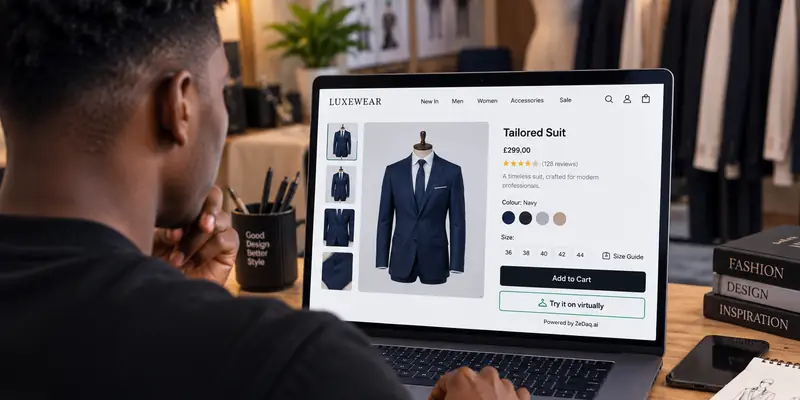
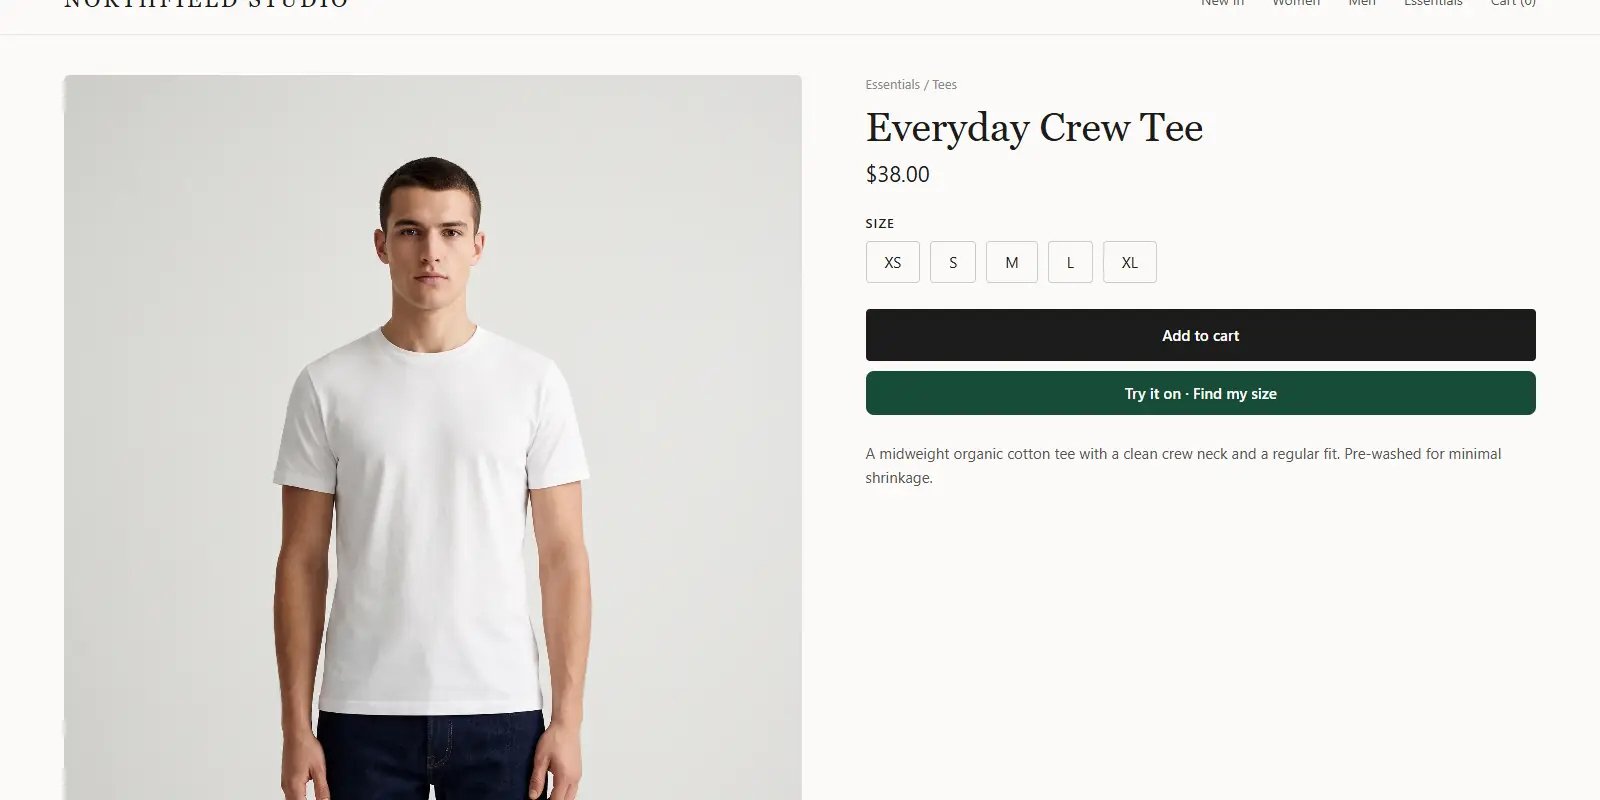
ZeDaq.ai provides a script-tag widget for WooCommerce, Wix, Squarespace, BigCommerce and custom sites. It adds "Try it on" and "Find my size" to your product page. The shopper uploads one photo, sees your real garment on their body and can get a size from a 30-second scan.
- Create an API key in the ZeDaq.ai dashboard under API keys.
- Lock the key to your domain. This is required.
- Enter your size charts in Dashboard → Size charts, one per garment type: tops, outerwear, dresses and bottoms.
- Paste the script into your product template, using your store's theme or custom-code area:
<script src="https://www.zedaq.ai/widget/zedaq.js" data-key="YOUR_KEY" defer></script>
- Test on a few products using your phone.
The full steps are in the widget documentation. Check BigCommerce's documentation for where theme or script changes are allowed on your plan.
What can go wrong with a script-tag setup?
Most problems are small and easy to spot during testing.
- The key is not locked to the right domain. The widget will not load if the domain does not match.
- The script sits on the wrong template. It should be on the product page template, not only the home page.
- A size chart is missing for a garment type. The scan then falls back to the generic chart.
- The chart has gaps. Some shoppers get no clean match.
Test with one product per garment type, and fix each issue before you roll out to the whole catalog.
How do you make the size chart accurate?
Use body measurements, with a minimum and maximum for each size. Make sure the ranges meet, so no shopper falls into a gap.
The scan matches the shopper's measurements to your chart and sizes up to the largest relevant measurement. Without your own chart, it falls back to a generic UK, US, EU or AU chart. Our guide to setting up your size chart covers the details.
What about other platforms and the API?
If you are comparing builders, the same method applies on Wix.
We also cover setting up on Squarespace.
If you have a developer, you can call the REST API instead: POST /api/v1/tryon with an x-api-key header. See the API reference.
How do you test the store before launch?
Run a short test before you go live.
- Place a test order on a phone and on a computer.
- Check that each size shows the right stock.
- Run "Find my size" with two or three different people.
- Read your shipping and returns pages as a customer would.
- Ask someone unfamiliar with the store to buy an item, and note where they hesitate.
Fix the small problems first. A confusing size selector costs more sales than a missing feature.
How much does it cost to test?
The Free plan is $0 and includes 3 try-ons, 3 measurements and 5 invoices a month. Micro costs $14 a month, with the first month at $1 on monthly plans, once per business on its first paid plan. Every paid plan has a 3-day free trial with no card required. See the pricing page for current details.
Add size and try-on to your BigCommerce store
FAQs
Does the widget need a plugin?
No. You paste a script tag into your product template. There is no separate plugin.
Can I use the same key on several stores?
Each key must be locked to a store's domain. Create separate keys for separate domains.
Which garment types can I set size charts for?
Tops, outerwear, dresses and bottoms. You enter one chart per garment type.
Where do I find help with setup?
Start with the widget documentation, then test on a single product before rolling it out.
Try ZeDaq.ai free
Virtual try-on and Find my size for your store, plus client, order and invoicing tools for tailors, in one subscription.