Adding Try-On to an Astro or Gatsby Fashion Site
By the ZeDaq.ai team · · 5 min read
On this page
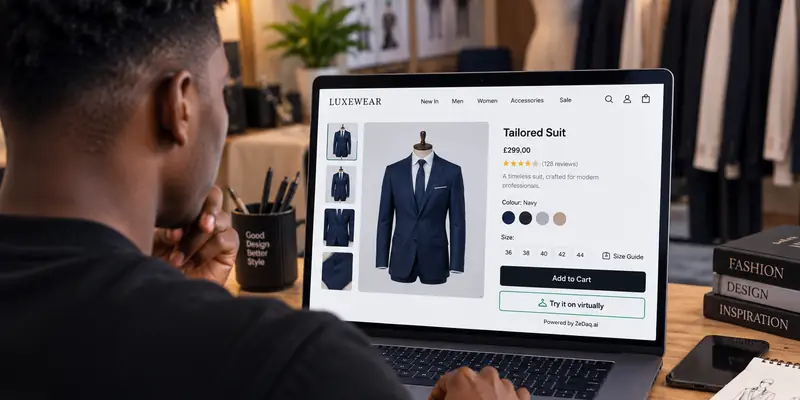
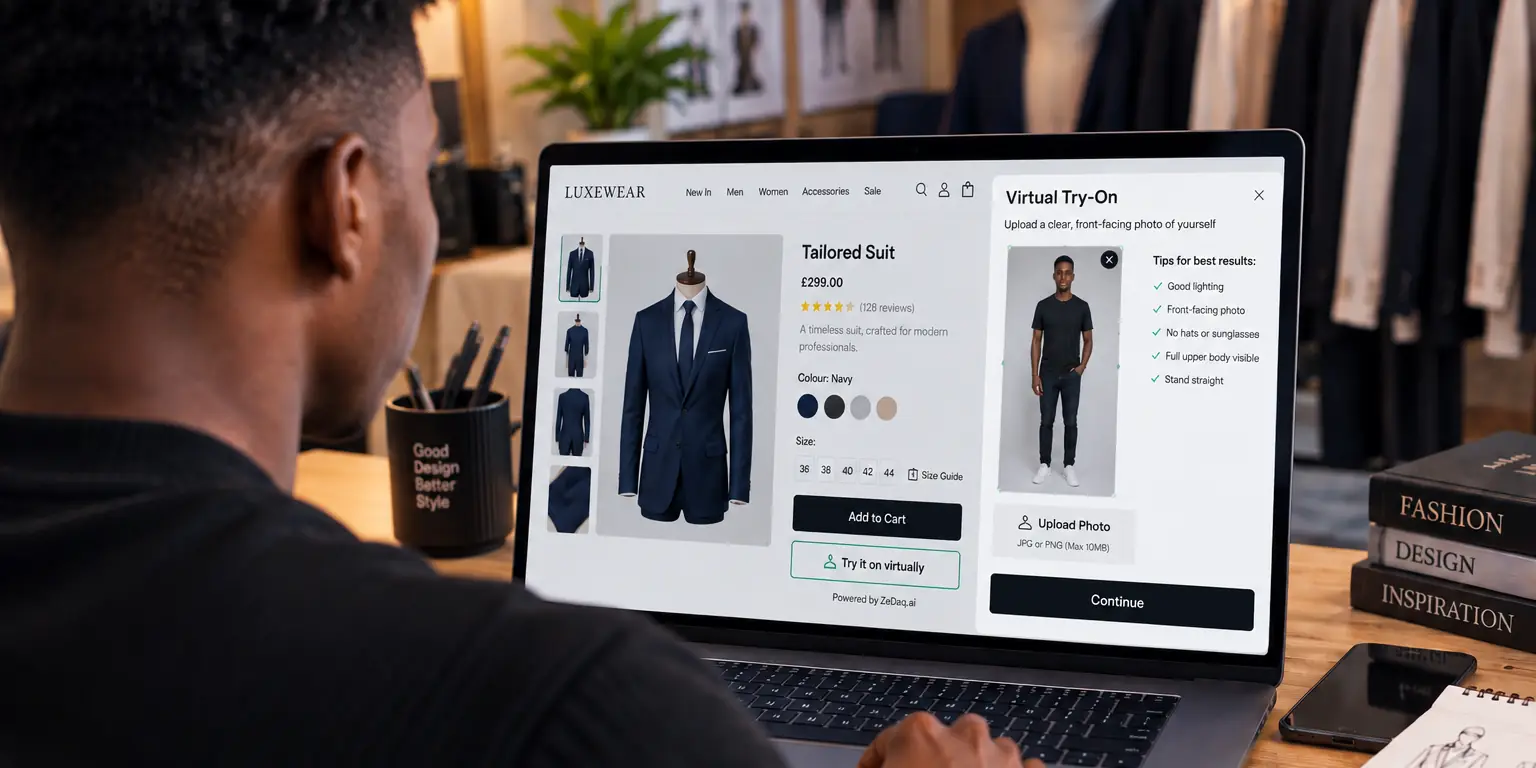
To add virtual try-on to an Astro or Gatsby site, load the ZeDaq.ai widget script on your product pages, or call the REST API from your own server if you want to build the interface yourself. The widget takes one script tag and a domain-locked key.
Both frameworks build static pages, which suits a catalog site. The virtual try-on API for ecommerce developers explains the API route in full, and this guide focuses on getting the script tag working in each framework.
What do you need before you start?
- A ZeDaq.ai account and a widget key. Create it in the dashboard under API keys.
- The key locked to your domain. The key is visible in your page source, so it must be locked to your domain. Unlocked keys are refused.
- Product pages with a product image. The widget looks for your product image, or you can set
data-product-image.
Your final snippet looks like this, as described in the widget documentation:
<script src="https://www.zedaq.ai/widget/zedaq.js" data-key="YOUR_WIDGET_KEY" defer></script>
It adds a "Try it on" button and "Find my size" to the page.
How do you add the widget in Astro?
Astro processes and bundles most <script> tags. According to the Astro documentation, a script is processed only if it has no attributes other than src, and files in public/ or on a remote server need the is:inline directive. Your widget script is remote and has a data-key, so use is:inline.
- Open the layout or the product page template, such as
src/layouts/ProductLayout.astro. - Add the tag, with your own key:
<script is:inline src="https://www.zedaq.ai/widget/zedaq.js" data-key="YOUR_WIDGET_KEY" defer></script>
- Build and open a product page.
Put the tag in the product layout, not in the base layout shared by every page. That way it only loads where it is needed.
If you use Astro's client-side routing, read the section on single-page navigation below.
How do you add the widget in Gatsby?
The Gatsby Script component replaces a lowercase script tag for third-party scripts. You import Script from gatsby and pass the URL in the src prop.
- Open your product template, for example
src/templates/product.js. - Import
Scriptand add it to the page:
import { Script } from "gatsby"
- Run a build and check the rendered tag in your browser tools. Confirm that the
data-keyattribute is present on the script element, because the widget will not start without it.
The default strategy loads the script after the page hydrates, which keeps it from delaying interaction. The Gatsby docs also list an experimental off-main-thread strategy. Don't use that one for this widget unless you have tested it.
What changes on a static site?
Static pages are built ahead of time, so the widget is the only part that talks to ZeDaq.ai. Your pages stay static, and the button is added in the browser.
This has two practical effects:
- No server code is needed for the widget route.
- The key is public, which is why the domain lock matters.
If you need the key to stay private, use the API from a server function. Never put an API key in your front-end code.
How do you place the button where you want it?
By default the widget adds a floating button. To place it inline, add a data-target attribute with a CSS selector for the element where the button should go:
<script is:inline src="https://www.zedaq.ai/widget/zedaq.js" data-key="YOUR_WIDGET_KEY" data-target="#tryon-slot" defer></script>
Add an element with that ID near your add-to-cart button. The element must exist when the script starts, so render it in the page HTML, not later in the browser.
Other optional attributes include data-garment-type, data-button-label and data-size. The docs list the current set.
What about client-side navigation?
If your site swaps pages without a full reload, the widget may not start on the new page. The widget starts once when the page loads and does not watch for route changes. The Gatsby docs make a similar point for off-main-thread scripts, which load on full page loads and not on client-side navigation.
Test by opening a product page directly, then by clicking to it from another page. If the button is missing in the second case, use full page loads for product links or build the interface with the API. The article on routing pitfalls for product page widgets covers this in detail.
What should you test before launch?
- The button appears on product pages and not on other pages.
- The try-on window opens and shows your product image.
- "Find my size" returns a size from your size chart.
- The key is locked to your production domain.
- It works on a phone as well as a desktop browser.
Add your own size chart in the ZeDaq.ai dashboard under Size charts, one chart per garment type, so the recommended size uses your labels.
Where do other custom setups fit?
For sites on a classic server stack, see adding try-on to a WordPress site without WooCommerce and adding try-on to a custom PHP store. If you run a Shopify storefront on a headless framework, read adding virtual try-on to a Shopify Hydrogen storefront.
Get a key and add try-on to your build
FAQs
Can I use the API instead of the widget?
Yes. Send POST /api/v1/tryon with an x-api-key header from your server. See the API reference at /en/docs/api.
Does the widget work in a static build?
Yes. It runs in the browser after the page loads, so your build can stay static.
Do I need a paid plan to test?
The Free plan includes 3 try-ons and 3 measurements a month. Every paid plan has a 3-day free trial with no card required.
Why is my key refused?
Widget keys must be locked to your store's domain in the dashboard. Check that the domain matches the one you are testing on.
Try ZeDaq.ai free
Virtual try-on and Find my size for your store, plus client, order and invoicing tools for tailors, in one subscription.