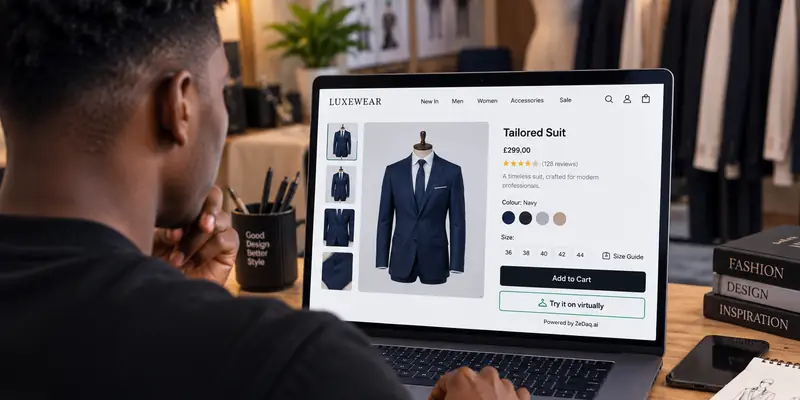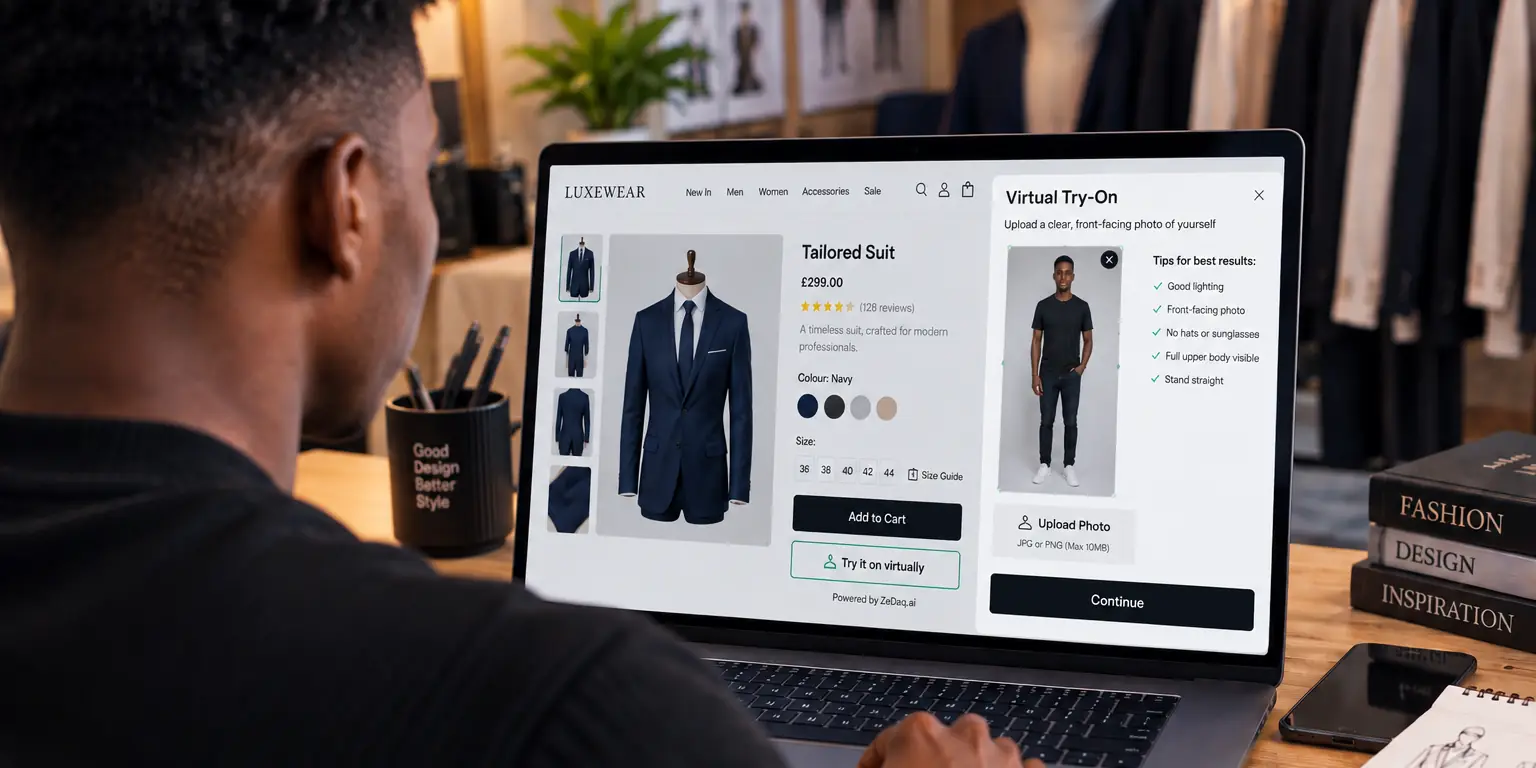
Adding Try-On to a Vue or Nuxt Storefront
By the ZeDaq.ai team · · 4 min read
On this page
Adding virtual try-on to a Vue or Nuxt storefront means building a small upload component and a server route that calls the ZeDaq.ai API with your x-api-key. The browser sends the photo to your route, and only your server holds the key.
This guide covers both a Nuxt setup and a plain Vue app with a separate backend. The API basics are in the virtual try-on API guide for developers. If you only need a button and no custom interface, the script-tag widget is simpler.
Why do you need a server route?
Anything in a Vue bundle can be read by visitors. The API reference says to keep server keys on your server and to lock keys to your domains.
Nuxt has a server layer built in, so it is the easy case. A plain Vue single-page app needs its own backend endpoint, written in any language.
How do you build the Vue upload component?
The component lets the shopper pick a photo, resizes it, posts it to your route and shows the result. The API reference says a full-length photo about 800px wide works well, so resize before uploading.
<script setup>
import { ref } from 'vue';

const props = defineProps({
  productImageUrl: String,
  garmentType: String, // upper_body, lower_body or dresses
});

const status = ref('idle');
const message = ref('');
const resultSrc = ref('');

async function toBase64(file, maxWidth = 800) {
  const bitmap = await createImageBitmap(file);
  const scale = Math.min(1, maxWidth / bitmap.width);
  const canvas = document.createElement('canvas');
  canvas.width = bitmap.width * scale;
  canvas.height = bitmap.height * scale;
  canvas.getContext('2d').drawImage(bitmap, 0, 0, canvas.width, canvas.height);
  return canvas.toDataURL('image/jpeg', 0.9).split(',')[1];
}

async function onFile(e) {
  const file = e.target.files?.[0];
  if (!file) return;
  status.value = 'loading';
  const res = await fetch('/api/tryon', {
    method: 'POST',
    headers: { 'Content-Type': 'application/json' },
    body: JSON.stringify({
      person_image_base64: await toBase64(file),
      product_image_url: props.productImageUrl,
      garment_type: props.garmentType,
    }),
  });
  const data = await res.json();
  if (!res.ok) {
    status.value = 'error';
    message.value = data.message || 'Please try again later.';
    return;
  }
  resultSrc.value = `data:${data.mime_type};base64,${data.image_base64}`;
  status.value = 'done';
}
</script>

<template>
  <div>
    <input type="file" accept="image/jpeg,image/png" @change="onFile" />
    <p v-if="status === 'loading'">Creating your try-on...</p>
    <p v-if="status === 'error'" role="alert">{{ message }}</p>
    <img v-if="status === 'done'" :src="resultSrc" alt="You wearing this garment" />
  </div>
</template>
Add a short note near the input that explains how the photo is used.
What does the Nuxt server route look like?
In Nuxt, create server/api/tryon.post.ts. Store the key in runtime config, and set it from an environment variable such as NUXT_ZEDAQ_API_KEY.
// nuxt.config.ts
export default defineNuxtConfig({
  runtimeConfig: { zedaqApiKey: '' }, // private, server only
});
// server/api/tryon.post.ts
export default defineEventHandler(async (event) => {
  const { person_image_base64, product_image_url, garment_type } = await readBody(event);
  const { zedaqApiKey } = useRuntimeConfig(event);

  const img = await fetch(product_image_url);
  const product_image_base64 = Buffer.from(await img.arrayBuffer()).toString('base64');

  const headers = { 'x-api-key': zedaqApiKey, 'Content-Type': 'application/json' };
  let res = await fetch('https://www.zedaq.ai/api/v1/tryon', {
    method: 'POST',
    headers,
    body: JSON.stringify({ person_image_base64, product_image_base64, garment_type }),
  });
  let data = await res.json();

  while (res.status === 202) {
    await new Promise((r) => setTimeout(r, 2000));
    res = await fetch('https://www.zedaq.ai' + data.poll_url, { headers });
    data = await res.json();
  }

  setResponseStatus(event, res.status);
  return data;
});
Because zedaqApiKey sits outside the public section of runtime config, Nuxt keeps it on the server. In production, accept only product URLs from your own catalog so the route can't be used to fetch arbitrary addresses.
What if you use plain Vue?
A plain Vue app has no server layer. Put the same logic in any backend you already run, such as Express, PHP or Python, and point the component's fetch call at it. The request and response shapes stay the same.
For other server-side examples, see how to add try-on to a WordPress site without WooCommerce or to a custom PHP store.
How do you handle the 202 response?
A 202 means the render is still running. The API reference says to poll the poll_url every 2 seconds, which the loop above does.
On a busy site, return the job_id to the browser and let the component poll your own status route instead. That avoids holding a request open. Usage is only charged when a render succeeds.
Which errors should the interface show?
The API returns an error code and a message. Show the message for limits and trial caps, and log the code on the server. A shopper does not need to see invalid_api_key. They need a calm "try again later".
How does this compare with React?
The server logic is the same and only the component syntax changes. If your team also builds in React, read about adding try-on to a React storefront.
Get an API key for your Vue storefront
FAQs
Can I use the widget key in Vue?
The widget key is meant for the script tag and must be locked to your domain. For a custom component, call the REST API through a server route.
Does this work with Nuxt 2?
The request flow is the same. The server route syntax differs between Nuxt versions, so check the Nuxt documentation for your version.
How big should the uploaded photo be?
The API reference suggests a full-length photo around 800px wide. Resizing in the browser keeps requests small.
Does the same code work for sizing?
Not exactly. Sizing uses POST /api/v1/scan with pose data, and the API reference describes it separately.
Try ZeDaq.ai free
Virtual try-on and Find my size for your store, plus client, order and invoicing tools for tailors, in one subscription.